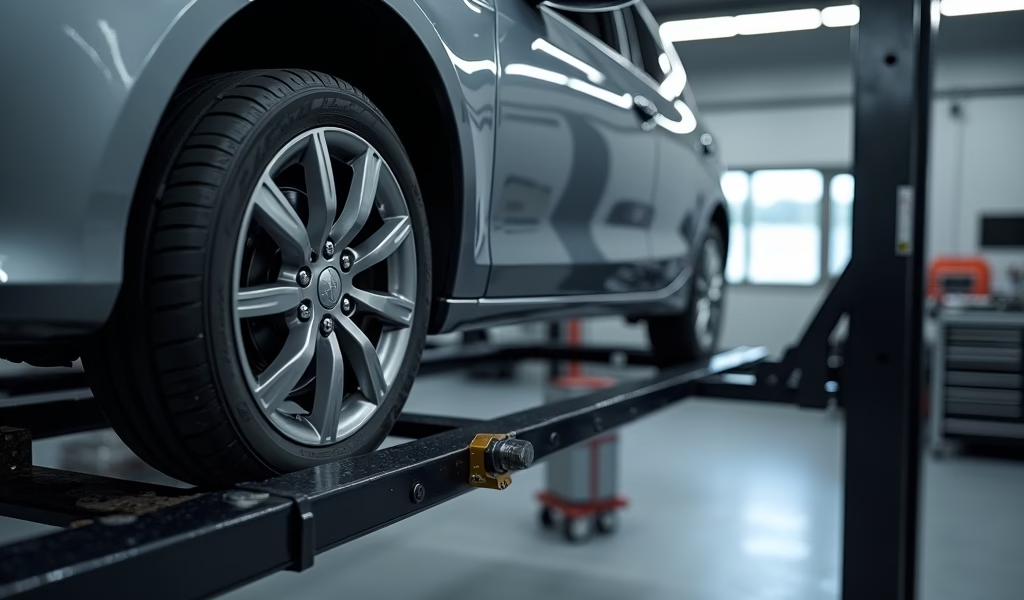
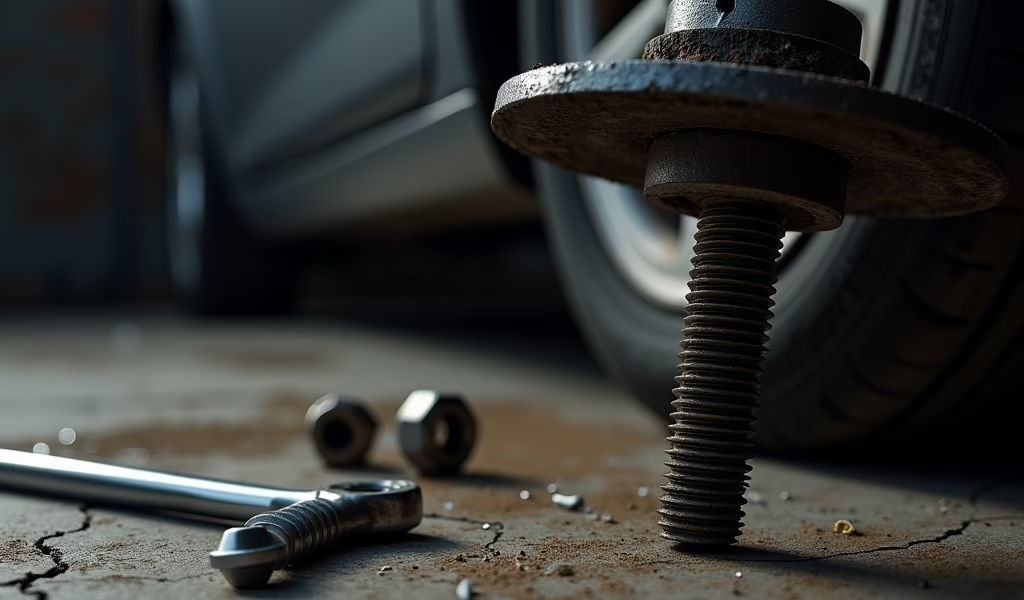
Overview
This guide provides a detailed walkthrough of wheel stud replacement, covering the importance of these critical safety components, signs of damage, required tools, and step-by-step instructions for proper installation. The article emphasizes that while replacing wheel studs is manageable for DIY enthusiasts with basic tools, proper torquing and safety precautions are essential to prevent wheel separation and ensure vehicle safety.
Table of Contents
- Introduction to Wheel Stud Replacement
- Understanding Wheel Studs: Purpose and Importance
- 5 Signs Your Wheel Studs Need Replacement
- Essential Tools for Wheel Stud Replacement
- Preparation Steps Before Starting
- Complete Step-by-Step Wheel Stud Replacement Procedure
- 5 Pro Tips for Successful Wheel Stud Replacement
- Common Mistakes to Avoid
- Safety Considerations During Replacement
- Conclusion
- Frequently Asked Questions
Introduction to Wheel Stud Replacement
Ever had that sinking feeling when you notice a damaged or broken wheel stud? I’ve been there, and trust me, it’s not something you want to ignore. The wheel stud replacement procedure might seem intimidating if you’ve never done it before, but with the right guidance, it’s actually quite manageable for the DIY enthusiast.
As a mechanic with over 15 years of experience, I’ve replaced hundreds of wheel studs on everything from compact cars to heavy-duty trucks. What I’ve learned is that this repair doesn’t require exceptional skill—just patience, the right tools, and a methodical approach. Whether you’re dealing with a stripped thread, a broken stud, or just performing preventative maintenance, understanding how to properly replace wheel studs can save you a trip to the repair shop and a hefty bill.
In this guide, I’ll walk you through the complete wheel stud replacement procedure, sharing professional tips that will make your job easier and ensure your wheels remain securely attached to your vehicle. After all, these small but mighty components are what keep your wheels from flying off while driving—something we’d all like to avoid!
Understanding Wheel Studs: Purpose and Importance
Before diving into the replacement procedure, let’s get clear on what wheel studs actually do. These threaded fasteners are pressed into your vehicle’s wheel hub or brake rotor and serve as the mounting points for your wheels. When you put your wheel on, the lug nuts thread onto these studs, creating the secure connection between wheel and vehicle.
Think of wheel studs as the unsung heroes of your vehicle’s safety system. They withstand tremendous forces: the weight of your vehicle, torque from acceleration and braking, lateral forces when cornering, and constant vibration. Over time, this stress can cause them to weaken, bend, or break completely.
The integrity of your wheel studs directly impacts your wheel hub assembly function and overall vehicle safety. Damaged studs can lead to uneven wheel mounting, vibration, and in worst-case scenarios, wheel separation while driving. Not a pleasant thought, right?
Most vehicles use press-in studs (which we’ll focus on in this guide), while others use screw-in studs. The automotive safety standards for these components are stringent because of their critical role in vehicle safety.

5 Signs Your Wheel Studs Need Replacement
Catching wheel stud problems early can prevent more serious issues down the road. Here are five telltale signs that it’s time for a wheel stud replacement:
- Visible damage or corrosion: Inspect your wheel studs regularly for rust, cracks, or physical damage. Even minor cracks can quickly become major problems.
- Difficulty tightening lug nuts: If your lug nuts won’t tighten properly or seem to spin freely without securing, your stud threads may be stripped or damaged.
- Unusual vibration: A bent wheel stud can cause vibration that you’ll feel through the steering wheel, especially at higher speeds.
- Missing studs: This one’s obvious, but if you notice a stud is completely missing, immediate replacement is necessary. Also, check the remaining studs as they may be overloaded.
- Repeated loosening of lug nuts: If you find yourself regularly retightening lug nuts on a particular wheel, the studs may be stretched or damaged.
I once had a customer who ignored a damaged stud for months, only to have their wheel come loose on the highway. Fortunately, they managed to pull over safely, but the incident caused additional damage to the brake components and wheel. The moral of the story? A $20 stud replacement could have saved them over $800 in repairs.
If your vehicle has a unique wheel bolt pattern, be sure to confirm the exact specifications before purchasing replacement studs. The wrong size could lead to improper fitment and dangerous driving conditions.
Essential Tools for Wheel Stud Replacement
Before starting your wheel stud replacement procedure, gather these tools to ensure a smooth process:
- Jack and jack stands: Never work under a vehicle supported only by a jack—always use sturdy jack stands for safety.
- Lug wrench or impact socket: For removing the wheel.
- Hammer: A medium-weight ball-peen or dead blow hammer works best.
- Stud installation tool: This specialized tool makes installation much easier, though it’s not absolutely required.
- Replacement wheel studs: Always use OEM or high-quality aftermarket studs that match your vehicle’s specifications.
- Brake cleaner: For cleaning the hub surface.
- Anti-seize compound: To prevent future corrosion issues.
- Torque wrench: Critical for properly tightening lug nuts to manufacturer specifications.
- Safety equipment: Work gloves and safety glasses at minimum.
A little preparation goes a long way. I recommend laying out all your tools and parts before starting, much like a surgeon would before an operation. This simple habit has saved me countless trips back and forth to the toolbox over my career.
If you don’t have a stud installation tool, you can create a makeshift one using washers and a lug nut. I’ll explain this DIY approach in the procedure section. However, if you plan to do this job more than once, investing in the proper tool (usually under $30) will make your life much easier and is well worth it according to professional mechanics.
Preparation Steps Before Starting
Proper preparation is what separates a smooth wheel stud replacement from a frustrating afternoon in the garage. Here’s how to get ready:
First, park your vehicle on a flat, level surface. I can’t stress this enough—working on an incline creates unnecessary risks. Set your parking brake and chock the wheels opposite to the one you’re working on. For example, if you’re replacing studs on the front right wheel, place wheel chocks behind both rear wheels.
Before lifting the vehicle, crack the lug nuts loose while the wheel is still on the ground. This prevents the wheel from spinning when you try to loosen them later. Now, carefully jack up the vehicle and secure it with jack stands placed at the manufacturer’s recommended lifting points.
Once the vehicle is safely supported, completely remove the lug nuts and take off the wheel. Set it aside in a safe spot where it won’t roll away. If you need to remove the brake caliper or rotor to access the studs, now’s the time to do so. Some vehicles allow stud replacement with the rotor in place, while others require rotor removal.
Take a moment to inspect the wheel hub, paying close attention to the center bore diameter and overall condition. Any damage here could affect your wheel stud replacement procedure.
Finally, clean the area thoroughly with brake cleaner to remove dirt, grease, and brake dust. Working with clean components makes the job easier and helps you spot any additional issues that might need attention.

Complete Step-by-Step Wheel Stud Replacement Procedure
Now let’s get into the nitty-gritty of the wheel stud replacement procedure. I’ll break this down into manageable steps that even a beginner can follow:
Step 1: Remove the Old Stud
With your wheel removed and the area prepped, identify the damaged stud(s). In most vehicles, wheel studs are pressed into the hub assembly or brake rotor from behind, with the threaded portion extending outward.
To remove a stud, you’ll need to push or hammer it out from the front side (the threaded side). Some mechanics use a punch for this, but I prefer using a socket slightly smaller than the stud head. Place the socket against the stud and give it firm taps with your hammer until the stud begins to move. Continue until the stud is completely removed from the hub assembly.
If the stud is severely damaged or broken flush with the hub, you might need to drill it out as a last resort. This requires extreme care to avoid damaging the hub assembly.
Step 2: Prepare the New Stud
Inspect your new stud to ensure it matches the old one in length, thread pattern, and head shape. Apply a thin coating of anti-seize compound to the shaft of the new stud (not the threads). This will make installation easier and prevent future corrosion between the stud and hub.
Step 3: Install the New Stud
For this step, you’ll work from behind the hub assembly, inserting the new stud through the hole where the old one was removed. The stud should be oriented so that the threaded portion faces outward, just like the original.
Here’s where the stud installation tool comes in handy. If you have one, attach it to the threaded end of the new stud, then tighten it to draw the stud into position. If you’re using the DIY method, place a few washers over the stud threads, then thread a lug nut on backward (flat side against the washers). As you tighten the lug nut, it will pull the stud into place.
Continue tightening until the stud head is fully seated against the back of the hub assembly. You should feel it bottom out and become firm when fully seated.
Step 4: Verify Proper Installation
After installing the new stud, verify that it’s properly seated by checking from both sides of the hub assembly. The stud head should be flush against the back side, and the threaded portion should extend straight out from the front without any wobbling or misalignment.
Step 5: Reassemble Components
If you removed the brake rotor or caliper, reinstall them now. Make sure to follow proper torque specifications for caliper bolts. Then, mount the wheel back onto the hub, threading the lug nuts by hand at first.
Lower the vehicle until the tire just contacts the ground, then tighten the lug nuts in a star or cross pattern using your torque wrench set to the manufacturer’s specifications. This sequence ensures even pressure and proper seating of the wheel.
Step 6: Final Check
Once everything is reassembled and torqued to spec, perform a final inspection. Check that the wheel sits flush against the hub with no gaps or wobbling. Verify that all lug nuts thread smoothly onto the new stud without binding or unusual resistance.
After your first drive, it’s good practice to recheck the torque on your lug nuts, as they might settle slightly during initial use.
5 Pro Tips for Successful Wheel Stud Replacement
Over my years in the shop, I’ve developed some tricks that make wheel stud replacement smoother. Here are my top five pro tips:
- Use a thread chaser on reused nuts: If you’re reinstalling the same lug nuts, run a thread chaser or die over them to clean up any damaged threads. This prevents cross-threading on your new studs.
- Apply copper anti-seize sparingly: A light coating helps prevent future corrosion, but too much can cause uneven torque readings. Use just enough to coat the surface—think pencil lead thickness.
- Replace studs in sets: If one stud failed, the others were subjected to the same stresses. Consider replacing all studs on that hub as preventative maintenance, especially on older vehicles.
- Use a torque wrench in two passes: First, tighten to about 50% of spec in a star pattern, then make a second pass at full spec. This ensures even pressure distribution and proper wheel seating.
- Mark your torqued nuts: Use a dab of paint or marker to make a line across both the nut and wheel after torquing. This creates a visual indicator if a nut starts to loosen later.
I learned the importance of the torque sequence the hard way early in my career when I caused a warped brake rotor by unevenly tightening lug nuts. The customer came back with vibration complaints, and I had to make it right at my own expense. Lesson learned!
Common Mistakes to Avoid
Even experienced mechanics occasionally make mistakes during wheel stud replacement. Here are some common pitfalls to avoid:
Using the wrong replacement studs. Vehicle manufacturers use specific studs with precise dimensions for a reason. Using “close enough” replacements can lead to catastrophic failure. Always verify that your replacement studs match the originals in length, thread pitch, and knurl pattern.
Damaging the hub during removal. Getting frustrated with a stubborn stud can lead to excessive force and damaged hubs. If a stud won’t budge with reasonable force, step back and reassess your approach. Sometimes, penetrating oil and patience are better than brute force.
Improper torquing sequence. Always tighten lug nuts in a star or cross pattern, not in a circle. This ensures even pressure distribution across the wheel and prevents warping of the rotor or uneven seating.
Skipping the retorque. Wheels should be retorqued after about 50-100 miles of driving. New studs and components tend to settle, which can result in lug nuts losing some of their initial torque.
Rushing the job. Wheel stud replacement isn’t particularly difficult, but it does require attention to detail. Rushing can lead to cross-threading, improper seating, or forgetting crucial steps like final torquing.
Safety Considerations During Replacement
Safety should always be your primary concern when working on vehicle components, especially those as critical as wheel studs. Here are the key safety points to keep in mind:
Never work under a vehicle supported only by a jack. Always use properly rated jack stands placed at the manufacturer’s designated lifting points. I’ve seen too many preventable injuries from improper jacking procedures.
Wear appropriate protective gear. At minimum, this means safety glasses to protect from metal fragments and work gloves to protect from sharp edges and hot components. If you’re using power tools, hearing protection is also recommended.
Ensure proper torquing of all fasteners. This can’t be overstated—incorrect torque is a leading cause of wheel-related accidents. Invest in a quality torque wrench and learn how to use it correctly.
Be mindful of brake components. If you need to remove or manipulate brake calipers or other brake components during the stud replacement, be careful not to damage brake lines or disturb brake pad positioning.
Test drive cautiously after completion. After replacing wheel studs, take a short, careful test drive in an uncrowded area. Listen for unusual noises and feel for vibrations that might indicate a problem with your work.
Conclusion
The wheel stud replacement procedure may seem daunting at first, but it’s actually one of the more straightforward automotive repairs once you understand the process. By following the steps and tips outlined in this guide, you can confidently tackle this job yourself and save a significant amount of money compared to professional service.
Remember that wheel studs are critical safety components—they’re quite literally what keeps your wheels attached to your vehicle. Taking the time to do this job right isn’t just about saving money; it’s about ensuring your safety and the safety of others on the road.
Whether you’re replacing a single damaged stud or performing preventative maintenance on an entire hub, the principles remain the same: use the right parts, follow the proper procedure, and take your time. Your wheels (and wallet) will thank you.
As with any automotive repair, if you find yourself getting stuck or uncomfortable with any part of the process, there’s no shame in seeking professional help. Sometimes, the wisest DIY decision is knowing when a job exceeds your current skill level or toolset.
Frequently Asked Questions
How much does it typically cost to replace wheel studs professionally?
Professional wheel stud replacement typically costs between $15-30 per stud for parts and $50-100 for labor per wheel. Costs vary depending on vehicle make/model and your location.
Can I drive with a broken wheel stud?
While technically possible in an emergency, driving with a broken wheel stud is dangerous and not recommended. The remaining studs face increased stress, which can lead to wheel separation.
Do I need to replace all wheel studs if only one is damaged?
It’s not strictly necessary to replace all studs if only one is damaged, but it’s often good preventative maintenance. If one failed due to age or stress, others might follow soon.
How often should wheel studs be replaced?
Wheel studs don’t have a scheduled replacement interval and typically last the vehicle’s lifetime unless damaged. Replace them when they show signs of damage, corrosion, or thread wear.
Can I reuse my old lug nuts with new wheel studs?
You can reuse lug nuts if they’re in good condition without damage or significant wear. However, replacing them along with studs ensures optimal thread engagement and safety.

