Overview
This article provides five essential tips for measuring tire tread depth properly, explaining how this practice is critical for driving safety, especially in wet conditions. It emphasizes that while 2/32″ is the legal minimum, drivers should consider replacing tires at 4/32″ for rain and 6/32″ for snow, and explains how to track wear patterns to identify alignment, inflation, and suspension issues.
Table of Contents
- Understanding Tread Depth: Your Tire’s Lifeline
- The Critical Importance of Regular Tread Depth Measurement
- Types of Tread Depth Gauges: Choosing Your Weapon
- Tip #1: Master the Proper Measurement Technique
- Tip #2: Know Where to Measure for Accurate Results
- Tip #3: Understanding the Numbers: What’s Safe and What’s Not
- Tip #4: Tracking Tire Wear Patterns Over Time
- Tip #5: Taking Action Based on Your Measurements
- Conclusion: Staying Safe One Measurement at a Time
- Frequently Asked Questions
Understanding Tread Depth: Your Tire’s Lifeline
Tread depth gauge measurement might sound like mechanical mumbo-jumbo, but trust me, it’s as essential to your driving safety as coffee is to my Monday mornings. As a mechanic who’s seen the aftermath of worn tires on rainy highways, I can’t stress enough how these little grooves between your rubber and the road make all the difference between stopping safely and, well, not stopping at all.
Think of your tire tread as the boots on a hiker. Just as those rugged soles grip rocky terrain, your tire treads grip the pavement—channeling water away, maintaining traction on snow, and giving you control when you need it most. Once those treads wear down, you’re essentially ice skating on asphalt when it rains.
The depth of these treads—measured in 32nds of an inch or millimeters—determines how effectively your tires perform under challenging conditions. New tires typically start with about 10/32″ to 12/32″ of tread (around 8-9mm). But as you cruise those highways and byways, that rubber gradually surrenders to the road.
The Critical Importance of Regular Tread Depth Measurement
Let’s get real for a moment: tread depth isn’t just a mechanic’s obsession or a box to check during your pre-purchase vehicle inspection. It’s a matter of life and grip. When I tell customers about tread measurement, I’m not trying to upsell them—I’m trying to keep them from sliding through that next rainy intersection.
According to the National Highway Traffic Safety Administration, nearly 11,000 tire-related crashes occur annually. Many could have been prevented with proper tire maintenance, including regular tread depth checks. It’s like checking the expiration date on your milk—except the consequences are slightly more dramatic than sour cereal.
Your tires’ ability to evacuate water diminishes significantly as tread wears down. At 4/32″, you’ve lost about 50% of your wet traction compared to new tires. By 2/32″ (the legal minimum in most states), your stopping distance in wet conditions could be nearly doubled. That’s the difference between a close call and calling your insurance company.
Before you embark on any long road trip, checking your tires should be priority number one—especially when seasonal changes bring unpredictable weather patterns.

Types of Tread Depth Gauges: Choosing Your Weapon
When it comes to measuring tread depth, you’ve got options that range from “found it in my grandfather’s toolbox” to “digital precision that would impress NASA.” Let’s break down the contenders:
The Traditional Stick Gauge
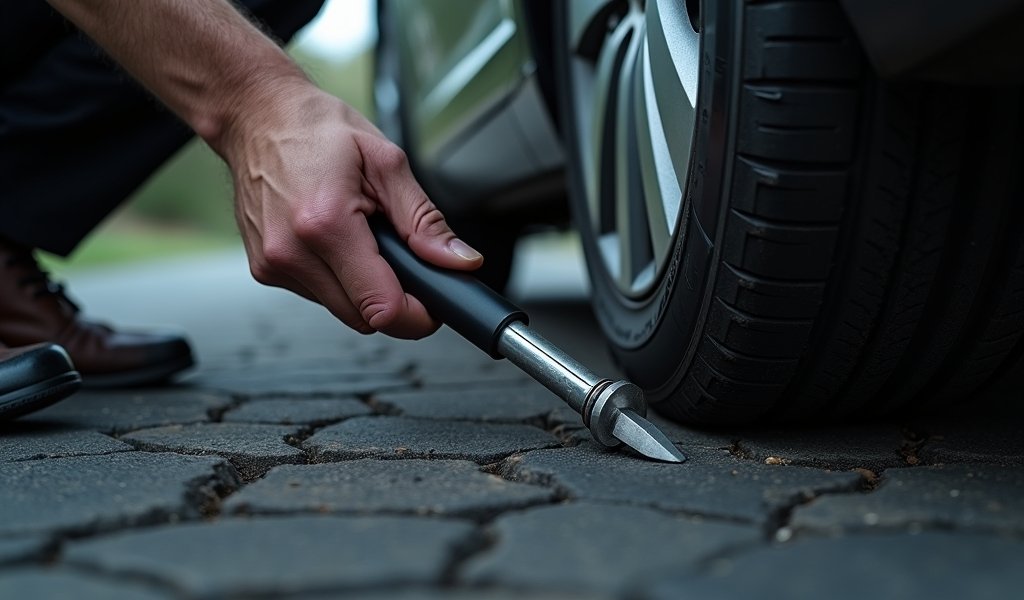
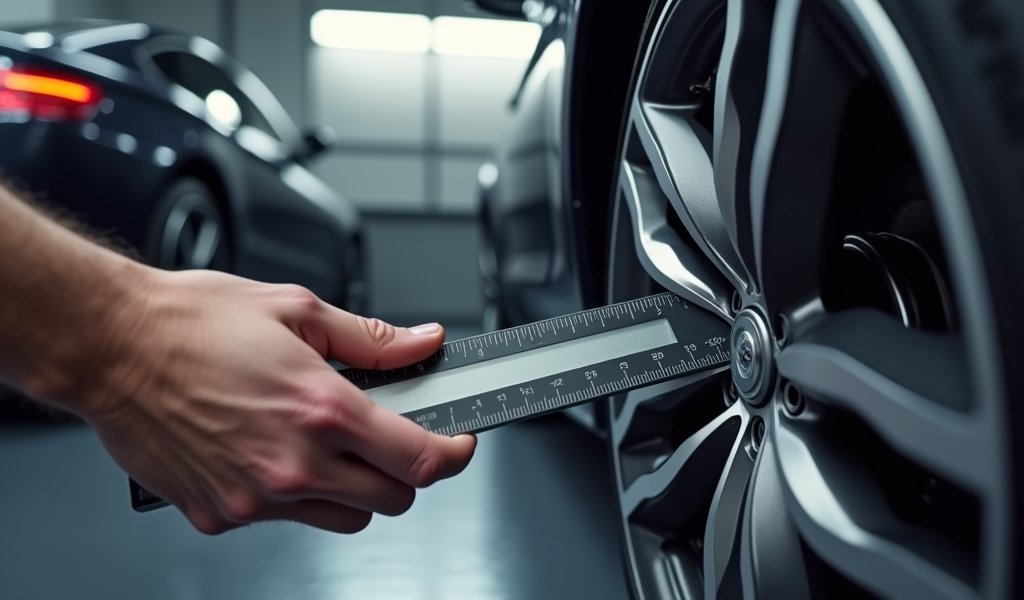
The classic stick gauge looks like a tiny ruler with a protruding probe. Simple, reliable, and usually under $5, it’s the trusty hammer of tread measurement tools. You simply extend the probe into the tread groove, push the slider until it touches the rubber, and read the measurement on the scale. No batteries required, and it fits in your pocket—what’s not to love?
Digital Tread Depth Gauges
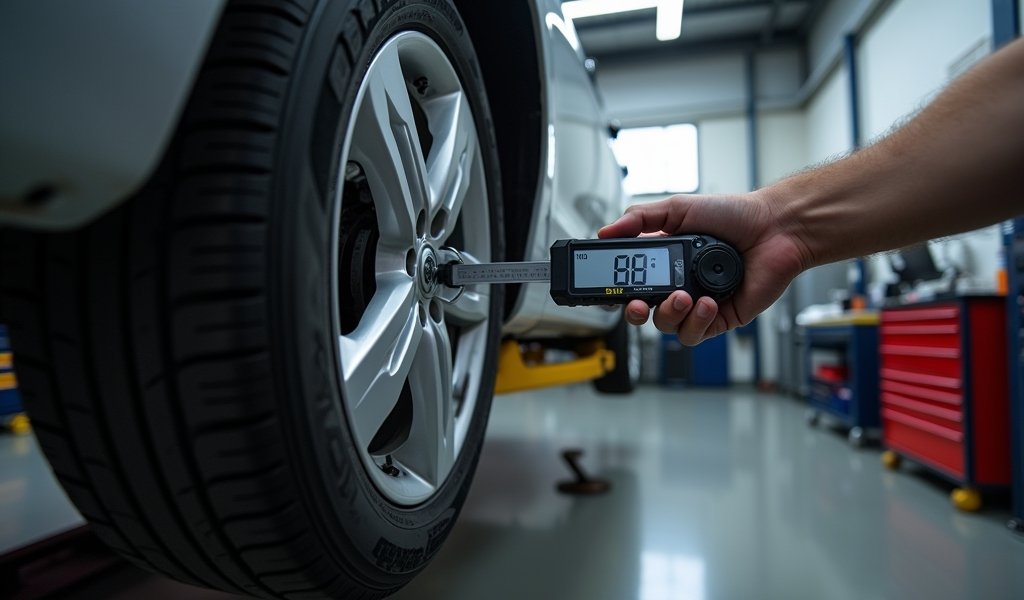
For the tech-savvy tire enthusiast (yes, they exist), digital gauges provide readings in crisp LCD displays. Some even store measurements, so you can track multiple tires or locations without writing anything down. They’re generally more accurate than their analog cousins but come with the usual digital drawbacks: batteries die, displays crack, and they cost 3-4 times as much.
Coin Tests
No gauge? No problem. The penny test is the MacGyver method of tread checking. Insert a penny into your tire’s tread groove with Lincoln’s head facing down. If you can see the top of Honest Abe’s head, your tread is below 2/32″ and you’re shopping for tires tomorrow. For a slightly more conservative test, use a quarter with Washington’s head—if you can see the top of his wig, you’re at 4/32″ or less.
According to Tire Rack’s research, the quarter test is actually more relevant for modern driving safety than the traditional penny test, especially for wet weather performance.
While coins work in a pinch, a proper gauge gives you actual measurements rather than pass/fail results. For about the price of a fancy coffee, you can own a tool that might save you thousands in accident costs—seems like a reasonable investment to me!
Tip #1: Master the Proper Measurement Technique
Alright, you’ve got your gauge in hand—now what? Like many things in life, it’s not just what you use but how you use it. Let’s nail down the perfect technique for tread depth gauge measurement.
First things first: your tires should be cool and parked on a level surface. Hot tires from a long drive can expand slightly, potentially skewing your measurements. Think of it like measuring your waistline after Thanksgiving dinner—not the most accurate representation.
Insert your gauge’s probe into the groove of the tread. Make sure it’s sitting at the lowest point of the groove, not on any raised features. The base of the gauge should rest flat across the top of the surrounding tread blocks. If you’re using a stick gauge, push the sliding portion down until it contacts the extended probe.
Keep your gauge perpendicular to the tire surface. Tilting it can give you falsely generous readings—and when it comes to tire safety, you don’t want flattering lies. You want the cold, hard truth about your rubber situation.
Take your time reading the gauge. Most traditional gauges display measurements in 32nds of an inch on one side and millimeters on the other. Don’t confuse the two, or you might think your nearly bald tires are actually racing slicks in training.
If you’re performing a winter maintenance check, pay extra attention to these measurements, as winter driving demands more tread for snow traction and slush evacuation.
Tip #2: Know Where to Measure for Accurate Results
Location, location, location—it’s not just real estate agents who obsess over it. Where you place your tread depth gauge makes a world of difference in getting useful measurements. Tires don’t wear evenly, and checking a single spot is like judging a restaurant by only tasting the salt shaker.
For each tire, you’ll want to measure in at least three different locations around the circumference. Think of your tire like a clock face—check at 12, 4, and 8 o’clock positions. This gives you a representative sample and helps identify irregular wear patterns that might indicate alignment or suspension issues.
In each location, take measurements in three areas across the tire’s width:
- Outer edge (closest to the curb side)
- Center of the tread
- Inner edge (closest to the vehicle)
Why bother with all these measurements? Because uneven wear tells a story. Center wear suggests overinflation, while edge wear typically indicates underinflation. More wear on one edge than the other? You’re looking at an alignment issue or worn suspension components.
Don’t neglect the “wear bars” while you’re at it. These are raised sections of rubber molded into the base of the tread grooves. When your tread wears down to the same level as these bars, you’ve hit 2/32″ and are legally due for new tires. Think of them as nature’s way of saying, “Hey buddy, time to visit the tire shop!”

Tip #3: Understanding the Numbers: What’s Safe and What’s Not
So you’ve measured your tread depth and have a bunch of fractions or millimeters written down. Great! But what do these numbers actually mean for your safety? Let’s decode the secret language of tread depths.
The legal minimum tread depth in most states is 2/32″ (1.6mm). That’s not a suggestion—it’s the law. Drive with less, and you might earn yourself a ticket along with drastically reduced safety. Think of 2/32″ as the “check engine” light of tread depth—it means “address this immediately,” not “see how much further you can push it.”
Here’s a handy breakdown of what different measurements mean for your driving safety:
- 6/32″ and above (5mm+): You’re in good shape! Your tires have plenty of tread for normal driving conditions, including moderate rain.
- 4/32″ to 5/32″ (3-4mm): Consider this the yellow zone. You’re still legal, but your wet-weather performance is compromised. According to Consumer Reports’ testing, tires with 4/32″ of tread take significantly longer to stop on wet roads than tires with more tread.
- 3/32″ (2.5mm): You’re entering the danger zone, especially for wet or wintry conditions. If you live somewhere rainy or snowy, start shopping.
- 2/32″ (1.6mm): You’ve hit the legal minimum. Replace immediately.
- Below 2/32″: You’re driving illegally on dangerously bald tires. Your vehicle is a hydroplaning accident waiting to happen.
Here’s the thing about these numbers that most people miss: the legal minimum isn’t the safety minimum. Just because you can legally drive on 2/32″ doesn’t mean you should. It’s like saying you can legally drive at the maximum speed limit during a blizzard—technically true, but practically foolish.
For wet-weather driving, many experts recommend replacing tires at 4/32″. For snow driving? Don’t go below 6/32″ if you value your vehicle’s sheet metal and your personal well-being.
Tip #4: Tracking Tire Wear Patterns Over Time
Remember that diary you kept as a teenager? Time to channel that energy into something more useful: a tire wear log. Tracking your tread measurements over time isn’t just for tire nerds—it’s a powerful diagnostic tool that can save you money and extend your tire life.
Create a simple spreadsheet or use a notebook to record measurements for each tire position, noting the date and mileage. Track the three measurements across each tire (inner, center, outer) at each checkpoint. Every 3,000-5,000 miles is a good interval for most drivers.
What does this detective work reveal? Plenty:
- Rapid wear across all tires might indicate aggressive driving habits (I’m not judging… much) or a need to check your tire pressure.
- Faster wear on front tires compared to rear tires is normal for front-wheel-drive vehicles but excessive difference suggests it’s time for a rotation.
- One tire wearing faster than its partner on the same axle? Something’s not right with your alignment or suspension.
- Center wear more pronounced than edges? You’re overinflating those tires, my friend.
- Edge wear more pronounced than center? Underinflation is the likely culprit.
This tracking isn’t just about predicting when you’ll need new tires—though that’s useful for budgeting. It’s about catching problems early. Abnormal wear patterns are like your car whispering secrets about its health. Listen closely enough, and you might save yourself from a costly repair down the road.
For the tech-savvy crowd, several smartphone apps now let you track tire wear alongside maintenance records. Some even remind you when it’s time to check those treads again. It’s like having a tiny, persistent mechanic in your pocket—minus the shop talk and coffee breath.
Tip #5: Taking Action Based on Your Measurements
You’ve measured, you’ve tracked, you’ve analyzed—now what? Knowledge without action is about as useful as windshield wipers on a submarine. Let’s talk about what to do with all this tread depth intelligence you’ve gathered.
If your measurements show even wear but are approaching minimum safe levels (remember, that’s 4/32″ for rain, 6/32″ for snow), it’s time to start tire shopping. Don’t wait until you’re at the legal minimum—that’s like waiting until your gas tank is empty before looking for a gas station. Plan ahead, watch for sales, and replace those tires before they become a safety liability.
For uneven wear patterns, here’s your action plan:
- Center wear: Check your tire inflation. You’re likely exceeding the recommended pressure. Adjust to the manufacturer’s specifications (found in your doorjamb or owner’s manual, not on the tire sidewall).
- Edge wear on both sides: Your tires are underinflated. Add air and check pressures more frequently. Consider checking for slow leaks if this happens regularly.
- One-sided wear (inner or outer edge): Schedule an alignment check. Your wheels are likely out of alignment, causing premature and uneven wear.
- Scalloping or cupping (worn spots that create a wavy pattern): Have your suspension components checked. Worn shocks, struts, or bushings often cause this distinctive wear pattern.
Remember that tire rotation is your friend in the fight against uneven wear. Most vehicles benefit from rotation every 5,000-7,000 miles. This ensures all tires wear more evenly, extending their overall life and saving you money in the long run.
If one tire shows significantly different wear than the others, consider having it inspected for damage. Impacts, manufacturing defects, or internal damage can cause a tire to wear abnormally even when everything else is in order.
Conclusion: Staying Safe One Measurement at a Time
Tread depth gauge measurement isn’t just a mechanical ritual—it’s a safety practice that could literally save your life when the roads turn slick. Think of it as a weather forecast for your tires: it tells you what conditions they can safely handle and when storms might be brewing.
We’ve covered the tools of the trade, proper measuring techniques, where to place your gauge, how to interpret those measurements, tracking wear over time, and taking appropriate action based on your findings. That’s everything you need to become the tread depth guru in your neighborhood (a distinction that may not win you many friends, but will definitely make you the safest driver on the block).
Remember that while the penny test might be convenient, investing in a proper tread depth gauge gives you precise measurements that help catch issues before they become problems. For less than the cost of a movie ticket, you get a tool that helps protect your $500+ tire investment and, more importantly, the priceless cargo (that’s you and your passengers) riding on those tires.
Make tread depth measurement part of your regular maintenance routine—right alongside checking oil levels and washing away that mysterious bird targeting your windshield. Your tires are quite literally where the rubber meets the road, and their condition determines whether you stay firmly planted on that road or find yourself unintentionally exploring the scenery beyond it.
Stay safe out there, keep those treads deep, and remember: in the world of tire safety, being “deeply grooved” isn’t just a compliment for vinyl records—it’s the difference between stopping and hoping.
Frequently Asked Questions
What is the legal minimum tread depth for tires?
The legal minimum tread depth in most states is 2/32 of an inch (1.6mm). However, safety experts recommend replacing tires before reaching this minimum, especially for wet weather driving.
How often should I check my tire tread depth?
Check your tire tread depth at least once a month and before long trips. More frequent checks are recommended during winter months or if you frequently drive in rainy conditions.
Can I use a coin instead of a tread depth gauge?
Yes, you can use a penny (Lincoln’s head facing down) as a quick check—if you can see the top of Lincoln’s head, your tread is below 2/32″. For a more conservative check, use a quarter—if you can see the top of Washington’s head, you’re at 4/32″ or less.
What does center tire wear indicate?
Excessive wear in the center of the tread typically indicates overinflation. Check your tire pressure and adjust to the manufacturer’s recommended PSI found in your vehicle’s doorjamb or owner’s manual.
How does tread depth affect stopping distance?
Reduced tread depth significantly increases stopping distances, especially on wet roads. At 4/32″, you’ve lost about 50% of your wet traction compared to new tires, while at 2/32″, your stopping distance could nearly double in wet conditions.

