Overview
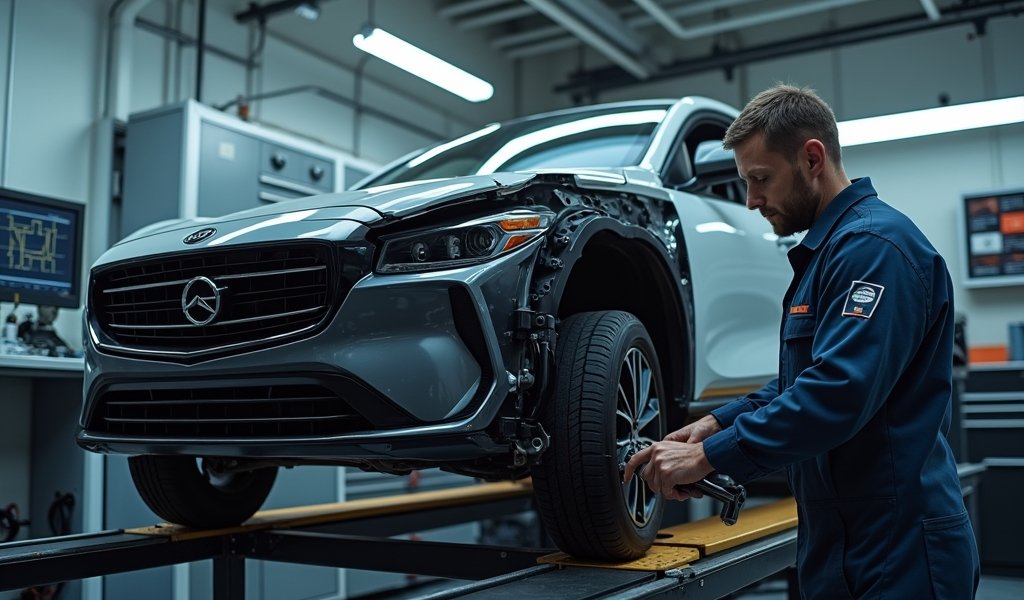
This article provides a detailed guide on tie rod end alignment, explaining their critical role in vehicle steering, signs of problems, necessary tools, and a step-by-step procedure for proper alignment. It emphasizes the importance of precise adjustments for safety and handling, offering professional tips for DIY mechanics while acknowledging when professional help might be needed.
Table of Contents
- Understanding Tie Rod Ends: What They Do and Why They Matter
- Signs of Tie Rod End Problems You Shouldn’t Ignore
- Tools You’ll Need for a Proper Tie Rod End Alignment
- Preparation: Setting Your Vehicle Up for Success
- The Tie Rod End Alignment Procedure: Step-by-Step
- Testing Your Results: Is Your Alignment Actually Fixed?
- 7 Pro Tips for Perfect Tie Rod End Alignment
- Conclusion
- Frequently Asked Questions
Understanding Tie Rod Ends: What They Do and Why They Matter
Tie rod ends might seem like small components in your vehicle’s steering system, but they’re absolutely critical to both your safety and your car’s handling. As a mechanic with over 15 years of experience, I’ve seen firsthand how these humble parts can make or break your driving experience.
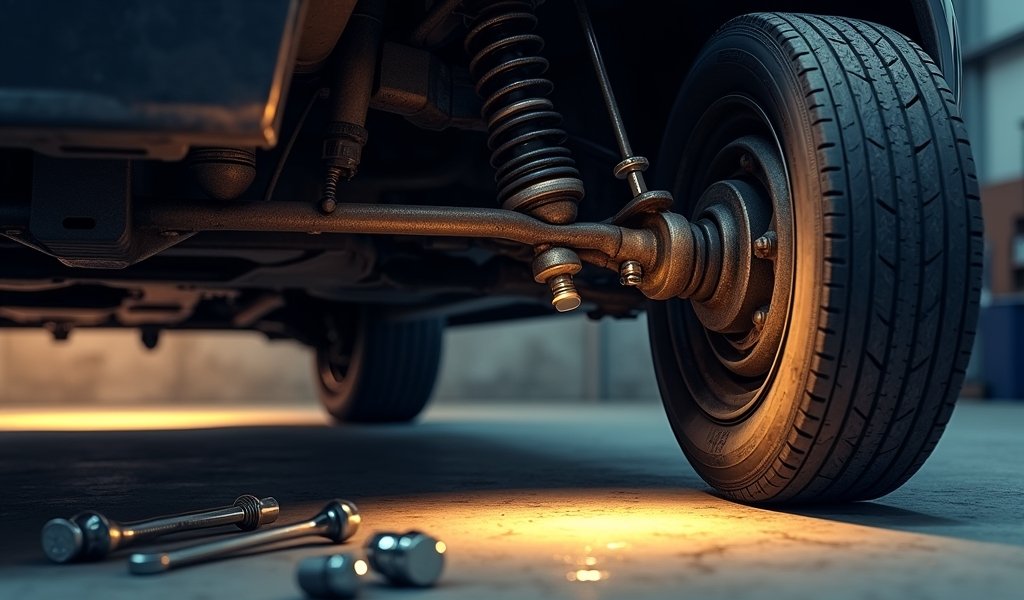
Simply put, tie rod ends connect your steering rack to your wheel hubs, translating the rotation of your steering wheel into the actual turning of your tires. They’re the vital link that allows you to navigate corners, make lane changes, and keep your vehicle tracking straight down the highway.
Think of tie rod ends as the hands on the steering wheel of your actual wheels. When you turn left, the tie rod ends pull and push your wheels in that direction. They also help maintain proper wheel alignment, particularly what we call “toe” – the angle your wheels point relative to each other when viewed from above.
A proper tie rod end alignment procedure ensures these components are adjusted correctly, preventing premature tire wear, wandering steering, and potentially dangerous handling issues. Let’s dive into how you can recognize when there’s a problem.
Signs of Tie Rod End Problems You Shouldn’t Ignore
Your car has ways of telling you when tie rod ends need attention. Listen closely, and you’ll save yourself from bigger headaches down the road.
The most common warning sign is uneven tire wear, particularly along the inside or outside edges. This happens because misaligned tie rod ends cause your tires to drag sideways slightly as you drive, scrubbing away rubber with every mile.
You might also notice your steering wheel isn’t centered when driving straight, or perhaps your vehicle pulls to one side without any steering input. These aren’t just annoying quirks – they’re clear indications that your tie rod end alignment is off.
Other telltale signs include:
- Excessive play in the steering wheel (more than an inch of movement before the wheels respond)
- A clunking or knocking sound when turning, especially at low speeds
- Vibration in the steering wheel, particularly at highway speeds
- Wandering or darting across the road, making it difficult to maintain a straight line
- Visible damage or wear on the tie rod ends themselves during inspection
If you’re experiencing any of these symptoms, it’s time to consider a proper suspension inspection. Addressing tie rod end issues promptly can prevent more serious (and expensive) problems with your steering system.

Tools You’ll Need for a Proper Tie Rod End Alignment
Before diving into your tie rod end alignment procedure, gather the right tools for the job. As I always tell my apprentice mechanics, half the battle is having proper equipment at your fingertips.
For basic inspection and adjustment, you’ll need:
- Jack and jack stands (safety first, always!)
- Wheel chocks
- Socket set and wrenches
- Torque wrench (alignment components need precise tightening)
- Tape measure or alignment string
- Chalk or paint marker
- Pliers for cotter pin removal
- Penetrating oil (for those stubborn, rusty fasteners)
For a more precise alignment, consider investing in:
- Toe plates or a dedicated alignment gauge
- Magnetic camber gauge (for checking related alignment angles)
- Tie rod end separator tool (sometimes called a “pickle fork”)
- A helper (an extra set of hands makes the job much easier)
If you’re planning to replace tie rod ends as part of your alignment procedure, you’ll also need new cotter pins and possibly thread-locking compound, depending on your vehicle’s specifications.
While professional shops use sophisticated alignment machines, you can achieve surprisingly good results with basic tools and careful measurement. That said, if your vehicle has advanced driver assistance systems or you’re not confident in your mechanical abilities, seeking professional help from certified mechanics might be your best bet.
Preparation: Setting Your Vehicle Up for Success
Proper preparation is the foundation of any successful tie rod end alignment procedure. In my years at the shop, I’ve seen countless DIYers go wrong simply because they rushed this critical first step.
Start by finding a level workspace – and I mean truly level. Even slight inclines can throw off your measurements and leave you chasing your tail with adjustments that never seem quite right. A garage floor or driveway that’s been confirmed level with a long carpenter’s level is ideal.
Next, ensure your vehicle is in its normal operating condition:
- Tires inflated to the manufacturer’s recommended pressure
- Normal fuel load (half tank is a good reference point)
- No excessive cargo weighing down one side of the vehicle
- Suspension at normal ride height (not jacked up)
Before making any adjustments, perform a thorough inspection of all steering components. Look for worn bushings, damaged ball joints, or loose steering rack mounts. Adjusting tie rods won’t fix these underlying issues, and might even mask symptoms of more serious problems.
Make sure the steering wheel is centered and locked in position (a helper can hold it, or you can use a steering wheel holder tool). This ensures your measurements and adjustments will correspond to a properly centered steering position when you’re done.
Finally, take “before” measurements of your current alignment. This gives you a baseline and helps you track your progress. Even if the current alignment is off, knowing exactly how off it is will guide your adjustments more precisely than starting from scratch.
Remember that the wheel offset calculations can impact your alignment needs, especially if you’ve changed to aftermarket wheels that differ from factory specifications.
The Tie Rod End Alignment Procedure: Step-by-Step
Let’s get our hands dirty with the actual tie rod end alignment procedure. I’ll break this down into manageable steps that even a first-timer can follow with confidence.
Step 1: With your vehicle on level ground, loosen (but don’t remove) the jam nuts on both tie rod ends. These are the nuts that lock the tie rod ends in position once adjusted.
Step 2: Measure your current toe setting. The simplest method is the string method:
- Stretch a string or fishing line across the rear of both front tires at the same height (usually at hub level)
- Measure the distance from the string to the rear edge of each tire
- Move the string to the front of the tires at the same height
- Measure the distance from the string to the front edge of each tire
Step 3: Calculate your toe setting. If the distance at the front is greater than at the rear, you have toe-out. If the distance at the rear is greater, you have toe-in. Most vehicles require a slight toe-in setting (typically 1/16″ to 1/8″ total), but consult your vehicle’s service manual for exact specifications.
Step 4: Adjust one tie rod at a time. To increase toe-in, shorten the tie rods by rotating them. To increase toe-out, lengthen them. The rule of thumb is:
- One full rotation of the tie rod typically changes toe by about 1/8″ to 1/4″
- Make equal adjustments to both sides when possible to keep the steering wheel centered
Step 5: After each adjustment, re-measure your toe setting. Take your time here – small, incremental adjustments are better than large ones that overshoot your target.
Step 6: Once you’ve achieved the correct toe setting, tighten the jam nuts securely against the tie rod ends. Be careful not to disturb your carefully adjusted position when tightening.
Step 7: Torque the jam nuts to specification using your torque wrench. This is critical – under-tightened nuts can work loose, while over-tightened ones can damage components.
If your tie rod ends connect to the steering knuckle with a castle nut and cotter pin, ensure the castle nut is torqued to specification and secured with a new cotter pin. Never reuse old cotter pins – they’re a critical safety component.
Throughout this process, check that the tie rod boots (the rubber covers that protect the joint) aren’t twisted or pinched. Damaged boots lead to premature failure by allowing dirt and moisture into the joint.
Professional mechanics use specialized alignment equipment that measures all alignment angles simultaneously, but this home method can achieve surprisingly good results for basic toe adjustment.

Testing Your Results: Is Your Alignment Actually Fixed?
The proof is in the pudding, as they say. Once you’ve completed your tie rod end alignment procedure, it’s time to verify your work with a thorough test drive. This isn’t just a quick spin around the block – you need to evaluate your alignment under various conditions.
Start by driving on a straight, level road at moderate speed (30-40 mph). Does the car track straight when you momentarily release the steering wheel? Does it pull to either side? The steering wheel should remain centered when driving straight ahead.
Next, test gentle curves in both directions. The steering should feel responsive and predictable, with no binding or sudden changes in resistance. After completing turns, the steering wheel should return toward center smoothly.
Take your test to the highway for higher-speed evaluation. At 55-65 mph, there should be no wandering, darting, or need for constant steering correction. The vehicle should track true with minimal input from you.
Finally, find a large, empty parking lot to test more aggressive maneuvers:
- Slalom between imaginary cones to test transitional handling
- Perform figure-eight patterns to evaluate balance in both turning directions
- Make several full-lock turns to ensure no binding or unusual noises
Throughout your test drive, be mindful of how the steering feels. Is it heavier on one side than the other? Does it return to center more quickly after turning in one direction? These subtle clues can indicate that further refinement is needed.
If the alignment still feels off, don’t be discouraged. Return to your workspace and make small, methodical adjustments based on what you experienced during the test drive. Remember that alignment is as much art as science, especially when working without professional equipment.
Those who enjoy motorsports or rallycross competitions might prefer slightly different alignment settings to enhance specific handling characteristics, but for daily driving, following factory specifications will provide the best balance of handling, tire wear, and predictability.
7 Pro Tips for Perfect Tie Rod End Alignment
After aligning hundreds of vehicles over my career, I’ve developed these seven professional tips that will help you achieve better results and avoid common pitfalls.
Tip 1: Start With Inspection
Before adjusting anything, thoroughly inspect all steering and suspension components. Worn ball joints, bad bushings, or bent components will make proper alignment impossible. Push and pull on the wheel (at 12 and 6 o’clock, then at 3 and 9 o’clock) with the vehicle supported to check for play in these components.
Tip 2: Maintain Symmetry
Whenever possible, make equal adjustments to both left and right tie rods. This helps keep your steering wheel centered. If one side needs significantly more adjustment than the other, you might have a bent component that requires replacement rather than alignment.
Tip 3: Mark Your Starting Points
Before loosening anything, make reference marks on the tie rods and sleeves with paint or a marker. This gives you a visual reference for how much you’ve turned each component and helps you return to baseline if needed.
Tip 4: Consider All Alignment Angles
While toe is primarily adjusted via tie rod ends, remember that camber and caster also affect handling. If your vehicle allows adjustment of these angles, consider having them professionally set before fine-tuning your toe at home.
Tip 5: Use Thread Lubricant
Apply a light coat of anti-seize compound to the threads before making adjustments. This not only makes current adjustments easier but will save you headaches during future maintenance when these components might otherwise be seized with rust.
Tip 6: Account for Settling
After making adjustments, bounce the front end of the vehicle several times before taking final measurements. This settles the suspension to its natural ride height and gives you more accurate readings.
Tip 7: Document Everything
Keep detailed notes of your original measurements, adjustments made, and final settings. This record is invaluable if you need to troubleshoot later or want to experiment with different settings for various driving conditions.
Remember that alignment is an iterative process. Don’t expect perfection on your first attempt, especially if you’re new to this. Small, methodical adjustments followed by testing will yield better results than dramatic changes that overshoot your target.
And perhaps the most important tip I can offer: know when to seek professional help. If you’ve made multiple attempts without satisfactory results, or if your vehicle has sophisticated electronic stability systems that might be affected by alignment changes, it’s worth investing in professional service using computerized alignment equipment.
Conclusion
Mastering the tie rod end alignment procedure is a valuable skill that can save you money and ensure your vehicle handles exactly the way it should. While it might seem daunting at first, breaking it down into systematic steps makes it manageable even for DIY mechanics.
Remember that proper alignment isn’t just about preventing tire wear—it’s about safety, handling precision, and confidence behind the wheel. Every mile you drive with misaligned tie rod ends puts unnecessary stress on your vehicle’s steering components and creates unpredictable handling that could be dangerous in emergency situations.
By following the procedures and tips outlined in this guide, you can achieve alignment results that rival professional shops, especially when it comes to basic toe adjustment. Just remember to approach the task with patience, precision, and a willingness to test and refine your work.
Whether you’re restoring an old classic, maintaining your daily driver, or preparing a vehicle for performance driving, proper tie rod end alignment is foundational to how your car feels and responds on the road.
Now that you understand the process, gather your tools, find a level workspace, and tackle that alignment with confidence. Your tires, your wallet, and your driving experience will thank you.
Frequently Asked Questions
How often should tie rod end alignment be checked?
Tie rod alignment should be checked annually or every 12,000 miles, whichever comes first. Also check after hitting large potholes or curbs, or if you notice uneven tire wear.
Can I drive with bad tie rod ends?
No, driving with bad tie rod ends is dangerous as they can fail completely, causing loss of steering control. If you suspect tie rod end issues, have your vehicle inspected immediately.
How much does professional tie rod end alignment cost?
Professional alignment typically costs between $75-$200 depending on your vehicle and location. This usually includes adjustment of all alignment angles, not just toe.
What’s the difference between toe-in and toe-out?
Toe-in means the front edges of the tires are closer together than the rear edges, which improves straight-line stability. Toe-out means the front edges are farther apart, which can improve turn-in response but causes more tire wear.
Can I align just one side of the vehicle?
It’s not recommended to align just one side as this can cause steering wheel misalignment and uneven handling. Always adjust both sides for balanced steering characteristics.

