Overview
This article presents five expert car detailing techniques: the two-bucket washing method, using quality products, proper clay bar technique, correct polishing procedures, and applying appropriate sealants for long-lasting protection. These professional methods help preserve vehicle value, prevent environmental damage, and achieve showroom-quality results that both protect your investment and enhance appearance.
Table of Contents
- Understanding Professional Car Detailing
- Why Professional Car Detailing Matters
- Tip 1: Master the Two-Bucket Washing Technique
- Tip 2: Invest in Quality Detailing Products
- Tip 3: Perfect Your Clay Bar Technique
- Tip 4: Master the Art of Proper Polishing
- Tip 5: Protect Your Work with Proper Sealants
- Conclusion
- Frequently Asked Questions
Understanding Professional Car Detailing
When it comes to professional car detailing, there’s a world of difference between a quick car wash and the meticulous process we professionals employ. I’ve spent over 15 years transforming tired, dirty vehicles into gleaming showcases of automotive beauty, and I’m here to share the inside scoop on what makes professional detailing truly special.
Professional car detailing involves a comprehensive cleaning, restoration, and finishing process that maintains your vehicle in optimal condition both inside and out. Unlike standard cleaning, detailing addresses every nook and cranny of your vehicle with specialized products, tools, and techniques that most car owners simply don’t have access to.
What separates the pros from the amateurs isn’t just our fancy equipment (though that certainly helps). It’s our understanding of different paint types, interior materials, and the chemistry behind the products we use. Today, I’ll walk you through my top five professional detailing tips that you can incorporate into your maintenance routine, whether you’re a weekend warrior or someone looking to up their game significantly.
Why Professional Car Detailing Matters
Before diving into specific techniques, let’s address why professional car detailing matters in the first place. Your vehicle is likely one of the most significant investments you’ll make, second only to your home. Proper detailing isn’t just about vanity—it’s about protection.
Regular professional detailing helps preserve your vehicle’s value over time. A well-maintained car can command significantly higher resale prices, sometimes thousands more than a neglected one. In my years working with dealerships, I’ve seen firsthand how a thorough detail job can increase a car’s perceived value by up to 10%.
Beyond financial considerations, proper detailing protects your paint from environmental damage. Road salt, industrial fallout, tree sap, bird droppings—these all contain acids and contaminants that eat away at your clear coat over time. Professional washing techniques remove these harmful substances before they can cause permanent damage.
Interior detailing is equally important for health reasons. The average car interior harbors more bacteria than a toilet seat, according to research from Aston University. Regular deep cleaning helps eliminate these pathogens, creating a healthier environment for you and your passengers.
Now, let’s get to the good stuff—the professional techniques that will transform your detailing game.

Tip 1: Master the Two-Bucket Washing Technique
If there’s one technique that separates professionals from amateurs, it’s the two-bucket washing method. This simple approach dramatically reduces the risk of swirl marks and scratches during the washing process.
Here’s how to do it properly:
- Bucket #1: Fill with clean water and car shampoo (following product instructions)
- Bucket #2: Fill with clean rinse water only
- Add grit guards to the bottom of both buckets (these prevent dirt from being picked up again)
Start by thoroughly rinsing your vehicle to remove loose debris. This pre-rinse is crucial—skipping it is like trying to clean your countertops without sweeping off the crumbs first. Use a gentle stream of water from top to bottom.
When washing, always work in straight lines—never circular motions. Circular motions create those dreaded swirl marks that catch the sunlight and make your paint look like a compact disc. Using a high-quality microfiber wash mitt, dip into your soap solution, clean a small section (about 2×2 feet), then rinse your mitt in the second bucket before reloading with soap.
Work from the top down, doing the lower panels and wheels last, as these are typically the dirtiest areas. This methodical approach prevents you from dragging contaminants across clean surfaces.
A pro tip many overlook: pay attention to water temperature. Lukewarm water (not hot!) cleans more effectively than cold water, especially when dealing with stuck-on bugs or tree sap. Just be careful not to wash in direct sunlight or on hot panels, as this causes soap to dry prematurely, leaving spots and residue.
Tip 2: Invest in Quality Detailing Products
In my decades working on everything from daily drivers to exotic supercars, I’ve learned one undeniable truth: quality products make all the difference. While it might be tempting to save a few dollars on generic car soap or all-purpose cleaners, professional-grade products deliver superior results with less effort.
Professional detailers don’t use one product for everything. We use specialized cleaners designed for specific surfaces and contaminants. Here’s a basic professional arsenal that delivers exceptional results:
- pH-neutral car wash soap (never use dish soap, which strips wax and sealants)
- Dedicated wheel cleaner appropriate for your wheel type
- Iron remover for dealing with embedded brake dust particles
- Clay bar kit for removing bonded contaminants
- High-quality microfiber towels in different colors for different areas
- Foam applicators for product application
- Interior-specific cleaners for fabric, leather, and vinyl
When selecting detailing products, look for those that are pH-balanced and free from harsh chemicals that can damage surfaces over time. Professional brands like Meguiar’s, Chemical Guys, Gyeon, and Carpro consistently deliver excellent results, though they come with a higher price tag than generic options.
The microfiber towels you use matter tremendously. Cheap towels can actually introduce micro-scratches. Invest in high-quality, 300+ GSM (grams per square meter) microfiber towels with ultrafine fibers. I suggest using different colored towels for different areas—perhaps blue for exterior, red for wheels, and green for interior—to prevent cross-contamination.
Remember, you don’t need to buy everything at once. Build your collection gradually, focusing first on essentials like quality wash mitts, drying towels, and a good pH-neutral soap. Your vehicle will thank you with a consistently beautiful finish.
Tip 3: Perfect Your Clay Bar Technique
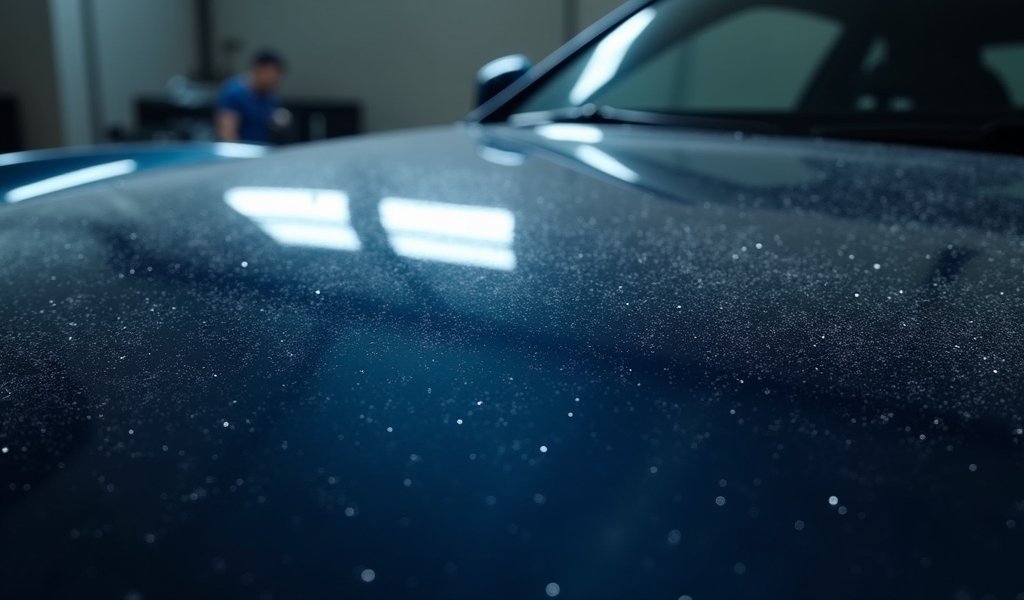
Even after a thorough wash, your paint may still feel rough to the touch. That’s because washing alone can’t remove bonded contaminants like industrial fallout, rail dust, and embedded brake dust particles. This is where clay bar decontamination comes in—a technique that’s absolutely essential in professional detailing.
Clay bars work by shearing off surface contaminants that washing can’t remove. The process is simple but requires careful attention to avoid causing damage:
- Start with a freshly washed and dried vehicle
- Break off a small piece of clay (about the size of a quarter)
- Flatten it into a disc and knead it regularly to expose fresh clay
- Spray a clay lubricant generously on a small section
- Glide the clay back and forth with light pressure in straight lines
- Wipe away residue with a clean microfiber towel
You’ll feel and hear the difference as you work—the clay initially drags as it removes contaminants, then glides smoothly once the surface is clean. Work methodically in small sections, overlapping slightly to ensure complete coverage.
One critical warning: if you drop your clay on the ground, discard it immediately. It will pick up grit that can scratch your paint. This is non-negotiable—even if you’ve just started with a fresh piece. Proper clay bar technique is essential for avoiding damage.
For heavily contaminated vehicles, consider using an iron remover before claying. These products chemically dissolve iron particles, making the claying process easier and more effective. You’ll be amazed at the purple or red bleeding effect as these products react with metal contaminants.
Clay bars come in different grades from fine to aggressive. For regular maintenance, stick with a fine or medium clay. Only use aggressive clay on severely contaminated surfaces, and follow up with polishing as it will likely mar the finish slightly.
After claying, your paint will be stripped of any protection, so it’s essential to apply a sealant, wax, or ceramic coating afterward. Consider this step the foundation of a perfect finish—getting it right sets you up for success in all subsequent steps.
Tip 4: Master the Art of Proper Polishing
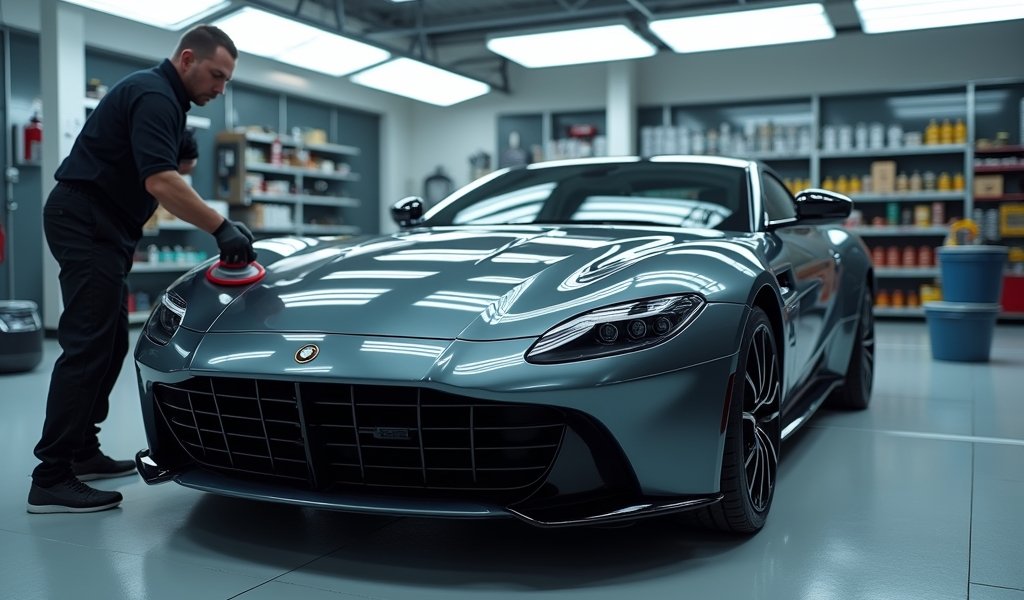
Polishing is where the magic happens in professional car detailing. It’s the step that transforms a clean car into a truly spectacular one by removing minor imperfections and restoring optical clarity to the paint. However, it’s also the most technically challenging aspect of detailing and requires patience to master.
First, understand that polishing and waxing are not the same thing. Polishing actually removes a microscopic layer of clear coat to level out imperfections, while waxing simply adds protection on top. Many DIYers skip straight to waxing without addressing the imperfections underneath.
For hand polishing (which is gentler but more labor-intensive), here’s my professional approach:
- Work in a shaded, well-lit area where you can see imperfections
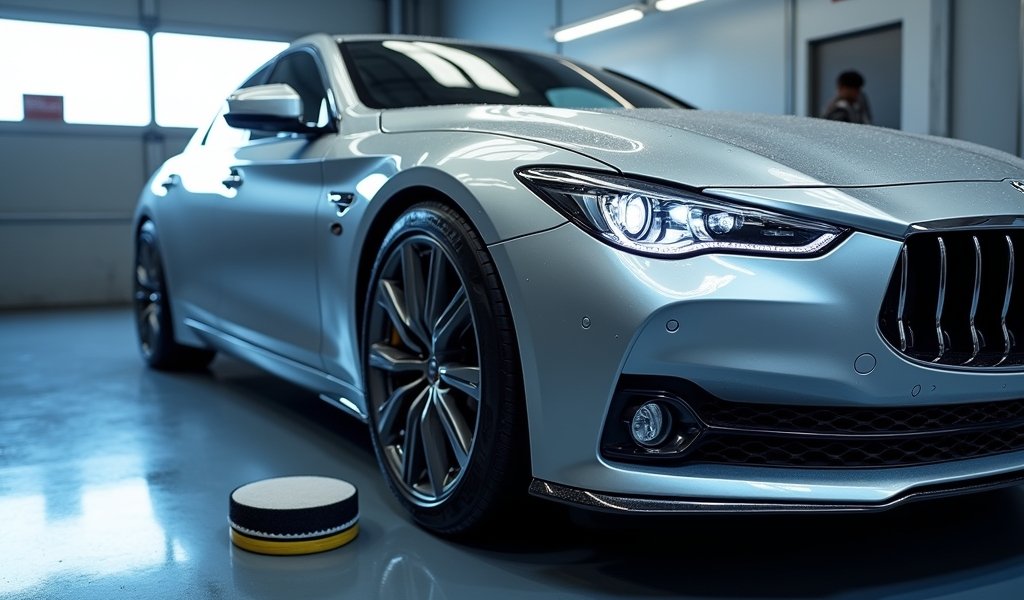
- Apply a small amount of polish to a foam applicator pad
- Work in small sections (about 2×2 feet) using moderate pressure
- Use straight-line or cross-hatch motions, never circles
- Continue until the polish begins to turn clear
- Buff off residue with a clean microfiber towel
If you’re using a machine polisher (which I recommend for more serious correction), start with the least aggressive combination of pad and polish that will address the imperfections. The goal is to remove defects while preserving as much clear coat as possible.
Remember that polishing is essentially controlled damage. Each time you polish, you’re removing a small amount of clear coat, which is finite. Professional detailing requires understanding when enough is enough—sometimes 80% improvement is the right call if getting to 100% would remove too much clear coat.
Test your combination on an inconspicuous area first. I typically start on the lower door panel where mistakes are less noticeable. Once you’ve dialed in your technique, work methodically around the vehicle, maintaining consistent pressure and speed.
After polishing, it’s crucial to remove all polish residues using a dedicated panel wipe or isopropyl alcohol diluted to about 15%. This ensures a clean surface for applying protection in the next step. Don’t skip this—even invisible polish residue can prevent proper bonding of sealants and coatings.

Tip 5: Protect Your Work with Proper Sealants
The final step in professional car detailing is applying protection, and it’s perhaps the most important for long-term results. All the cleaning and polishing in the world won’t matter if you don’t seal and protect that perfect finish from the elements.
In the professional world, we’ve moved well beyond traditional carnauba waxes (though they still have their place for certain applications). Modern synthetic sealants, polymer coatings, and ceramic coatings offer significantly longer protection with superior resistance to environmental contaminants.
Here’s my tiered approach to protection based on durability:
- Carnauba Wax: 4-8 weeks of protection, deepest shine, easiest application
- Synthetic Sealants: 4-6 months of protection, excellent gloss, easy application
- Hybrid Ceramic Spray Coatings: 6-12 months, excellent hydrophobic properties, moderate application
- Professional Ceramic Coatings: 2-5 years, maximum protection, professional application recommended
For most enthusiasts, a quality synthetic sealant or hybrid ceramic spray coating offers the best balance of performance and ease of use. These products create a hydrophobic surface that repels water, prevents contaminant bonding, and makes subsequent cleaning much easier.
When applying any protection product:
- Ensure the surface is completely clean and free of oils
- Apply in thin, even coats (more is NOT better)
- Follow product-specific cure times before exposure to elements
- Layer compatible products for enhanced protection
One professional technique is to use different products for different panels based on exposure. For example, I might use a ceramic coating on horizontal surfaces that receive the most UV exposure and contaminant fallout, while using a more affordable sealant on vertical panels that see less environmental stress.
Don’t forget about trim and glass! Dedicated glass sealants dramatically improve visibility in rain, while plastic and rubber trim protectants prevent UV damage and fading. These often-overlooked areas can make or break the overall appearance of a professionally detailed vehicle.
Remember that even the best protection requires maintenance. Establish a regular schedule of proper washing using the techniques discussed earlier to maximize the lifespan of your protective layer. With proper care, you’ll extend the time between major detailing sessions and keep your vehicle looking showroom-fresh year-round.
Conclusion
Professional car detailing is truly an art form that combines technical knowledge, quality products, and meticulous attention to detail. By incorporating these five professional tips—mastering the two-bucket washing method, investing in quality products, perfecting your clay bar technique, polishing properly, and applying appropriate protection—you’ll elevate your detailing results to professional standards.
Remember that professional-level results require patience and practice. Don’t be discouraged if your first attempts don’t match what you see in detailing videos. Each vehicle you detail will improve your skills and understanding of the process. Take your time, focus on proper technique rather than rushing, and the results will speak for themselves.
Whether you’re detailing your daily driver or preparing a show car for competition, these professional techniques will help you achieve and maintain a finish that turns heads and protects your investment. Your vehicle deserves nothing less than professional care, whether that comes from a paid service or your own two hands armed with professional knowledge.
Now go forth and detail like a pro—your vehicle is waiting for that transformation!
Frequently Asked Questions
How much does professional car detailing typically cost?
Professional detailing typically ranges from $150-$300 for basic packages and $500+ for premium services. Pricing varies based on vehicle size, condition, and the specific services included in the package.
How often should I get my car professionally detailed?
For optimal results, professional detailing is recommended every 4-6 months. However, vehicles that see heavy use or extreme conditions may benefit from quarterly detailing sessions.
What’s the difference between car washing and car detailing?
Car washing focuses on exterior cleaning only, while detailing includes deep cleaning, decontamination, correction, and protection of all vehicle surfaces. Professional detailing addresses both exterior and interior with specialized products and techniques.
Can I detail my car myself or should I use a professional?
DIY detailing is entirely possible with the right knowledge, tools, and products. Professional services are recommended for paint correction, ceramic coating application, or when you lack the time or space to detail properly.
How long does a full professional detail take?
A thorough professional detailing typically takes 4-10 hours depending on the vehicle’s size and condition. Premium services including paint correction and ceramic coating application can extend to multiple days.

