Overview
This article provides a detailed guide to effectively pressure washing vehicles, emphasizing the importance of using the right equipment (1,200-1,900 PSI electric washers), proper techniques (pre-washing, careful soap application, safe washing motions), and thorough rinsing and drying to achieve professional-quality results without damaging the vehicle. The guide stresses that successful pressure washing requires balancing cleaning power with gentle care, using automotive-specific products, and following a methodical approach for each step of the process.
Table of Contents
- Introduction to Pressure Washing for Cars
- Choosing the Right Pressure Washer
- Proper Pre-Washing Techniques
- Soap Application and Techniques
- Safe Washing Techniques
- Proper Rinsing and Drying
- Conclusion
- Frequently Asked Questions
Introduction to Pressure Washing for Cars
There’s something deeply satisfying about transforming a dirty car into a gleaming showpiece. When it comes to achieving that showroom shine, a pressure washer can be your best ally. As a mechanic who’s detailed thousands of vehicles, I’ve found that pressure washers cut cleaning time in half while reaching areas that traditional hand washing often misses.
Pressure washers aren’t just tools—they’re game-changers for automotive cleaning. They blast away stubborn road grime, bug splatter, and environmental contaminants that would otherwise require significant elbow grease. For those who take pride in their vehicles, learning to properly use a pressure washer for car cleaning is an essential skill.
But here’s the thing—this power comes with responsibility. Used incorrectly, a pressure washer can damage paint, strip sealants, or force water into places it doesn’t belong. The key is finding that sweet spot between effective cleaning and gentle care for your vehicle’s surfaces.
Let’s dive into five professional-grade tips that will help you harness the power of pressure washing for a spotless, damage-free finish. Whether you’re a weekend warrior or a dedicated DIY car wash enthusiast, these techniques will elevate your results to professional standards.
Choosing the Right Pressure Washer

Your car’s delicate finish deserves better than the same blast you’d use to strip paint from your fence. For automotive applications, I always recommend electric pressure washers in the 1,200-1,900 PSI range. This provides enough cleaning power without risking paint damage that higher-powered units might cause.
Electric models offer several advantages for car cleaning. They’re typically lighter, quieter, and more manageable around vehicles than their gas-powered counterparts. Plus, you won’t have exhaust fumes settling on your freshly cleaned car—a detail that matters to discerning automotive enthusiasts.
When shopping for a pressure washer, prioritize units with adjustable pressure settings. Your car has various surfaces—from robust bumpers to delicate trim pieces—each requiring different cleaning intensities. The ability to dial pressure up or down is invaluable for comprehensive yet safe cleaning.
Nozzle selection is equally important. For car cleaning, stick with 25-40 degree wide-angle nozzles that distribute water pressure across a broader area. These gentler spray patterns minimize the risk of damage while still providing effective cleaning. Avoid pinpoint (0-15 degree) nozzles that concentrate too much pressure in one spot—they’re like aiming a laser at your paint.
Some pressure washers come with specialized car cleaning attachments like foam cannons. While not essential, these accessories can significantly enhance your washing experience and results. According to Consumer Reports’ safety guidelines, these attachments can also help reduce the risk of injury by providing better control during the cleaning process.
Recommended Pressure Washer Features for Car Cleaning:
- 1,200-1,900 PSI power range
- Electric motor for clean, manageable operation
- Variable pressure control
- Wide-angle nozzles (25-40 degrees)
- Foam cannon compatibility
- Quality hose with decent length (25+ feet)
Proper Pre-Washing Techniques
A successful pressure wash begins before you even pull the trigger. The pre-washing phase sets the foundation for a scratch-free clean by removing abrasive particles that could otherwise damage your paint during the main wash.
Start with timing and location. Wash your car when it’s cool to the touch and ideally in a shaded area. Hot surfaces cause soap and water to dry too quickly, leading to stubborn water spots and soap residue. Early morning or late afternoon sessions typically yield the best results.
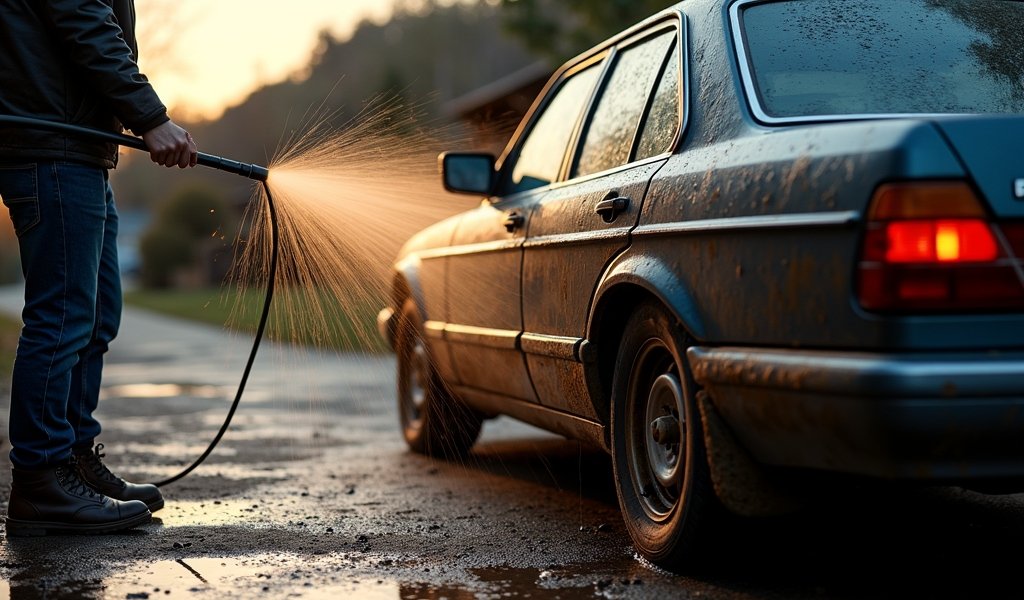
Begin the pre-rinse from the bottom up—contrary to conventional wisdom. This approach prevents dirty water from running down clean sections, creating additional work. Hold the pressure washer about 3-4 feet away initially, then move to about 18 inches as you get comfortable with the pressure.
Pay special attention to heavily soiled areas like wheel wells, lower panels, and the front grille. These zones collect road grime, tar, and insects that need extra time to loosen. A thorough pre-rinse here saves effort during the contact wash phase and helps avoid scratches during car washing.
For vehicles with heavy contamination, consider a pre-wash chemical treatment. Products like traffic film removers can break down stubborn grime when applied before pressure washing. These specialized formulas penetrate and loosen contaminants that water pressure alone might struggle with.
Remember to keep your movements slow and methodical during pre-washing. Quick, erratic motions can miss spots and reduce the effectiveness of this crucial stage. Take your time—the few extra minutes spent here will save you headaches later in the process.
Soap Application and Techniques
The soap phase is where detailing magic happens. Ordinary household detergents are automotive paint’s worst enemy—they strip protective coatings and can accelerate oxidation. Always use pH-neutral, automotive-specific wash solutions designed to lift dirt while preserving your vehicle’s finish.
A foam cannon attachment transforms ordinary washing into a professional-grade experience. These devices mix soap and water to create a thick, clingy foam that adheres to vertical surfaces long enough to break down contaminants. The result isn’t just visually satisfying—it’s remarkably effective at encapsulating and suspending dirt particles.
When applying foam, work systematically in horizontal sections from top to bottom. Use slow, overlapping passes to ensure complete coverage without missing spots. The foam should cling to the surface, not immediately run off—if it’s sliding away too quickly, your mix ratio likely needs adjustment.
Allow the foam to dwell on surfaces for 3-5 minutes—just long enough for the detergents to work their chemistry but not so long that they dry on the paint. This dwelling period is crucial for breaking the bond between contaminants and your vehicle’s surfaces.
For particularly dirty vehicles, consider a two-stage foam application. After the first foam session and rinse, apply a second layer of foam to tackle any remaining contaminants. Research from tribology studies on surface cleaning confirms that multiple gentle cleaning stages are more effective and safer than a single aggressive approach.
Professional Soap Application Tips:
- Use 1-2 ounces of car wash soap per gallon of water in your foam cannon
- Adjust the foam cannon’s mixture control for thicker foam on vertical surfaces
- Apply foam from bottom to top, then allow it to dwell from top to bottom
- Keep the vehicle wet throughout the soaping process
- Reapply soap to stubborn areas if necessary
Safe Washing Techniques
With your car now wearing a soap cape, it’s time for the main event. The key to pressure washing your vehicle lies in consistent, controlled movements that clean effectively without concentrating too much force in any one area.
Maintain a distance of 12-18 inches from your car’s surface—close enough to clean effectively but far enough to prevent damage. This distance creates the optimal balance between cleaning power and surface safety. If you’re unsure, err on the side of caution and start farther away.
Your washing technique should follow a methodical pattern. Work in sections from top to bottom, using overlapping horizontal strokes. This approach uses gravity as your ally, allowing dirty water to flow downward over unwashed areas rather than across freshly cleaned surfaces.
Be especially cautious around vulnerable areas. Reduce pressure or increase distance when washing near emblems, weatherstripping, window seals, mirrors, and between body panels. These zones can be damaged by excessive pressure or, worse, allow water intrusion into your vehicle’s interior.
For enhanced cleaning without risk, consider incorporating a pressure washer-safe microfiber wash mitt into your car detailing routine. Use the pressure washer to apply soap, then follow with gentle contact washing using the mitt for stubborn areas. This combination delivers exceptional results while minimizing risk.
Wheels and wheel wells can handle slightly more pressure, but still require care. Use dedicated wheel cleaners before pressure washing for best results, as brake dust and road grime often need chemical assistance to break down effectively. Hold the washer slightly closer (10-12 inches) for these more robust components.
Proper Rinsing and Drying

The final rinse is more than just removing soap—it’s your last chance to ensure a spot-free finish. Begin again from the top, using sweeping motions to guide suds downward and completely off the vehicle. This stage requires thoroughness, as soap residue leads to streaking and water spotting.
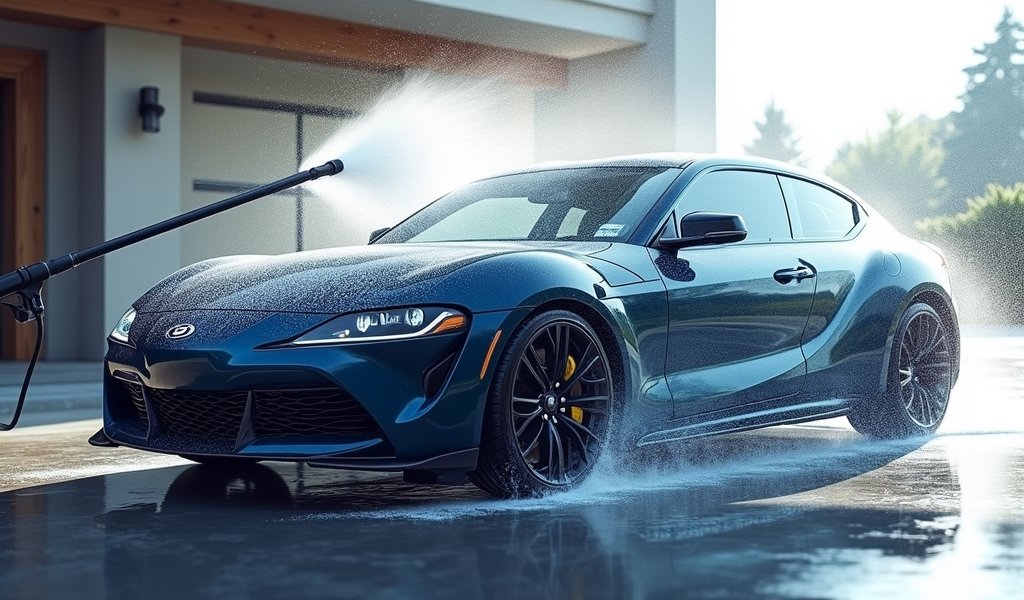
For a professional touch, perform a “sheeting” technique for your final rinse. Hold the pressure washer at a slight upward angle toward horizontal surfaces like the hood and roof. This creates a sheet of water that carries away remaining soap and minimizes droplets, reducing the chances of water spots forming.
Time is critical after rinsing. Water spots begin forming the moment water starts evaporating, so immediate drying is essential. High-quality microfiber towels are ideal for this stage—they’re gentle on paint while being exceptionally absorbent. Pat rather than rub to avoid introducing swirls into your freshly cleaned paint.
For those who detail frequently, consider investing in a car dryer or leaf blower specifically for automotive use. These tools force water out from crevices, mirrors, and other hard-to-reach areas where it might otherwise linger and cause spotting or corrosion over time.
Before calling the job complete, perform a quick inspection under direct sunlight or bright light. This reveals any missed spots or areas that might need additional attention. Look specifically for water trapped in badges, emblems, and around trim pieces—these are common trouble spots.
Professional Drying Sequence:
- Windows first (to prevent streaks from body drying)
- Horizontal surfaces (roof, hood, trunk)
- Side panels and doors
- Front and rear fascias
- Wheels and wheel wells last
Conclusion
A pressure washer transforms car cleaning from a tiresome chore into an efficient, almost therapeutic ritual. When used correctly, it delivers results that rival professional detailing services while saving you both time and money. The key is balancing power with precision—enough pressure to clean effectively without risking damage to your vehicle’s finish.
By selecting the right pressure washer, mastering proper pre-washing techniques, applying soap effectively, washing safely, and finishing with a thorough rinse and dry, you’ll achieve that head-turning shine that makes driving even more enjoyable. These five professional-grade techniques will help protect your vehicle’s appearance and value for years to come.
For optimal results, I recommend incorporating a pressure washer cleaning into your maintenance routine every two to three weeks for daily drivers, or monthly for less-frequently driven vehicles. This consistent care not only keeps your car looking its best but also helps preserve its finish against environmental contaminants that can cause long-term damage.
Remember that detailing is as much about the journey as the destination. Take pride in the process, enjoy the transformation, and appreciate the results of your efforts. Your car isn’t just transportation—it’s a reflection of your attention to detail and care.
Frequently Asked Questions
What PSI pressure washer is safe for cars?
1,200-1,900 PSI is ideal for car cleaning. This range provides enough power to remove dirt without damaging paint or trim.
Can I use a pressure washer on all parts of my car?
No, avoid direct high pressure on emblems, weatherstripping, electrical components, and between body panels. These areas can be damaged or allow water intrusion.
Do I need special soap for pressure washing my car?
Yes, always use pH-neutral automotive-specific wash solutions. Regular household detergents can strip protective coatings and damage your car’s finish.
How often should I pressure wash my car?
Every 2-3 weeks for daily drivers, monthly for garage-kept vehicles. More frequent washing may be needed in harsh environments with road salt or heavy pollution.
Is it better to use a foam cannon or apply soap manually?
A foam cannon provides superior coverage and cleaning power by creating thick, clingy foam that dwells longer on surfaces. This method suspends dirt particles more effectively than manual application.

