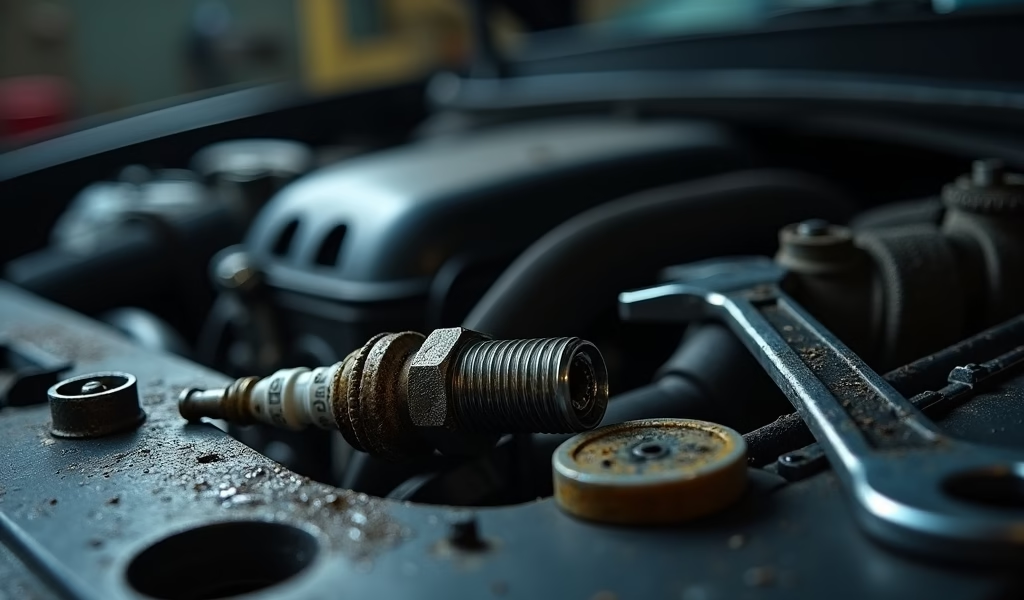
Overview
This guide provides five essential tips for DIY spark plug replacement: work with a cool engine, replace one plug at a time, ensure proper electrode gap, use the correct torque specifications, and apply anti-seize compound judiciously. Proper spark plug replacement improves engine performance, fuel economy, and emissions while saving $100-300 in labor costs compared to professional service.
Table of Contents
- Why Spark Plug Replacement Matters
- What You’ll Need
- Pro Tip #1: Work with a Cool Engine
- Pro Tip #2: Replace One Plug at a Time
- Pro Tip #3: Mind the Gap
- Pro Tip #4: Torque It Right
- Pro Tip #5: Use Anti-Seize Wisely
- After Replacement: What to Expect
- Conclusion
- Frequently Asked Questions
Spark plugs might be small, but they pack a mighty punch in your engine’s performance. These little powerhouses create the spark that ignites the air-fuel mixture in your combustion chambers, turning potential energy into the kinetic force that moves your vehicle down the road. When they start to wear out, your entire driving experience suffers. But don’t worry – replacing them yourself is one of the most satisfying and cost-effective DIY car maintenance tasks you can tackle.
Why Spark Plug Replacement Matters
Ever noticed your car hesitating when you accelerate? Or maybe it’s been running rough at idle, struggling to start, or guzzling more fuel than usual? These are classic symptoms of worn spark plugs. As a mechanic for over 15 years, I’ve seen countless drivers waste money on complex diagnostics when their problems could be solved with a simple spark plug replacement.
Fresh spark plugs can restore your engine’s efficiency, improve fuel economy, reduce emissions, and bring back that smooth acceleration you’ve been missing. Plus, by replacing them yourself, you’ll save anywhere from $100-300 in labor costs – money better spent on a nice dinner or that fishing trip you’ve been planning.
Regular spark plug maintenance is a cornerstone of proper auto tune-up service that keeps your vehicle running at its best. Think of it as giving your engine a fresh set of lungs to breathe with.
What You’ll Need
Before popping the hood, gather these essential tools and parts:
- New spark plugs (check your owner’s manual for the correct type)
- Socket wrench with extension
- Spark plug socket (usually 5/8″ or 13/16″)
- Torque wrench
- Gap tool or feeler gauge
- Anti-seize lubricant (if recommended for your vehicle)
- Dielectric grease
- Clean, lint-free rags
When selecting spark plugs, you’ll have choices between copper, platinum, double-platinum, and iridium. While copper plugs are less expensive, premium plugs like iridium can last 2-3 times longer. According to NGK Spark Plugs, standard copper plugs typically need replacement every 30,000 miles, while premium plugs can last 60,000-100,000 miles.
Remember, this is a job where quality tools make a difference. That torque wrench isn’t just a fancy extra – it’s crucial for proper installation that won’t damage your engine.

Pro Tip #1: Work with a Cool Engine
I can’t tell you how many DIYers I’ve seen make this rookie mistake. They pull into their garage after a drive and immediately dive in to replace their spark plugs. Bad move! Working on a hot engine is not only uncomfortable but potentially dangerous.
Hot metals expand, which means those spark plugs might be extra tight, increasing your risk of stripping threads or snapping plugs. Plus, there’s the very real danger of serious burns from touching hot engine components. Trust me – those scars on my forearms didn’t come from my cat.
For best results, either work on a completely cool engine (like first thing in the morning) or wait at least 30-45 minutes after shutting off your engine. This cooling period gives engine components time to contract slightly, making removal easier while still allowing enough warmth to prevent condensation issues.
While you’re waiting, use that time productively – organize your tools, check the gap on your new plugs, or read through the rest of these tips to ensure a smooth operation.
Pro Tip #2: Replace One Plug at a Time
When I first started wrenching on cars, I made the mistake of removing all the spark plug wires at once. The result? A weekend of headaches trying to remember which wire went where. Learn from my pain – replace one spark plug at a time.
This methodical approach ensures you don’t mix up your firing order, especially important on engines where some plugs are harder to access. Start with the easiest-to-reach plug to build confidence, then work your way to the more challenging ones.
Begin by gently removing the ignition coil or spark plug wire. Many modern vehicles use “coil-on-plug” ignition systems where each plug has its own coil sitting directly on top. Older vehicles use spark plug wires that connect to a distributor or coil pack. Either way, disconnect with care – these components can be brittle with age.
Before removing the old plug, clean around the spark plug well using compressed air to prevent debris from falling into the cylinder. Then use your socket wrench with the spark plug socket to carefully loosen and remove the old plug. Notice how it looks – the condition of your old plugs can tell you a lot about how your engine is running, as expert diagnosticians at AA1Car explain in their detailed spark plug reading guide.
Pro Tip #3: Mind the Gap
That tiny gap between the center and ground electrodes on your spark plug might seem insignificant, but it’s absolutely critical to your engine’s performance. Think of it as the spark plug’s personality – get it wrong, and things just don’t click.
Even brand-new plugs need to be checked and potentially adjusted to match your specific vehicle’s requirements. Your owner’s manual or repair guide will specify the exact gap measurement needed – typically between 0.028 and 0.060 inches depending on your vehicle.
To check the gap, slide your feeler gauge between the electrodes. It should pass through with slight resistance – not too loose, not too tight. If adjustment is needed on standard plugs, gently bend the ground electrode using your gap tool. Just be extremely careful with precious metal plugs (iridium/platinum) as their fine electrodes can be damaged during adjustment.
An incorrect gap can cause a multitude of problems:
- Too narrow: Engine misfires, rough running, poor acceleration
- Too wide: Hard starting, especially in cold weather, reduced fuel economy
Getting this right is like finding the sweet spot on your golf swing – when it’s perfect, everything just works better.
Pro Tip #4: Torque It Right
Here’s where the pros are separated from the amateurs. Tightening spark plugs isn’t about muscle – it’s about precision. Too tight, and you risk stripping threads in your cylinder head (an expensive repair). Too loose, and compression gases can escape, potentially causing overheating and reduced performance.
Start by hand-threading the spark plug to prevent cross-threading. If you feel resistance before the plug is seated, back it out and try again. Once hand-tight, use your torque wrench set to the manufacturer’s specifications – typically between 15-22 ft-lbs for most passenger vehicles.
Different spark plug and engine materials require different torque settings:
- Cast iron heads: Usually tolerate higher torque values
- Aluminum heads: Require more precise, often lower torque values
- Tapered seat plugs: Generally need less torque than gasket-style plugs
When that torque wrench clicks, stop immediately. Your job is done. Any additional tightening is not only unnecessary but potentially harmful to your engine.

Pro Tip #5: Use Anti-Seize Wisely
Anti-seize compound is like relationship insurance for your spark plugs and cylinder head – it prevents them from becoming permanently bonded through heat cycling. But like actual relationship advice, applying too much can create a whole new set of problems.
First, check if your plugs actually need anti-seize. Many modern spark plugs come pre-coated with a special compound from the factory, and adding more can actually interfere with proper torque readings. If your new plugs have a silver or gray coating on the threads, they’re likely pre-treated.
If anti-seize is recommended (common with aluminum heads), apply it sparingly. A thin film on the threads is all you need – never apply it to the electrodes. Too much can drip onto the electrodes or into the cylinder, causing misfires or even hydrolock in extreme cases.
While you’re at it, apply a small amount of dielectric grease inside the spark plug boot or on the ceramic insulator where the wire connects. This prevents moisture intrusion and makes future removal easier.
After Replacement: What to Expect
Once your new spark plugs are properly installed, reconnect the ignition coils or spark plug wires, double-checking that each is fully seated. Reconnect your battery if you disconnected it, then start your engine.
You should notice improvements immediately – smoother idle, better throttle response, and easier starting are common. Many drivers also report improved fuel economy in the weeks following a spark plug replacement.
If you hear any unusual sounds or the check engine light appears, shut off your engine and recheck your work. The most common issues are loose connections or improperly seated ignition coils.
For optimal performance, mark your calendar for the next replacement interval. Modern iridium or platinum plugs typically last 60,000-100,000 miles under normal driving conditions, while standard copper plugs should be replaced every 30,000-40,000 miles.
Conclusion
Replacing your spark plugs is one of those rare car maintenance tasks that offers substantial rewards for relatively modest effort. By following these professional tips – working with a cool engine, replacing one plug at a time, minding the gap, applying the right torque, and using anti-seize wisely – you’ll achieve results that rival professional service while saving hundreds of dollars.
The satisfaction of hearing your engine purr to life after you’ve successfully completed this maintenance task is genuinely rewarding. Plus, you’ll develop mechanical confidence that will serve you well for future DIY projects.
Remember that every vehicle is unique, so always consult your owner’s manual for specific recommendations. With these tips and a bit of patience, your next spark plug replacement will go smoothly, keeping your engine running efficiently for miles to come.
Frequently Asked Questions
How often should spark plugs be replaced?
Standard copper spark plugs typically need replacement every 30,000-40,000 miles. Premium iridium or platinum plugs can last 60,000-100,000 miles under normal driving conditions.
Can I replace just one bad spark plug?
While technically possible, it’s best practice to replace all spark plugs at the same time for consistent performance. This ensures even wear and prevents having to repeat the job soon after.
How do I know if my spark plugs need replacing?
Common signs include rough idle, difficulty starting, decreased fuel economy, misfires, and sluggish acceleration. Visual inspection showing worn electrodes or heavy deposits also indicates replacement is needed.
Is it necessary to gap new spark plugs?
Yes, even pre-gapped plugs should be checked with a feeler gauge to ensure they match your vehicle’s specifications. Manufacturing variations can occur, and the correct gap is critical for proper engine performance.
What happens if I over-tighten spark plugs?
Over-tightening can strip the threads in your cylinder head or crack the spark plug insulator. This can lead to expensive repairs and potentially catastrophic engine damage if compression gases escape.


Pingback: How to Fix a Car That Won’t Start 5 Tips - knowsyourcar.com
Pingback: Beginner Car Mods: 5 Essential Maintenance Tips - knowsyourcar.com
Pingback: Rearview Mirror Adhesive: The Ultimate 5-Minute Fix Guide - knowsyourcar.com
Pingback: Spark plug replacement mileage: avoid costly repairs - knowsyourcar.com