Overview
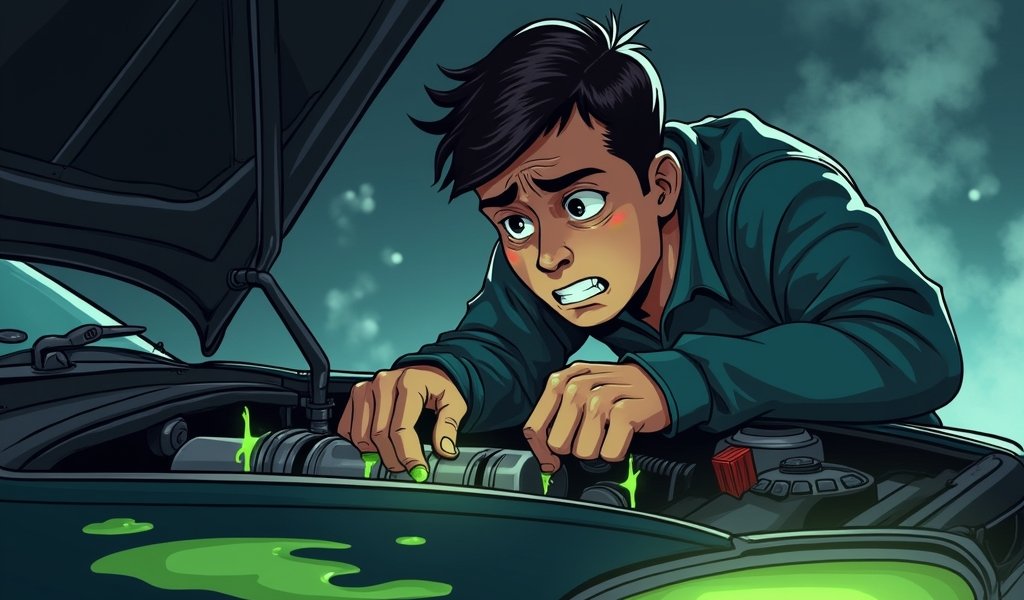
This step-by-step guide explains how to properly flush your vehicle’s coolant system, including why regular coolant maintenance prevents engine damage, what supplies you’ll need, and how to select the correct coolant type for your specific vehicle. The article emphasizes that this DIY maintenance task should be performed every 30,000-100,000 miles (depending on coolant type) and can save you from expensive repairs while extending your engine’s life.
Table of Contents
- Why You Should Flush Your Coolant Regularly
- What You’ll Need for a Coolant Flush
- Step-by-Step Guide to Flushing Your Coolant
- Common Mistakes to Avoid When Flushing Coolant
- When to Flush Your Coolant
- Choosing the Right Coolant for Your Vehicle
- Conclusion
- Frequently Asked Questions
Your car’s cooling system is essentially its lifeline. Think about it – your engine constantly produces enough heat to melt itself into a puddle of metal. The only thing preventing this catastrophe? That vibrant-colored liquid circulating through your engine block. Over time though, this liquid gold deteriorates, picking up debris and losing its protective properties. That’s why knowing how to flush coolant properly isn’t just good car maintenance – it’s essential for keeping your four-wheeled friend alive and kicking.
I’ve been elbow-deep in engines for over 20 years, and I can’t count how many preventable engine failures I’ve seen from neglected cooling systems. The good news? Flushing your coolant is something you can absolutely handle yourself, saving some cash while giving your car some much-needed TLC.
This guide will walk you through the process step-by-step, using straightforward language that won’t leave you scratching your head. Let’s dive in and give your engine’s circulatory system the refresh it deserves!
Why You Should Flush Your Coolant Regularly
Coolant doesn’t just keep your engine from overheating – it’s a sophisticated chemical cocktail that performs multiple critical functions. Fresh coolant contains additives that prevent corrosion, lubricate your water pump, and protect against freezing and boiling. But like milk left in the fridge too long, it eventually turns.
As coolant ages, these protective additives break down. The fluid becomes more acidic, gradually eating away at metal components throughout your cooling system. I’ve seen radiators that look like Swiss cheese from the inside and water pump impellers corroded down to nubs – all from neglected coolant.
Another problem with old coolant is its diminished ability to transfer heat. This thermal inefficiency forces your engine to run hotter than designed, accelerating wear on gaskets, seals, and the engine itself. Regular maintenance like coolant flushes can prevent these issues before they start.
Ever seen that brownish gunk floating in an old coolant reservoir? That’s a mixture of degraded coolant, rust, scale, and other contaminants. Left unchecked, these particles can clog narrow passages in your radiator and heater core, leading to restricted flow and potentially expensive repairs.
According to the Car Care Council, cooling system failure is a leading cause of vehicle breakdowns. A simple coolant flush every 30,000 to 50,000 miles (or as recommended by your manufacturer) is cheap insurance against these costly problems.
What You’ll Need for a Coolant Flush
Before you dive under the hood, let’s gather everything you’ll need. Being prepared makes the job smoother and prevents that mid-project run to the auto parts store with coolant-covered hands.
Here’s your shopping list:
- Fresh coolant (specific to your vehicle – more on that later)
- Distilled water (for mixing with concentrate and flushing)
- Drain pan (at least 2-gallon capacity)
- Basic hand tools (pliers, socket set, screwdriver)
- Funnel (preferably with a wide mouth)
- Shop rags or paper towels (things will get messy)
- Safety gloves and eye protection
- Radiator flush solution (optional but recommended)
- Coolant hydrometer (to check concentration after mixing)
Safety gear isn’t optional here. Coolant contains ethylene glycol, which is extremely toxic if ingested. It has a sweet taste that attracts pets and wildlife, so you’ll need to be careful about containing and properly disposing of the old fluid. Most auto parts stores will accept used coolant for recycling.
A word about coolant selection – this isn’t a one-size-fits-all situation. Using the wrong type can cause serious problems. Check your owner’s manual for the specific formulation recommended by your manufacturer. If you’re not sure, consult with a parts professional who can look up the correct specification for your make and model.
Finally, make sure you have enough fresh coolant on hand. Most passenger vehicles need between 1-3 gallons depending on engine size and cooling system design. When in doubt, buy extra – you can always return unopened containers.

Step-by-Step Guide to Flushing Your Coolant
Now that you’re properly equipped, let’s get to work. I’ll walk you through this process step-by-step, just like I would if you were standing in my shop. Take your time and follow each step carefully.
Step 1: Preparation
Start with a cool engine – and I mean completely cool. Working on a hot cooling system is dangerous business that can result in severe burns. Park on a level surface, engage the parking brake, and give your engine at least 2-3 hours to cool down completely.
While you’re waiting, position your drain pan under the radiator drain valve (usually located on the bottom corner of the radiator). This is also a good time to put on your safety gear and organize your tools within easy reach.
Step 2: Drain the Old Coolant
Once you’re confident the engine is cool, remove the radiator cap. This will help the fluid drain more quickly and completely. Now, locate the drain valve (sometimes called a petcock) at the bottom of your radiator.
Using pliers or the appropriate wrench, carefully open the valve. The coolant should begin flowing steadily into your drain pan. If the flow is weak or stops quickly, the valve might be partially clogged with sediment. Gently wiggle it or use a piece of wire to clear the obstruction.
Let the system drain completely – this usually takes 5-10 minutes. While it’s draining, take a good look at the fluid coming out. Is it the original color, or has it turned rusty or brown? A strong discoloration confirms that this flush is long overdue.
Step 3: Remove the Thermostat (Optional)
For a more thorough flush, some mechanics (myself included) recommend removing the thermostat temporarily. This allows the flush solution to circulate through the entire system without restriction. Your owner’s manual will show the thermostat’s location – typically housed in a small metal housing secured by two bolts.
If you choose to do this, be sure to replace the gasket when reinstalling the thermostat later. If you’re uncomfortable with this step, you can skip it – just know that your flush won’t be quite as thorough.
Step 4: Flush the System
Once the old coolant has drained, close the drain valve and add radiator flush solution following the product directions. Fill the remainder of the system with distilled water through the radiator cap opening.
Replace the radiator cap, start the engine, and turn your heater to maximum. Let the engine run for 10-15 minutes or as directed by the flush product. This circulates the cleaner throughout the entire system, including the heater core.
Shut off the engine and allow it to cool completely again. Once cool, drain this solution just as you did with the old coolant.
Step 5: Rinse with Clean Water
After draining the flush solution, close the drain valve again and fill the system with clean distilled water. Run the engine for another 10-15 minutes with the heater on max, then allow it to cool completely before draining.
This step might seem redundant, but it’s crucial for removing any lingering flush chemicals and loose debris before adding new coolant. For very dirty systems, you might want to repeat this rinse step twice.
Step 6: Add Fresh Coolant
Now for the moment of truth – adding fresh coolant to your squeaky-clean system. If you removed the thermostat earlier, reinstall it now with a new gasket.
Close the drain valve securely and begin adding your new coolant. If you’re using a concentrate, pre-mix it with distilled water according to the manufacturer’s instructions (typically 50/50 for most climates).
Pour the coolant in slowly to avoid air pockets. Fill until you can see the coolant just below the filler neck of the radiator, then replace the cap. Don’t forget to fill the overflow reservoir to the “FULL” mark as well.
Step 7: Bleed the System
The final step is bleeding air from the system. Start the engine (with the heater on max) and let it reach normal operating temperature. You may need to add more coolant as air pockets are pushed out of the system.
Some vehicles have specific bleeder valves to release trapped air. Check your owner’s manual for the location of these valves and the proper bleeding procedure for your specific vehicle.
Let the engine run through one complete cooling cycle – you’ll know this has happened when you hear the cooling fan kick on and then shut off. Once the system has been properly bled, check for leaks around hose connections, the water pump, and the radiator.
Servicing your car’s cooling system properly involves one final, crucial step – proper disposal of the old coolant. Take the used fluid to an auto parts store or service center that accepts it for recycling. Never pour it down a drain or onto the ground.
Common Mistakes to Avoid When Flushing Coolant
Even experienced DIYers can make mistakes when flushing coolant. Here are some pitfalls to avoid based on what I’ve seen over decades in the shop:
The most common error is mixing incompatible coolant types. Different formulations use different corrosion inhibitor packages that can literally turn to gel when combined. Always use the manufacturer-recommended coolant type, and if you’re unsure about what’s currently in your system, perform multiple rinse cycles to ensure complete removal.
Another frequent mistake is rushing the cooling periods. I know it’s tempting to speed things up, but working with hot coolant is genuinely dangerous. Those “wait until cool” instructions aren’t suggestions – they’re safety requirements.
Many DIYers also forget to bleed the air from the system properly. Air pockets can cause localized overheating even with fresh coolant. Take your time with the bleeding process, following your vehicle’s specific procedure.
Skipping the pressure test is another oversight. After your flush, it’s wise to check for leaks by pressurizing the system (using a pressure tester available at most auto parts stores). Small leaks might not be obvious when the engine is just idling in your driveway.
Finally, don’t forget about your cooling system’s other components. A coolant flush is the perfect opportunity to inspect hoses, clamps, the water pump, and the radiator for signs of wear or damage. Replacing a questionable hose during your flush is much more convenient than having it fail on the highway next month.
When to Flush Your Coolant
So when should you actually perform this maintenance? The answer varies by vehicle and the type of coolant you’re using.
Traditional green coolant (IAT or Inorganic Acid Technology) typically needs replacement every 30,000 miles or 2 years, whichever comes first. Extended-life coolants (OAT or HOAT) can last significantly longer – up to 100,000 miles in some cases.
However, these intervals assume ideal conditions. If you frequently drive in extreme temperatures, tow heavy loads, or do a lot of stop-and-go driving, you should flush more frequently.
There are also warning signs that might indicate your coolant needs attention before the scheduled interval:
- Visible rust or debris floating in the coolant reservoir
- Sweet smell (indicating a coolant leak)
- Engine running hotter than normal
- Heater not working properly
- Check engine light (if related to temperature issues)
Another good indicator is coolant color. Fresh coolant is vibrant (green, orange, pink, blue, or yellow depending on type). If yours has turned brown or rusty, it’s definitely time for a flush regardless of mileage.
As a professional mechanic, I often recommend a proactive approach to cooling system maintenance as part of a complete car service program. The cooling system isn’t something you want to gamble with – cooling system failures can leave you stranded and potentially cause catastrophic engine damage.

Choosing the Right Coolant for Your Vehicle
The rainbow of coolant colors you see on store shelves isn’t just for show – each represents a different chemical formulation designed for specific types of engines. Using the wrong one is like putting diesel in a gasoline engine – nothing good will come of it.
Traditional green coolant (IAT) has been around for decades and uses silicate and phosphate corrosion inhibitors. It’s compatible with older vehicles but requires more frequent replacement.
Extended-life coolants use different inhibitor technologies:
- OAT (Organic Acid Technology) – Often orange or red, used in many GM and European vehicles
- HOAT (Hybrid Organic Acid Technology) – Usually yellow or orange, common in Ford, Chrysler and many Asian vehicles
- P-HOAT (Phosphated HOAT) – Typically pink or purple, used in many Toyota and other Asian vehicles
- Si-OAT (Silicated OAT) – Often blue or purple, common in European vehicles, especially VW/Audi
Your owner’s manual is the definitive source for which type your vehicle requires. Don’t rely on color alone – some manufacturers use the same color for different formulations. If your manual is missing, a quick online search with your vehicle’s make, model, and year plus “coolant specification” should provide the answer.
Another consideration is whether to buy premixed coolant or concentrate. Concentrate is more economical and allows you to adjust the water-to-coolant ratio for extreme climates, but requires careful mixing with distilled water. Premixed is more convenient and eliminates mixing errors.
Whatever type you choose, quality matters. I recommend sticking with major brands or OEM (Original Equipment Manufacturer) coolant from your dealer. The few dollars saved on bargain brands isn’t worth the risk to your cooling system.
According to Engine Builder Magazine, using the wrong coolant is a leading cause of premature cooling system component failure. When in doubt, consult a professional rather than guessing.
Conclusion
Flushing your coolant might seem like just another chore on your vehicle maintenance to-do list, but it’s truly one of the most important services you can perform. A properly maintained cooling system protects your engine, prevents unexpected breakdowns, and can save you thousands in repair costs down the road.
The process we’ve walked through – draining, flushing, rinsing, and refilling – isn’t particularly difficult or time-consuming. Even if you’re not mechanically inclined, this is a DIY project most car owners can handle with basic tools and a little patience. The key is taking your time, following the steps carefully, and using the correct products for your specific vehicle.
If you’re not comfortable performing a coolant flush yourself, that’s perfectly fine too. Any reputable shop can handle this service for a reasonable fee. The important thing is making sure it gets done according to your vehicle’s maintenance schedule.
Remember, your cooling system works silently in the background every time you drive, preventing your engine from destroying itself with excess heat. Giving it some attention a couple of times during your vehicle’s lifetime is a small price to pay for that protection.
Now that you know how to flush coolant properly, you’re equipped with knowledge that will help keep your car running smoothly for many miles to come. Your engine will thank you with reliable performance and a longer service life.
Frequently Asked Questions
How often should I flush my coolant?
For traditional green coolant, flush every 30,000 miles or 2 years. Extended-life coolants (orange, yellow, red) typically last 50,000-100,000 miles, but always check your owner’s manual for the manufacturer’s specific recommendation.
Can I mix different types of coolant?
No, never mix different coolant types as they can react chemically, forming deposits that clog your cooling system. If you’re unsure what’s in your system, perform a complete flush before adding new coolant.
Do I need to use distilled water when mixing coolant?
Yes, tap water contains minerals that can cause deposits and corrosion in your cooling system. Always use distilled water when mixing coolant concentrate.
What’s the difference between a coolant flush and a coolant change?
A coolant change simply drains and replaces the fluid, while a proper flush uses cleaning solutions to remove built-up deposits and contaminants. Flushing is more thorough and provides better protection for your cooling system.
Is coolant the same as antifreeze?
The terms are often used interchangeably, but technically antifreeze is the concentrated form while coolant is the mixed, ready-to-use fluid. Modern products protect against both freezing and overheating while providing corrosion protection.

