Overview
This detailed guide outlines a six-step process for professional-quality car interior detailing, from thorough vacuuming and upholstery cleaning to dashboard restoration, window cleaning, detailing small spaces, and applying protective finishes. The article emphasizes how DIY interior detailing can save $125-250 while preserving vehicle value, improving driving comfort, and maintaining a clean sanctuary for the 290 hours the average American spends in their car annually.
Table of Contents
- Preparation Steps: Setting the Stage for Success
- Step 1: Vacuum Everything—The Foundation of Clean
- Step 2: Deep Clean Upholstery and Carpets—Erasing Years of Use
- Step 3: Dashboard, Console, and Hard Surfaces—Where the Eyes Land First
- Step 4: Windows and Mirrors—Crystal Clear Views
- Step 5: Detail Work—Where Professionals Earn Their Reputation
- Step 6: Protection and Finishing Touches—Making It Last
- Maintenance Tips—Keeping the Magic Alive
- Conclusion: Your Car, Your Sanctuary
- Frequently Asked Questions
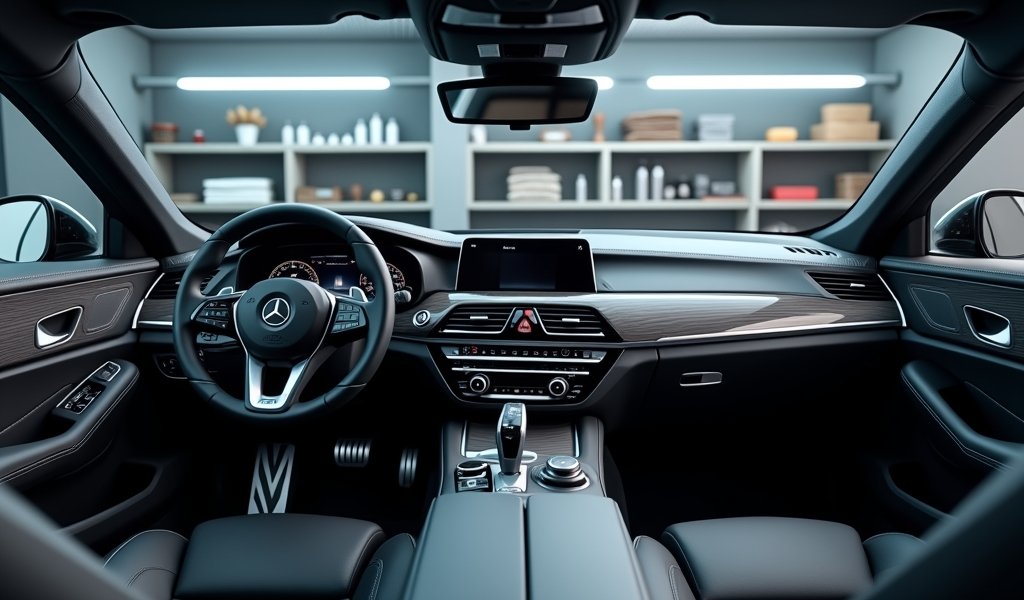
A clean car interior isn’t just about looking good—it’s about creating a healthy, comfortable space where you spend a significant portion of your life. There’s something deeply satisfying about sliding into a freshly detailed vehicle that smells as good as it looks. With the average professional detailing service costing between $125-$250, learning how to detail car interior like a pro can save you serious money while delivering that new-car feeling, regardless of your vehicle’s age.
As a mechanic who’s detailed thousands of vehicles, I’m excited to share the insider techniques that will transform your car’s interior from “lived-in” to “luxury.” The best part? You’ll achieve professional results at a fraction of the cost, using techniques that professional car detailers rely on daily.
Preparation Steps: Setting the Stage for Success
Before jumping into the cleaning process, proper preparation will save you time and frustration. Think of it as the foundation for everything that follows—skip this step, and you’ll end up working twice as hard for half the results.
First, gather these essential supplies:
- Vacuum with attachments (crevice tool, brush attachment)
- Multiple microfiber towels (different colors for different areas)
- Interior cleaner appropriate for your surfaces
- Ammonia-free glass cleaner
- Upholstery cleaner (fabric or leather-specific)
- Small detailing brushes (old toothbrushes work in a pinch)
- Cotton swabs for tiny spaces
- Interior protectant
- Trash bag
For specific materials, use these surface-appropriate products:
- Leather surfaces: pH-balanced leather cleaner and conditioner
- Fabric upholstery: Fabric-specific cleaner or mild soap solution
- Delicate electronics: Electronics-safe cleaner or slightly damp microfiber cloth
Next, clear everything out. Remove all personal items, trash, and floor mats to create a blank canvas. According to a Consumer Reports study, a thoroughly emptied car takes 30% less time to detail properly. Set aside 2-3 hours for this project—quality detailing isn’t something to rush.
Step 1: Vacuum Everything—The Foundation of Clean

Thorough vacuuming isn’t just about removing visible dirt—it’s about creating a clean foundation for all the wet cleaning to follow. Think about it: any loose dirt left behind will turn to mud once you start using cleaning solutions.
For professional results, follow this sequence:
- Start from the top (headliner) and work your way down (floor last)
- Use crevice tools for tight spaces between and under seats
- Don’t forget to vacuum the trunk area
- Remove and clean floor mats separately
- Use brush attachments to loosen embedded dirt before vacuuming
Pay special attention to these commonly overlooked areas:
- Under the seats (a treasure trove of forgotten items)
- Door pockets (where receipts go to die)
- Seat rails (often packed with debris that affects movement)
- Between console and seats (the notorious french fry zone)
- Around seat belt buckles (where crumbs love to hide)
Pro tip: A clean, unused paint brush can help sweep dust from vents and other small areas into your vacuum path. This simple $2 tool makes a huge difference in detailing effectiveness.
Step 2: Deep Clean Upholstery and Carpets—Erasing Years of Use
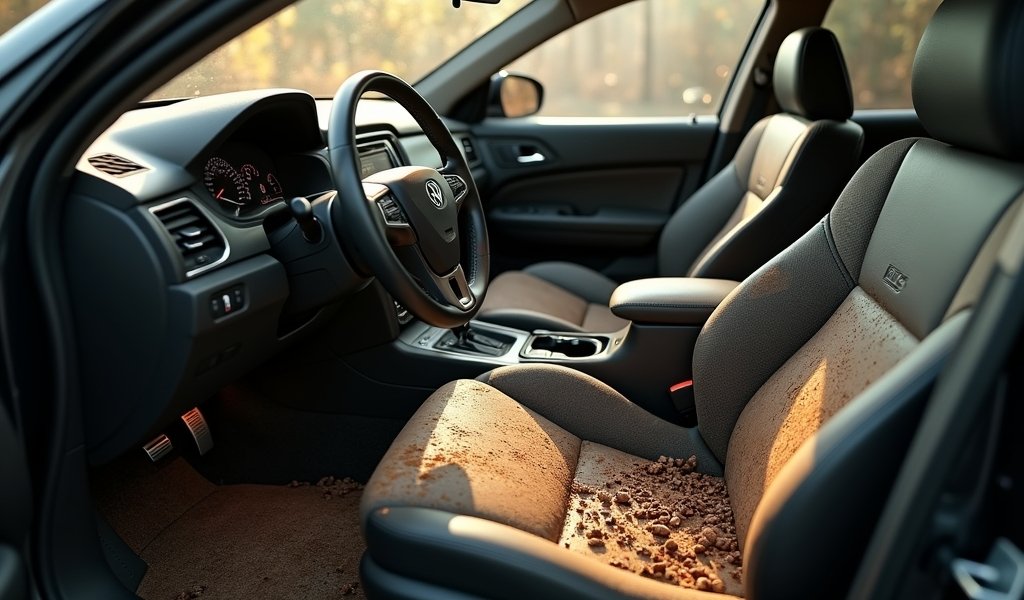
Your car’s upholstery absorbs everything from spilled coffee to body oils, and a proper deep cleaning can take years off your interior’s appearance. The approach differs based on your upholstery type, but the transformation is equally satisfying.
For cloth seats and carpets:
- Test any cleaner on an inconspicuous area first
- Work in small sections, spraying cleaner and agitating with a brush
- Extract with a wet/dry vacuum or blot with microfiber towels
- Allow to dry completely before moving on (accelerate with open windows)
For leather seats:
- Wipe down with a leather-specific cleaner and microfiber cloth
- Pay special attention to high-contact areas (driver’s seat, headrests)
- Apply leather conditioner to prevent drying and cracking
- Buff gently to remove excess conditioner and restore a natural finish
When dealing with stubborn stains, patience trumps force every time. Multiple gentle applications work better than one aggressive attempt that risks damaging fibers. For persistent odors, enzymatic cleaners break down organic compounds at the molecular level rather than simply masking them.
If you’re tackling seriously neglected upholstery, consider DIY car detailing tips using a portable extractor, which you can rent from most home improvement stores for around $30 per day. The results rival professional steam cleaning at a fraction of the cost.
Step 3: Dashboard, Console, and Hard Surfaces—Where the Eyes Land First
Your dashboard is the face of your interior—it’s what you see most while driving, and its condition dramatically affects your perception of cleanliness. These hard surfaces collect dust, fingerprints, and often that mysterious sticky film that seems to appear overnight.
For effective dashboard and console cleaning:
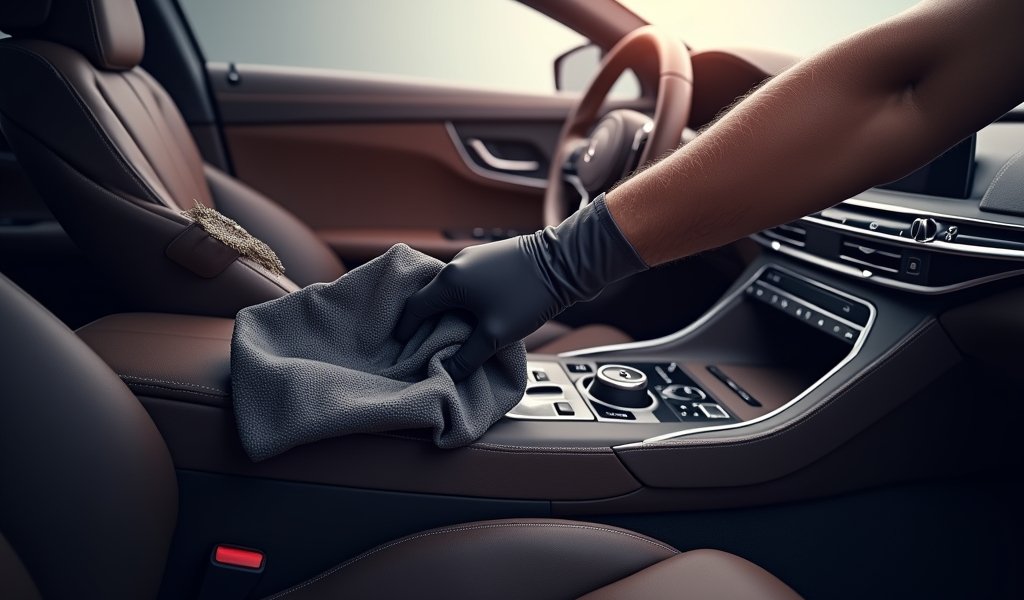
- Dust thoroughly using a slightly damp microfiber cloth
- Follow with an appropriate cleaner for your surface type (vinyl, plastic, or wood)
- Use detailing brushes for textured surfaces and crevices
- Pay special attention to frequently touched areas (steering wheel, door handles, buttons)
For electronics and screens:
- Use electronics-specific cleaners or a barely damp microfiber cloth
- Never spray directly onto screens or controls
- Consider a dedicated screen cleaner for infotainment systems
A clever trick for air vents: turn your AC to maximum before cleaning—this blows out loose dust that might otherwise fall back into the system. For stubborn grime in textured surfaces, an old toothbrush with a tiny amount of all-purpose cleaner works wonders.
Remember that less is more with cleaning products on these surfaces. Excessive product can leave residue that attracts more dust, creating a frustrating cycle. According to cleaning experts at The Spruce, over-application of products is the number one mistake DIY detailers make.
Step 4: Windows and Mirrors—Crystal Clear Views
Nothing betrays an otherwise clean car like streaky windows. The key to streak-free glass isn’t expensive products—it’s proper technique. Master this step, and your car will instantly feel cleaner and more spacious.
For perfect windows:
- Clean on a cool, cloudy day if possible (direct sun causes premature drying and streaking)
- Use an ammonia-free glass cleaner (ammonia damages tint and electronics)
- Spray onto your microfiber cloth, not directly on glass
- Clean in one direction (horizontal) inside and another direction (vertical) outside to easily identify which side streaks are on
- Use a second dry microfiber cloth for final buffing
For stubborn spots like water marks or tree sap, a 50/50 mixture of white vinegar and water can work wonders without damaging surfaces. Apply with a cloth, let sit for 30 seconds, then wipe clean.
Don’t forget those small corner areas where the glass meets the trim—that’s where most people stop wiping, and it’s immediately noticeable. For mirrors, the same techniques apply, but take extra care with auto-dimming mirrors, which have sensitive electronic coatings.
Step 5: Detail Work—Where Professionals Earn Their Reputation

The difference between a good cleaning and professional detailing lies in the details—literally. This is where we address the tiny spaces that collectively make a huge difference in the overall impression of cleanliness.
Focus on these often-neglected areas:
- Air vents (use a foam brush or compressed air)
- Door jambs (highly visible when entering/exiting)
- Seat tracks (use a brush followed by vacuum)
- Cup holders (often the stickiest part of any car)
- Button surrounds and control knobs
- Seat belt buckles and webbing (wipe down with appropriate cleaner)
Pro tip: Wrap a microfiber cloth around a flathead screwdriver (secured with a rubber band) to clean tight seams in upholstery or dashboard. This simple tool lets you reach places fingers can’t go.
For those truly stubborn areas like cup holders with dried coffee residue, try this mechanic’s trick: place a sock over a cup, spray with all-purpose cleaner, then twist the cup to scrub all surfaces simultaneously. It’s surprisingly effective and satisfying.
Step 6: Protection and Finishing Touches—Making It Last
After all that cleaning work, you’ll want to protect your refreshed surfaces from future damage. Think of this step as applying sunscreen before a day at the beach—it extends the life of your interior and preserves that “just detailed” look.
Apply these protectants as appropriate:
- UV protectant on dashboard and vinyl/plastic surfaces
- Leather conditioner on leather surfaces
- Fabric protector on cloth upholstery
- Glass sealant for easier future cleaning
When applying protectants, less is more. Over-application can leave surfaces greasy or attract dust. Apply to your cloth first, then to the surface, and buff away any excess.
For a finishing touch that delights the senses, consider these natural air freshening options:
- Essential oil diffuser clips (2-3 drops of essential oil on a wooden clip)
- Baking soda sachets for odor absorption
- Cedar blocks for natural fragrance
- Activated charcoal bags for odor elimination
These natural options avoid the sometimes overwhelming synthetic scents that scream “I just cleaned my car!” and instead provide a subtle freshness that enhances your driving experience.
Maintenance Tips—Keeping the Magic Alive
The secret to always having a clean car isn’t spending hours detailing each week—it’s developing small habits that prevent mess accumulation. These quick daily and weekly practices will extend the life of your deep cleaning by months.
Daily habits:
- Take out trash when you exit the car (no exceptions!)
- Keep microfiber cloths in your glove box for quick dust wipe-downs
- Use floor mats and clean them weekly with a quick shake-out
Seasonal recommendations:
- Deep clean upholstery quarterly (more frequently with kids or pets)
- Apply protectants seasonally (especially before summer sun exposure)
- Clean windows monthly for optimal visibility and appearance
Prevention is always easier than cleaning. Consider these preventative measures:
- No-food rules or designated eating areas in the car
- Weather-appropriate floor mats (rubber for winter, carpet for summer)
- Window tint to reduce UV damage to interior surfaces
With a regular maintenance schedule, you’ll find that detailing your car like a pro becomes a quick refresh rather than a major undertaking.
Conclusion: Your Car, Your Sanctuary
After following these steps, you’ll slide into a vehicle that feels more like a luxury experience than just transportation. The average American spends about 290 hours per year in their car—that’s equivalent to seven 40-hour work weeks! That time deserves to be spent in a space that feels as clean and comfortable as your home.
Beyond the aesthetic benefits, a properly maintained interior preserves your car’s value. Vehicles with well-kept interiors typically command 10-15% higher resale values than identical models with worn or dirty interiors. That’s a significant return on your detailing investment.
The next time someone steps into your car and says, “Wow, did you just get this detailed?” you can smile knowing you did it yourself, saved hundreds of dollars, and achieved professional results. With these techniques, anyone can learn how to detail car interior like a pro—it just takes the right knowledge and a little elbow grease.
Remember, your car isn’t just a vehicle—it’s a space where you create memories, take important calls, enjoy your favorite music, and occasionally find a moment of peace in a busy world. It deserves to be as clean and comfortable as any room in your home.
Frequently Asked Questions
How often should I detail my car’s interior?
For most drivers, a thorough interior detailing every 3-4 months is sufficient. Increase frequency if you have children, pets, or regularly eat in your vehicle.
What’s the best way to remove coffee stains from fabric seats?
Blot (don’t rub) the area with a mixture of white vinegar, dish soap, and warm water, then extract with a wet/dry vacuum. Always test cleaning solutions on an inconspicuous area first.
Can I use household products to clean my car interior?
Many household cleaners are too harsh for automotive surfaces and can cause damage. Stick to automotive-specific products or gentle alternatives like diluted dish soap for most surfaces.
How do I remove bad odors from my car interior?
Eliminate the source (often in carpets or upholstery) with an enzymatic cleaner, then use activated charcoal or baking soda to absorb remaining odors. Avoid masking sprays that only temporarily cover smells.
What’s the quickest way to make my car interior look clean when I’m short on time?
Focus on visible surfaces: quickly vacuum floors, wipe down the dashboard and console with a microfiber cloth, and clean the inside of the windshield. These three steps deliver the biggest visual impact in the least amount of time.


Pingback: How to Get Rid of Food Smell in Car Fast - knowsyourcar.com
Pingback: Car Interior Ceramic Coating: 7 Pro Tips - knowsyourcar.com
Pingback: Best Steam Cleaner for Car Interior Tips - knowsyourcar.com