Overview
This article outlines a five-step process for maintaining leather car seats: vacuum before cleaning, use proper cleaning techniques with appropriate products, apply conditioner regularly, implement preventative measures like UV protection, and address stains promptly with specific remedies for different types. Regular maintenance not only preserves the appearance of leather seats but also protects your investment, potentially extending the leather’s lifespan by up to 50% when properly conditioned and cared for.
Table of Contents
- Understanding Leather Car Seats
- Essential Supplies for Leather Cleaning
- Step 1: Vacuum and Remove Debris
- Step 2: Master the Proper Cleaning Technique
- Step 3: Conditioning is Non-Negotiable
- Step 4: Implement Preventative Measures
- Step 5: Tackle Common Stains Like a Pro
- Wrapping Up Your Leather Care Journey
- Frequently Asked Questions
Understanding Leather Car Seats
Leather car seats are like the fine wine of automotive interiors – they look better with age, but only if you treat them right. As a mechanic who’s restored countless leather interiors, I’ve seen the dramatic difference proper care makes. Neglected leather cracks, fades, and loses its supple feel, while well-maintained leather develops a rich patina that screams luxury.
Think of your leather seats as skin. They breathe, expand, contract, and need moisture to stay healthy. When you learn how to detail your car like a pro, you’re not just cleaning – you’re preserving an investment that affects your comfort and your vehicle’s resale value.
Most folks make three critical mistakes with leather: using harsh chemicals, skipping conditioning, or letting spills set. Today, I’ll walk you through my tried-and-true five-step process that keeps leather looking showroom-fresh for years. No fancy equipment needed – just some elbow grease and the right approach.
Essential Supplies for Leather Cleaning
Before diving into leather cleaning, gather your arsenal. Using the wrong products is like using dish soap on your hair – it might clean, but at what cost? Here’s what you’ll need:
- pH-balanced leather cleaner (I recommend Lexol or Leather Honey)
- Quality leather conditioner
- Three microfiber cloths (cleaning, conditioning, buffing)
- Soft-bristled brush (a clean makeup brush works perfectly)
- Vacuum with upholstery attachment
- Spray bottle for homemade solutions (optional)
The DIY budget-friendly alternative? Mix one part white vinegar with two parts linseed oil for a gentle cleaner-conditioner combo. It’s not as effective as dedicated products, but it’ll do in a pinch.
What to avoid at all costs: household all-purpose cleaners, dish soap, magic erasers, bleach products, and anything containing alcohol or ammonia. These strip away the natural oils in leather, leading to premature aging and cracking. Your leather deserves better!

Step 1: Vacuum and Remove Debris
Cleaning leather without vacuuming first is like mopping a muddy floor – you’re just moving dirt around. This crucial first step removes particles that could scratch your leather during cleaning.
Start with a thorough vacuum using your upholstery attachment. Pay special attention to seams, crevices, and the gap between the seat back and bottom cushion – these areas are debris magnets. For perforated leather (the kind with tiny holes for ventilation), gentle vacuuming prevents dirt from being pushed deeper during cleaning.
For stubborn dirt in tight spaces, use your soft brush to gently loosen particles, then vacuum them away. Work methodically from top to bottom, spending extra time on high-traffic areas like the driver’s seat and door armrests.
One mechanic’s tip I’ve learned over 20 years: use compressed air (the kind for keyboards) for perforated leather. A quick burst dislodges hidden grime without damaging the delicate perforations. This simple step makes the actual cleaning process twice as effective with half the effort.
Step 2: Master the Proper Cleaning Technique
Now for the main event – cleaning your leather seats properly. The technique matters as much as the products, so let’s break it down into manageable steps:
- Test your cleaner on an inconspicuous spot first (under the seat is perfect)
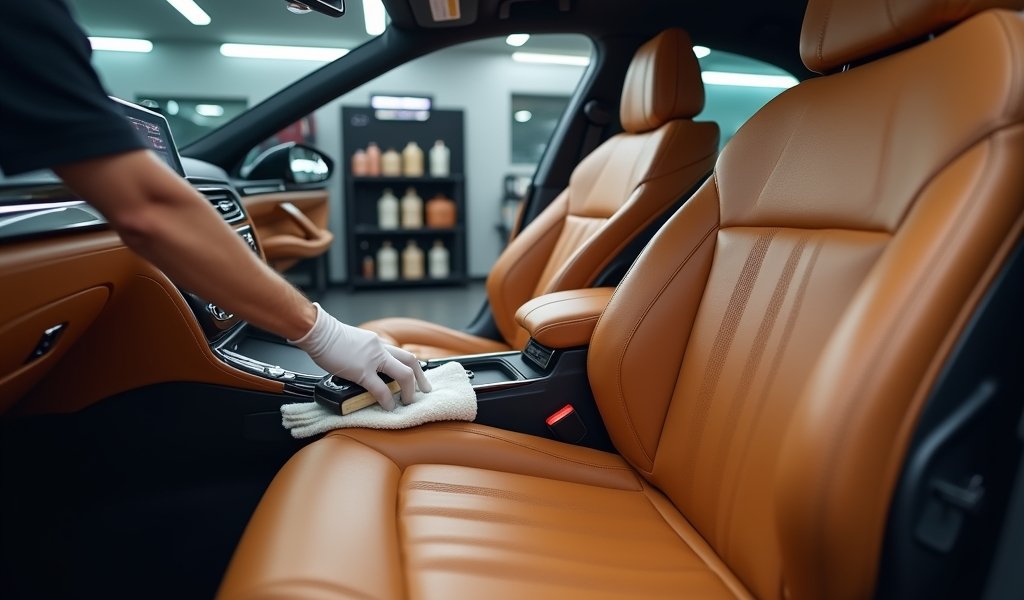
- Apply cleaner to your microfiber cloth, never directly to the leather
- Work in small sections (about 2 square feet at a time)
- Use gentle circular motions – think of it as massaging, not scrubbing
- Follow with a clean, slightly damp cloth to remove residue
- Allow to dry completely before conditioning or sitting
The most common mistake I see in my shop? Using too much product and too much pressure. Leather cleaning is like seasoning food – you can always add more, but you can’t take it away. Start with less product than you think you need.
For gently used leather with minimal soiling, you might only need to clean your seats every 3-4 months. For daily drivers with kids and pets (I feel your pain!), monthly cleaning prevents grime from becoming permanent. Either way, the process should take about 20-30 minutes for all seats – time well spent protecting your investment.
When cleaning, pay special attention to headrests and side bolsters, which absorb oils from hair and skin. These areas often need extra attention but respond beautifully to proper DIY car detailing tips when done consistently.
Step 3: Conditioning is Non-Negotiable
If you only remember one thing from this article, make it this: conditioning leather is not optional. Cleaning without conditioning is like washing your face without moisturizing – you’re only doing half the job and risking long-term damage.
Here’s my foolproof conditioning method:
- Ensure seats are completely clean and dry
- Apply a small amount of conditioner to a fresh microfiber cloth
- Work the conditioner into the leather using gentle circular motions
- Allow to penetrate for 10-15 minutes (perfect coffee break time!)
- Buff away excess with a dry microfiber cloth until the leather feels natural, not slick
How often should you condition? It depends on your climate and driving habits. In moderate climates with garage storage, every 3-4 months works well. For vehicles regularly parked in direct sun or extreme temperatures, monthly conditioning prevents premature aging.
Conditioning feeds and nourishes the leather, replacing natural oils lost through cleaning and everyday use. According to leather preservation research, proper conditioning can extend leather’s lifespan by up to 50%. That’s not just aesthetics – it’s smart economics.
One tip from the pro bench: apply conditioner with your hand in a thin nitrile glove. You’ll use less product, get better coverage, and literally feel any dry spots that need extra attention. This technique revolutionized my approach to leather care.

Step 4: Implement Preventative Measures
An ounce of prevention saves pounds of restoration work down the road. As someone who’s restored leather that looked like it survived the apocalypse, trust me when I say preventative care is where the magic happens.
Start with a consistent maintenance schedule:
- Quick wipe-down with a damp microfiber: weekly
- Full cleaning: monthly (or after any major mess)
- Deep cleaning and conditioning: quarterly
Beyond the schedule, consider these game-changing preventative measures:
Window tinting reduces UV exposure, which is leather’s worst enemy. Even a light tint can reduce interior temperatures by 60% and prevent premature fading. If tinting isn’t an option, a quality windshield sun shade is your next best defense.
Keep an “emergency kit” in your glove box: alcohol-free baby wipes, a clean microfiber cloth, and a travel-size leather cleaner. When spills happen (and they will), immediate blotting prevents most stains from setting. Remember: blot, never rub!
For those with children or pets, consider investing in quality seat covers for high-mess situations like beach days or camping trips. The key word is “quality” – cheap covers can trap moisture and actually damage leather over time. Think of them as situational protection, not permanent solutions.
Implementing these professional car detailing strategies means you’ll spend less time deep-cleaning and more time enjoying your luxurious leather interior. Prevention truly is the professional’s secret weapon.
Step 5: Tackle Common Stains Like a Pro
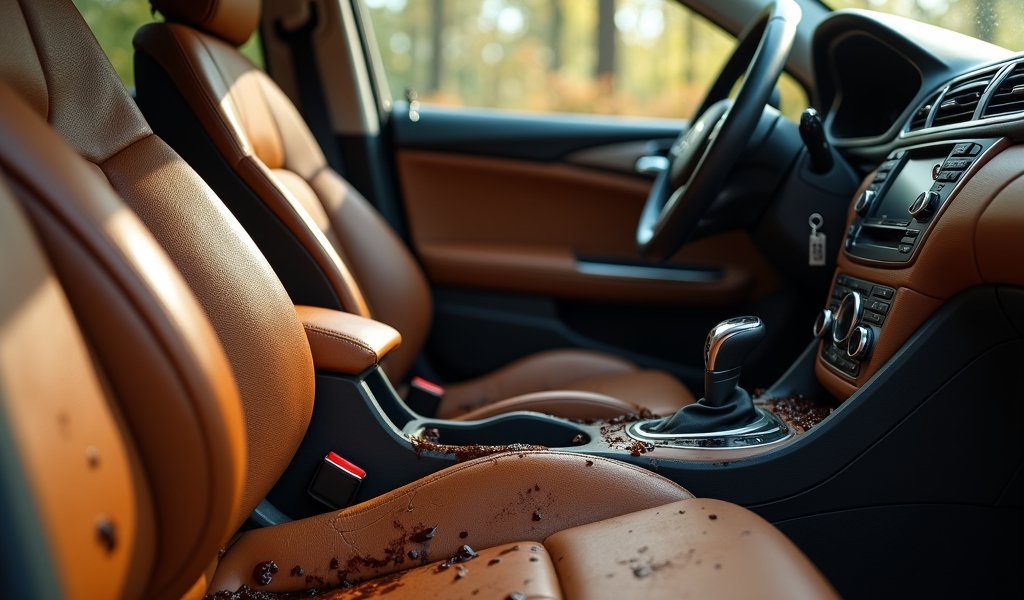
Even with perfect preventative care, life happens. Coffee spills, ink transfers, and mysterious “what-is-that” stains are part of car ownership. Here’s how to handle common leather nemeses:
Denim Transfer (Blue Jean Stains)
Those blue marks from your jeans can be stubborn. Mix equal parts lemon juice and cream of tartar into a paste. Apply to the stain, let sit for 10 minutes, then remove with a damp cloth. Follow with leather conditioner as the citric acid can be drying.
Grease and Oil
Counterintuitively, don’t wipe! Sprinkle cornstarch or baking powder on the stain and let it sit overnight to absorb the oil. Vacuum away the powder, then clean as normal. For stubborn spots, a tiny drop of dish soap on a damp cloth can help, but rinse thoroughly afterward.
Ink Stains
Ink requires immediate attention. Dab (never rub) with a cotton ball slightly dampened with rubbing alcohol. Work from the outside in to prevent spreading. This is the rare exception where alcohol is acceptable on leather, but follow immediately with conditioner on the treated area.
Water Stains
Ironically, water can stain leather! For water spots, dampen the entire panel evenly, then allow to dry naturally. This creates even coloration. Follow with conditioner once completely dry.
For any stain, remember the golden rule: test treatments on an inconspicuous area first. The underside of a seat or a hidden corner makes a perfect test spot. And according to leather conservation experts, faster intervention dramatically increases success rates with stain removal.
Wrapping Up Your Leather Care Journey
Taking care of your leather seats isn’t just about maintaining appearances – it’s about preserving an investment. Well-maintained leather can last the lifetime of your vehicle, while neglected leather might need costly restoration or replacement within just a few years.
Let’s recap our five-step approach:
- Vacuum thoroughly before wet cleaning
- Clean with gentle, appropriate products
- Condition regularly to replace natural oils
- Implement preventative measures
- Address stains promptly using targeted techniques
The beauty of leather care is that it gets easier with consistency. A regular maintenance schedule means you’ll rarely need deep cleaning, and your seats will develop that enviable, rich patina that only comes with proper care.
Remember that leather is a natural material that tells the story of how you’ve treated it. With these professional techniques, you’re ensuring that story is one of care, attention, and pride in your vehicle. Your leather seats will thank you with years of comfortable, luxurious service – and your future self will thank you when trade-in time comes around!
Frequently Asked Questions
Can I use household products to clean leather car seats?
Most household cleaners are too harsh for leather and can cause drying and cracking. Stick with pH-balanced leather cleaners or a gentle homemade solution of vinegar and linseed oil.
How often should I clean and condition my leather seats?
Clean leather seats monthly and condition every 3-4 months in moderate climates. If your vehicle is regularly exposed to sunlight or extreme temperatures, increase conditioning to monthly.
What’s the best way to remove coffee stains from leather?
Blot (don’t rub) coffee spills immediately with a clean cloth. Clean with leather cleaner, and for stubborn stains, try a 1:1 mixture of vinegar and water followed by conditioning.
Can I use baby wipes on leather car seats?
Alcohol-free, unscented baby wipes can work for quick cleanups but aren’t ideal for regular cleaning. They lack conditioning properties and can dry out leather over time.
How do I prevent leather seats from cracking?
Regular conditioning, UV protection (window tint or sunshades), and keeping leather clean are your best defenses against cracking. Never use heat to dry wet leather seats, as this accelerates cracking.

