Overview
This article provides detailed guidance on diagnosing and repairing loose or damaged exhaust manifold heat shields, explaining their importance in protecting vehicle components from extreme temperatures while offering various DIY repair methods and preventative maintenance tips. From temporary fixes using hose clamps to advanced fabrication techniques, the guide emphasizes that addressing heat shield issues promptly is crucial for vehicle safety, performance, and prevention of costly damage.
Table of Contents
- Understanding Exhaust Manifold Heat Shields
- Signs of Heat Shield Problems
- Tools and Materials Needed
- DIY Repair Methods
- Step-by-Step Repair Process
- Advanced Repair Options
- Preventative Maintenance
- When to Seek Professional Help
- Conclusion
- Frequently Asked Questions
Understanding Exhaust Manifold Heat Shields
That annoying rattle under your hood might seem trivial, but when it’s coming from a loose exhaust manifold heat shield, it shouldn’t be ignored. After 25 years working on everything from family sedans to performance machines, I’ve seen what happens when these vital components fail.
The exhaust manifold heat shield is essentially a metal barrier that protects surrounding components from the extreme temperatures your exhaust system generates. These shields typically attach to the exhaust manifold—the part that collects exhaust gases from your engine’s cylinders before they flow into the exhaust pipe.
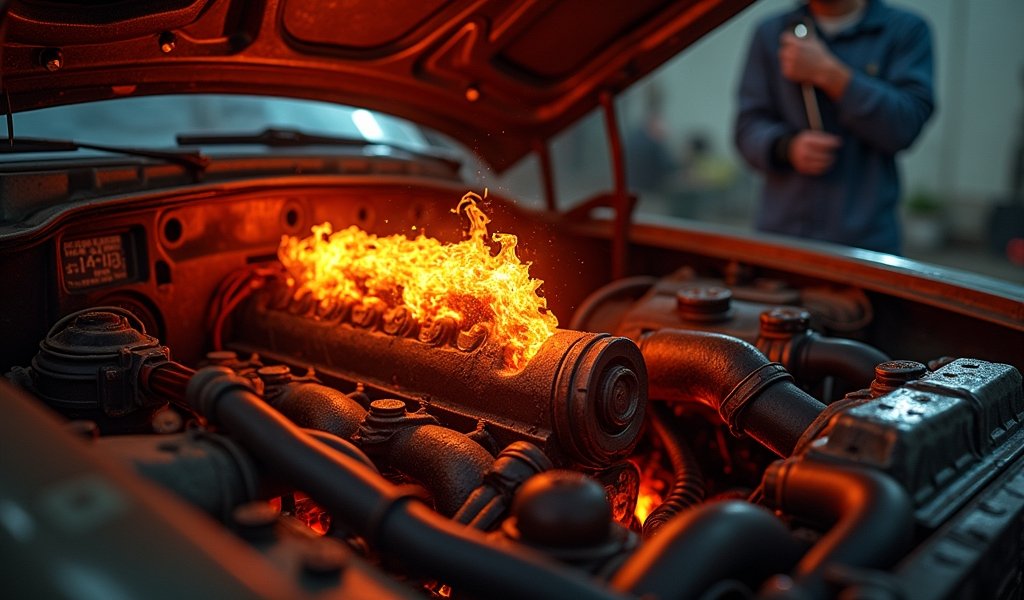
Without a properly functioning heat shield, temperatures exceeding 1,000°F can damage wiring, melt plastic components, and even create fire hazards. Think of it as a thermal barrier between your engine’s hottest parts and everything else that keeps your car running smoothly.
Heat shields come in different materials, each with their own benefits:
- Aluminum: Lightweight but less durable under extreme conditions
- Stainless steel: Excellent durability and corrosion resistance
- Ceramic-coated: Superior heat reflection for high-performance applications
Factory-installed shields (OEM) are designed specifically for your vehicle, while aftermarket options may offer improved materials but require verification for proper fitment. The best turbo manifold systems often include reinforced heat shields designed to handle the additional heat generated by forced induction.

Signs of Heat Shield Problems
The most common symptom of heat shield issues is that distinctive metallic rattle, especially noticeable when starting a cold engine. This sound occurs because the loosened shield vibrates against nearby components, creating a noise similar to shaking a tin can with coins inside.
The rattle typically becomes more pronounced during acceleration and may temporarily disappear once your engine warms up and the metals expand. Don’t be fooled by this disappearing act—the problem is still there, waiting to announce itself again the next time you start your car.
Other warning signs include:
- Burning smells from the engine bay
- Discoloration of nearby plastic components
- Visible sagging or damage to the shield itself
- Heat-damaged wiring or hoses near the exhaust manifold
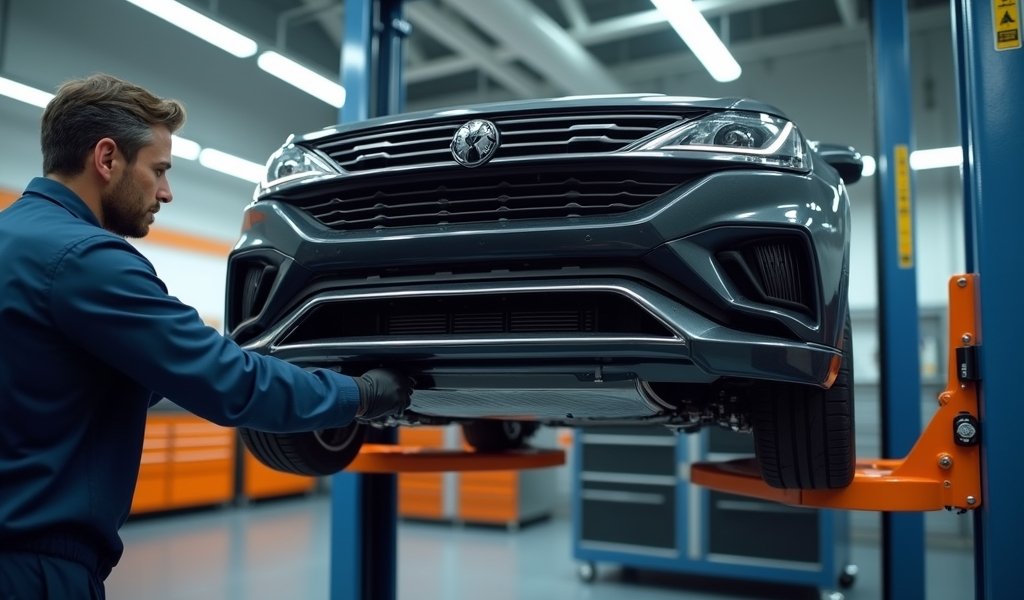
To confirm your suspicions, perform a visual inspection with the engine cold. Look for rust around mounting points, missing or loose fasteners, or shields that have warped from extreme heat exposure. A thorough inspection might require raising your vehicle safely on jack stands—never rely solely on a jack!
Some drivers make the dangerous mistake of simply removing a problematic heat shield. While this eliminates the annoying rattle, it also removes crucial thermal protection. According to a NHTSA study on vehicle fires, compromised heat shields have contributed to numerous underhood fires, particularly in older vehicles.
Tools and Materials Needed
Before diving into repairs, gather the right tools for the job. Having everything ready will save you frustration and skinned knuckles.
Essential tools include:
- Socket set with extensions (metric or standard, depending on your vehicle)
- Combination wrench set
- Penetrating oil (PB Blaster or equivalent)
- Wire brush for cleaning mounting surfaces
- Pliers and vise grips
- Flashlight or work light
- Jack and jack stands rated for your vehicle’s weight
For your safety, don’t forget:
- Mechanic’s gloves (heat-resistant preferred)
- Safety glasses
- Long sleeves to protect arms
- Proper ventilation in your work area
Depending on your repair approach, you’ll also need some of these materials:
- Replacement heat shield (if original is beyond repair)
- Stainless steel hose clamps (2-inch or larger)
- Self-tapping screws with washers
- High-temperature anti-seize compound
- Heat-resistant exhaust wrap
If you’re dealing with seized bolts—a common issue with exhaust components—a quality penetrating oil applied the day before your repair can make the difference between a smooth job and a frustrating ordeal. In my experience, giving the oil ample time to work is one of the best investments you can make.
DIY Repair Methods
Let’s dive into practical solutions for that rattling heat shield. After working on countless vehicles with this exact problem, I’ve developed several reliable repair methods ranging from quick fixes to more permanent solutions.
For roadside emergencies when you’re far from home and that rattle becomes unbearable, try these temporary fixes:
- Large stainless steel hose clamps wrapped around the exhaust pipe and shield
- Mechanics wire to secure loose sections (if you have some in your emergency kit)
- Remove the shield temporarily (ONLY as a last resort for very short distances)
For a more proper repair when your shield still has intact mounting points:
1. Clean all mounting surfaces thoroughly with a wire brush
2. Apply anti-seize compound to bolts to prevent future seizing
3. Reattach using original mounting points, being careful not to over-tighten and strip threads
4. For stripped holes, use oversized washers to distribute pressure more effectively
When dealing with damaged mounting points, stainless steel hose clamps offer an excellent solution:
1. Position large (2″ or larger) stainless steel clamps around the exhaust pipe
2. Capture the heat shield within the clamp’s band
3. Tighten securely, but don’t crush the exhaust pipe
4. Use multiple clamps for larger shields
For severely damaged shields, high-quality exhaust wrap can serve as an alternative thermal barrier. This specialized material can withstand extreme temperatures and provides excellent insulation. Just remember to secure it properly with stainless steel zip ties to prevent it from unwrapping.
The efficiency of your catalytic converter depends on maintaining proper operating temperatures, so ensuring your heat shields are intact also helps your emissions system perform optimally.

Step-by-Step Repair Process
Now let’s walk through a complete repair process that I’ve refined over years of working on exhaust systems. Follow these steps for the best results when addressing heat shield issues.
Preparation and Access
1. Ensure the engine is completely cool. This isn’t just about comfort—it’s about safety. Allow at least 2 hours after operation.
2. Park on a flat, stable surface and engage the parking brake.
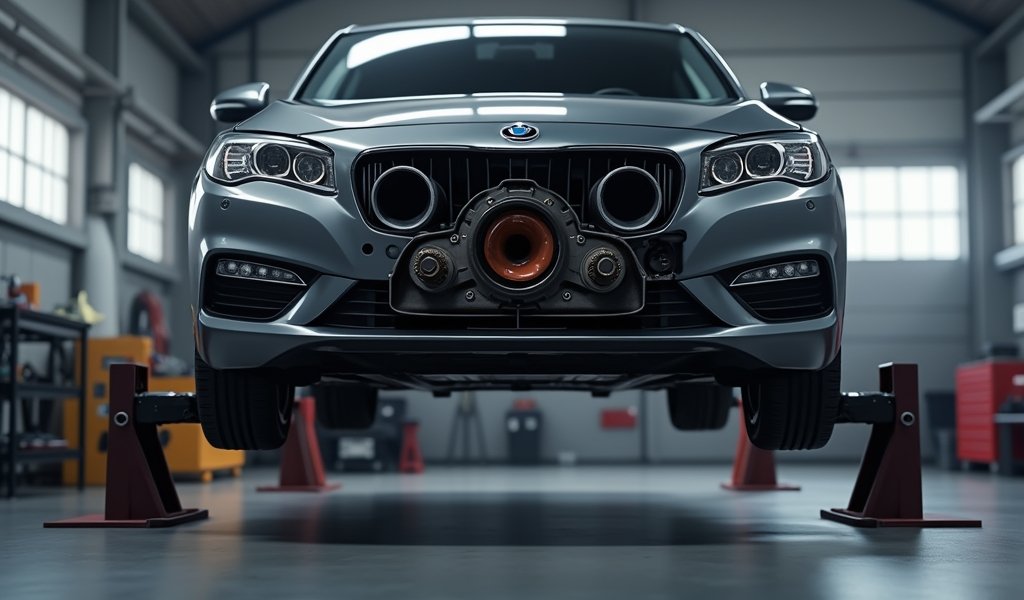
3. Raise the vehicle using a proper jack, then secure it on jack stands. Never work under a vehicle supported only by a jack.
4. Remove any necessary undercarriage panels for better access. Keep track of fasteners by placing them in a magnetic tray or container.
Removing the Damaged Shield
1. Spray all fasteners with penetrating oil and let it work for 15-20 minutes. Patience here pays dividends later.
2. Using the appropriate socket or wrench, remove the bolts securing the heat shield. Start with the most accessible ones.
3. If bolts break or are seized (a common occurrence), you may need an extraction kit or careful drilling. This is where quality tools make all the difference.
4. Remove the damaged shield carefully, noting its orientation for reinstallation.
Cleaning and Preparation
1. Use a wire brush to remove rust and debris from all mounting surfaces. Clean metal-to-metal contact is essential for a secure repair.
2. Inspect the manifold and surrounding areas for any additional damage that might need addressing.
3. Clean the heat shield itself if you’re reusing it, removing any loose rust or debris.
4. Apply high-temperature anti-seize to all fasteners to prevent future seizing.
Reinstallation
1. Position the repaired or new shield in its original orientation.
2. Start all fasteners by hand to prevent cross-threading.
3. Tighten in a cross pattern (similar to tightening lug nuts) to ensure even pressure.
4. If using hose clamps for repair, position them to maximize shield stability while ensuring they don’t contact any moving parts.
5. Verify clearance between the shield and exhaust components before lowering the vehicle.
6. Once the vehicle is lowered, start the engine and listen for any remaining rattles, making adjustments as necessary.
The exhaust gas recirculation valve and its components are often located near heat shields, so be careful not to disturb these critical emissions controls during your repair.
Advanced Repair Options
For those with more experience or specialized equipment, these advanced repair techniques can provide longer-lasting solutions to heat shield problems.
Welding Techniques
If you have welding skills and equipment, consider these permanent fixes:
1. MIG welding new mounting tabs to secure the shield. This works particularly well when original mounting points have deteriorated beyond repair.
2. Creating custom mounting brackets that attach to more stable parts of the exhaust system or engine.
3. Welding stainless steel mesh as a replacement for severely damaged sections.
Always ensure proper ventilation when welding and keep a fire extinguisher nearby. Never weld on components near fuel lines or with residual fuel present.
Custom Fabrication
When OEM heat shields are unavailable or prohibitively expensive, fabricating your own can be a rewarding solution:
1. Use the original shield as a template, tracing its outline onto new material.
2. Stainless steel sheets (typically 18-20 gauge) offer the best combination of formability and heat resistance.
3. Cut the new material using appropriate metal-working tools, then smooth all edges.
4. Drill mounting holes to match original locations or to accommodate your new mounting strategy.
5. Consider adding reinforcement ribs for additional rigidity in areas prone to vibration.
High-Performance Solutions
For enthusiasts seeking the ultimate in thermal protection:
1. Ceramic thermal coating can be applied to both the shield and exhaust components, dramatically reducing radiant heat.
2. Multi-layer composite shields using aerospace materials offer superior insulation in a lightweight package.
3. Header wrap combined with a shield provides dual-layer protection for critical areas.
These advanced options typically come with higher costs but deliver exceptional performance and longevity. According to SAE technical studies, properly designed thermal barriers can reduce underhood temperatures by up to 30% in extreme conditions.
Preventative Maintenance
An ounce of prevention is worth a pound of cure—especially when it comes to exhaust components. Here’s how to keep your heat shields in top condition and avoid those annoying rattles before they start.
Regular Inspection Routine
Add these quick checks to your regular maintenance schedule:
1. Visually inspect heat shields during oil changes, looking for signs of loosening fasteners or developing rust.
2. Listen for early rattling sounds, especially when starting a cold engine. Catching problems early makes repairs simpler.
3. After driving on rough roads or bottoming out, perform a quick visual check for damage.
4. Every 15,000 miles, conduct a thorough inspection of all heat shields and mounting points.
Corrosion Prevention
Rust is the number one enemy of heat shields, especially in regions where road salt is used:
1. Apply high-temperature anti-seize to all fasteners during installation or maintenance.
2. Consider upgrading to stainless steel hardware when replacing bolts.
3. In salt-belt states, regularly wash your vehicle’s undercarriage during winter months.
4. Address any exhaust leaks promptly, as the combination of heat and moisture accelerates corrosion.
Upgrade Opportunities
Sometimes preventing future problems means making improvements during repairs:
1. When replacing heat shields, consider upgrading to stainless steel versions if available for your vehicle.
2. Add additional mounting points if original designs proved inadequate.
3. For performance vehicles, investigate aftermarket shields designed specifically for higher operating temperatures.
4. Consider heat barrier tapes or wrap for nearby components that showed signs of heat damage.
Just like changing your oil prevents engine damage, these preventative measures for heat shields can save you from more costly repairs down the road. I’ve seen vehicles with original heat shields still in great condition after 200,000 miles, simply because their owners took these basic precautions.
When to Seek Professional Help
While many heat shield repairs are DIY-friendly, there are situations where professional assistance makes sense. Recognizing these scenarios can save you time, frustration, and potentially even prevent damage to your vehicle.
Know Your Limits
Consider professional help when facing these challenges:
1. Broken exhaust manifold studs that require extraction or drilling. This delicate process can damage the manifold if done incorrectly.
2. Limited access requiring special tools or equipment you don’t possess.
3. Heat shields integrated with catalytic converters or other complex emissions components.
4. When repair coincides with emissions testing, as improper repairs could cause test failures.
5. If you discover other exhaust system issues while addressing the heat shield.
Cost Considerations
Understanding the financial aspects helps in decision-making:
– DIY repair with existing parts and hardware: $10-30
– DIY replacement with new OEM heat shield: $50-200
– Professional repair labor: $80-150
– Complete professional replacement: $150-400+
These figures vary based on vehicle make, model, and local labor rates. In some cases, the time saved and guaranteed results make professional repair the more economical choice, especially if you’re not comfortable working on your vehicle.
Finding the Right Shop
Not all repair shops are equally equipped for exhaust work:
1. Seek specialists with extensive exhaust system experience.
2. Request recommendations from car clubs or forums specific to your vehicle make.
3. Look for reviews specifically mentioning exhaust work.
4. Ask about warranty coverage for the repairs.
5. Consider muffler shops, as they typically have all the specialized tools and experience for heat shield repairs.
Remember that a good mechanic won’t just fix the current problem—they’ll identify related issues and offer preventative advice that might save you money in the long run.
Conclusion
That rattling exhaust manifold heat shield might seem like a minor annoyance, but as we’ve explored, it serves a crucial protective role in your vehicle. Addressing heat shield issues promptly not only silences that irritating noise but also prevents potential damage to surrounding components and even reduces fire risks.
Whether you choose the DIY approach with our detailed guidance or seek professional assistance, the important thing is taking action. The repair methods we’ve covered range from simple temporary fixes to professional-grade solutions, giving you options regardless of your mechanical skill level or budget.
Remember that prevention is always easier than repair. Regular inspections, proper maintenance, and addressing small issues before they become major problems will keep your heat shields functioning properly for years to come. Those few minutes spent checking your exhaust system during routine maintenance can save hours of repair time later.
Your vehicle is a complex system of interconnected components, and even seemingly minor parts like heat shields play important roles in its overall health and longevity. By understanding and maintaining these thermal barriers, you’re helping ensure thousands of trouble-free miles on the road ahead.
Frequently Asked Questions
Can I drive with a rattling heat shield?
You can drive short distances with a rattling heat shield, but it should be repaired promptly. Continued driving risks further damage and potential heat exposure to nearby components.
Is it safe to remove a heat shield completely?
Removing a heat shield is not recommended as it can lead to heat damage to nearby components and create fire hazards. Always repair or replace damaged heat shields rather than removing them.
How much does it cost to fix a heat shield?
DIY repairs typically cost $10-30 using existing parts, while professional repairs range from $80-400 depending on vehicle make and whether replacement parts are needed. Simple repairs using hose clamps are the most economical solution.
Why do heat shields fail so often?
Heat shields fail primarily due to constant thermal cycling (heating and cooling), vibration, and exposure to road salt and moisture. These conditions accelerate corrosion of mounting points and the thin metal material.
Can I use regular bolts to attach a heat shield?
Regular steel bolts are not recommended as they can deteriorate quickly under high temperatures. Always use high-temperature fasteners or stainless steel hardware with anti-seize compound applied.

