Overview
This article provides five expert tips for successfully replacing CV joint boots on vehicles: selecting the right replacement kit, gathering essential tools, properly cleaning and inspecting components, mastering the installation process, and testing your work afterward. It emphasizes that replacing damaged CV boots promptly can prevent expensive CV joint failure while saving money on repairs that would otherwise cost $200-400 per side when done professionally.
Table of Contents
- Understanding CV Joint Boots: What They Are and Why They Matter
- Signs Your CV Joint Boot Needs Replacement
- Pro Tip #1: Choosing the Right Replacement Kit
- Pro Tip #2: Essential Tools for a Successful Replacement
- Pro Tip #3: Proper Cleaning and Inspection Techniques
- Pro Tip #4: Mastering the Installation Process
- Pro Tip #5: Testing Your Work
- Conclusion
- Frequently Asked Questions
Understanding CV Joint Boots: What They Are and Why They Matter
Those small rubber bellows tucked behind your wheels might not look like much, but they’re the unsung heroes protecting crucial components of your vehicle’s drivetrain. CV joint boots are the protective rubber shields that encase your car’s constant velocity joints, keeping lubricating grease in and harmful contaminants out.
Think of CV joint boots as the raincoats for your car’s joints. Without this protection, your CV joints would quickly deteriorate from exposure to water, road salt, dirt, and debris. When these boots crack or tear (and they eventually will), they allow precious grease to escape while letting damaging elements in – a recipe for expensive repairs down the road.
While many drivers overlook these humble components during routine maintenance checks, a failed CV boot can lead to total joint failure, potentially leaving you stranded and facing a repair bill that’s several times more costly than a simple boot replacement. That’s why understanding how to properly replace a CV joint boot kit is a valuable skill for any DIY-minded car owner.
Signs Your CV Joint Boot Needs Replacement
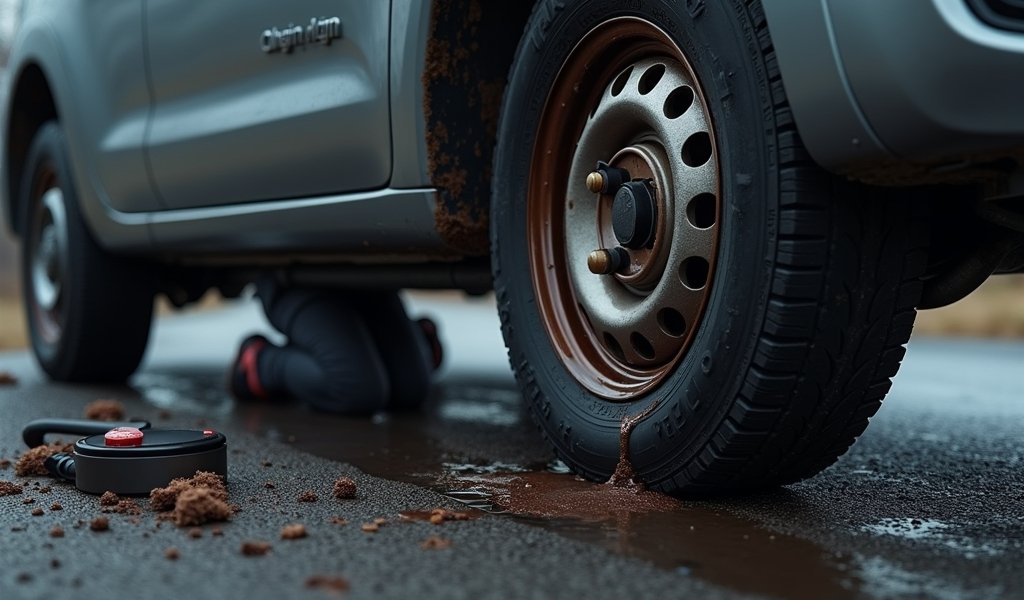
Your car has a way of telling you when something’s wrong, and CV joint boot problems are no exception. The most obvious sign is visible grease splattered around your wheel well or along the underside of your car. This dark, sticky substance is your CV joint’s lifeblood escaping through a torn or cracked boot.
Listen carefully while driving, especially when turning. A clicking or popping noise during turns is the classic symptom of a CV joint that’s lost its grease or become contaminated due to a failed boot. This sound typically gets louder during sharper turns and is often more noticeable at lower speeds.
Feel for vibrations during acceleration. When a CV joint starts to fail due to lack of lubrication or contamination, it often creates vibrations you can feel through the floorboard. If these vibrations increase with speed, your CV joint might already be damaged beyond a simple boot replacement.
Regular visual inspections can catch boot problems before they lead to joint failure. Make it a habit to check your CV boots when rotating tires or performing other routine maintenance. Look for cracks, tears, or grease leakage – early detection can save you hundreds in repair costs.
Don’t wait until you hear those telltale clicks! If you suspect your CV joint boots might be compromised, give us a call at Knows Your Car at (714) 867-5309. Our expert technicians can quickly assess your vehicle’s condition and recommend the best course of action.

Pro Tip #1: Choosing the Right Replacement Kit
Not all CV joint boot kits are created equal. Selecting the right one for your vehicle is crucial for a successful repair that’ll go the distance. The market offers two main options: OEM (Original Equipment Manufacturer) and aftermarket kits.
OEM kits come directly from your vehicle’s manufacturer and are designed specifically for your make and model. They typically offer the best fit and durability but come with a premium price tag. If your vehicle is newer or you plan to keep it for many years, the investment in OEM parts often pays off through longer service life and better performance.
Aftermarket kits from reputable brands can offer significant savings without necessarily sacrificing quality. Many professional mechanics rely on high-quality aftermarket parts from trusted manufacturers. Just be wary of bargain-basement options – when it comes to parts that endure constant flexing and extreme conditions, quality matters.
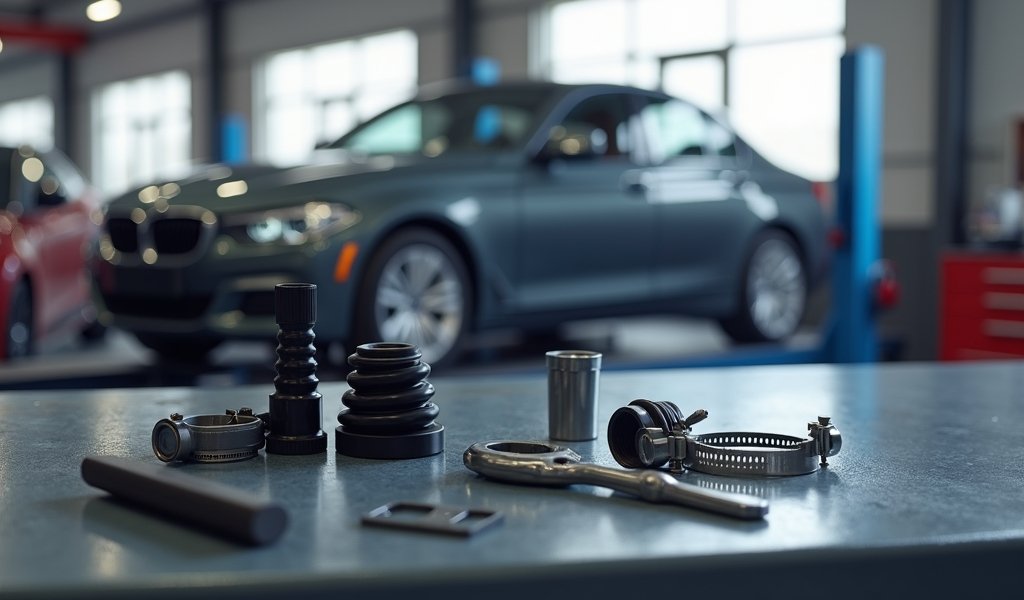
A complete CV boot kit should include:
- The rubber boot itself
- Appropriate-sized clamps (both large and small)
- CV joint grease (specifically formulated for CV joints)
- Any necessary retaining clips
- Detailed instructions
Pay attention to the boot material. Traditional rubber boots are common, but thermoplastic boots offer superior durability in extreme conditions. For vehicles subjected to off-road use or severe weather, the upgrade to thermoplastic is worth considering.
Remember to match the kit to your specific axle position (inner or outer joint) and vehicle specifications. Using the wrong kit can result in improper fit, premature failure, and wasted time. Not sure which kit is right for your vehicle? Visit our website or call (714) 867-5309, and our experts will help you find the perfect match for your needs.
Pro Tip #2: Essential Tools for a Successful Replacement
Having the right tools at hand before starting your CV boot replacement will make the difference between a smooth job and a frustrating Saturday spent under your car. Let’s break down what you’ll need to tackle this project like a pro.
First, you’ll need basic shop tools:
- Floor jack and jack stands (safety first!)
- Socket set and wrenches
- Pliers (both standard and needle-nose)
- Screwdrivers (flathead and Phillips)
- Rubber mallet
- Clean rags and catch pan
- Brake cleaner or degreaser
Specialized tools that make the job significantly easier include:
- CV boot clamp tool or crimper
- Axle puller (if you need to remove the axle)
- Boot installation cone (helps slide the boot over the joint)
- Torque wrench (for proper reassembly)
Don’t have all these specialty tools? No worries! Many auto parts stores offer tool rental programs that let you borrow what you need for a fraction of the purchase price. It’s a smart way to save money on car repairs without sacrificing quality.
In a pinch, you can fashion makeshift tools – a cut plastic bottle can serve as a boot installation cone, and cable ties can temporarily replace clamps (though not recommended for permanent use). Just remember that proper tools usually mean better results and fewer headaches.
Before starting, gather everything in your work area and ensure you have sufficient lighting. Nothing derails a DIY project faster than hunting for a tool with greasy hands or struggling to see what you’re doing. A bit of preparation prevents a lot of frustration!
Want more tips on essential tools for DIY auto repairs? Stop by Knows Your Car or call us at (714) 867-5309 – we’re always happy to help fellow automotive enthusiasts gear up for success.
Pro Tip #3: Proper Cleaning and Inspection Techniques
Once you’ve removed the damaged boot, you’ve got a golden opportunity to assess the condition of your CV joint – don’t waste it! This crucial inspection could save you from a more extensive (and expensive) repair down the road.
Start with thorough cleaning. Use a quality automotive degreaser and clean rags to remove all old grease and contaminants from the joint. This isn’t just about being tidy – you need a clean surface to properly inspect the joint components. According to MotorTrend’s technical experts, proper cleaning is essential for accurate assessment of CV joint condition.
When inspecting the CV joint, look carefully for:
- Pitting or scoring on the balls and races
- Excessive wear on the cage
- Rust or corrosion on any metal surfaces
- Damaged splines or irregular wear patterns
Move the joint through its full range of motion – it should move smoothly without binding, grinding, or excessive play. If you feel any roughness or hear grinding noises, your joint may be damaged beyond the point where just replacing the boot will help.
The million-dollar question: Should you replace just the boot or the entire CV joint assembly? If the joint appears clean, moves smoothly, and shows no significant wear or damage, replacing just the boot is usually sufficient. However, if you spot damage or contamination has already occurred, replacing the entire joint is the wiser choice.
Remember, CV joints can fail catastrophically and without warning once damaged, potentially leaving you stranded. When in doubt, consult with a professional. You can always call our experts at (714) 867-5309 for a second opinion if you’re unsure about what you’re seeing.
Don’t make the common car service mistake of ignoring joint contamination. Even slight roughness in joint movement indicates damage that will only worsen over time. Being thorough during inspection can prevent being stranded later!

Pro Tip #4: Mastering the Installation Process
Installing a new CV joint boot requires precision and patience. Follow these steps carefully, and you’ll achieve professional-quality results that will protect your CV joint for miles to come.
First, prepare your new boot by placing the smaller clamp onto the narrow end of the boot before attempting installation. This seemingly small detail makes a huge difference – trying to slide a clamp onto the boot after it’s positioned can be frustratingly difficult.
Position the boot correctly on the shaft first, then add the appropriate amount of grease. Most kits provide exactly the right amount of grease needed – typically around 7-8 ounces. Apply about two-thirds of this grease directly to the joint itself, and reserve the remainder for inside the boot.
When positioning the boot, ensure it seats properly in the grooves on both the shaft and the joint housing. These grooves are specifically designed to hold the boot in place and create a proper seal. A boot that’s not seated in these grooves will likely shift during operation, leading to premature failure.
Perhaps the most critical step is properly securing the clamps. Too loose, and they’ll allow grease to escape; too tight, and you risk tearing the rubber boot. Use a proper boot clamp tool for best results and follow the torque specifications in your vehicle’s service manual or the kit instructions.
Avoid these common installation pitfalls:
- Creating pinch points or folds in the rubber
- Trapping air inside the boot (which can cause ballooning)
- Using the wrong grease (always use what comes with your kit)
- Improper clamp positioning or tension
Take your time during installation. This isn’t a race – a methodical approach will yield better results than rushing. As noted by Popular Mechanics’ automotive experts, patience during CV boot installation significantly reduces the chance of repeat failures.
If you encounter difficulties or aren’t confident in your ability to complete this repair, don’t hesitate to contact our professional team at Knows Your Car. Call us at (714) 867-5309 to schedule service with technicians who perform these repairs daily with precision and care.
Pro Tip #5: Testing Your Work
The job isn’t complete until you’ve verified that your new CV boot is properly installed and functioning as expected. Thorough testing now can save you from breakdowns and additional repairs later.
Start with a stationary visual inspection. The boot should appear symmetrical without any twists, pinches, or folds. Both clamps should be securely fastened but not cutting into the rubber material. The boot should be properly seated in the grooves on both the axle shaft and joint housing.
Next, have a helper slowly rotate the wheel while you observe the boot’s movement. It should flex naturally as the joint moves through its range of motion, without stretching excessively at any point. If you notice any unusual stretching or binding, something’s not right with your installation.
Before taking your vehicle for a road test, double-check all fasteners you may have removed during the repair. This includes lug nuts, suspension components, and any other parts that were disconnected during the process. Ensure everything is torqued to specification according to your vehicle’s service manual.
When you’re confident everything is properly assembled, it’s time for a road test. Start with slow, gentle turns in both directions in an empty parking lot. Listen carefully for any clicking or popping sounds – the telltale signs of CV joint problems. If all seems well, gradually increase your speed and turning sharpness.
During your test drive, be alert for these warning signs that something isn’t right:
- Grease leakage (indicating an improper seal)
- Clicking or popping noises, especially during turns
- Vibrations that increase with vehicle speed
- Clunking sounds during acceleration or deceleration
If you experience any of these symptoms, it’s best to reassess your work before continuing to drive the vehicle. Small issues can quickly escalate to major problems if ignored.
Remember that new boots sometimes need a short “break-in” period as the grease distributes evenly and the rubber boot settles into position. Minor noises that disappear after a few miles of driving may not indicate a problem, but persistent symptoms should never be ignored.
Need a professional assessment of your DIY repair? The team at Knows Your Car is always happy to provide a follow-up inspection. Just visit our website to schedule an appointment or call us directly at (714) 867-5309.
Conclusion
Replacing a CV joint boot might seem intimidating at first, but with the right kit, proper tools, and these professional tips, it’s a manageable DIY project that can save you hundreds of dollars in repair costs. More importantly, mastering this skill allows you to address minor boot tears before they lead to catastrophic joint failure and much costlier repairs.
Remember that prevention is always better than cure when it comes to CV joints. Regular inspections of your boots during routine maintenance can catch small tears before they allow contamination. Many experienced mechanics recommend inspecting your CV boots at least twice a year, especially before and after winter in regions where road salt is used.
Whether you choose to tackle this job yourself or prefer to leave it to professionals, understanding the importance of CV boot integrity is crucial for maintaining your vehicle’s drivetrain health. Your CV joints are essential components in transferring power from your transmission to your wheels, and protecting them with intact boots is a small investment with significant returns.
At Knows Your Car, we’re committed to empowering vehicle owners with knowledge while providing expert service when needed. If you encounter any challenges during your CV boot replacement or would prefer to leave this job to experienced technicians, don’t hesitate to contact us at (714) 867-5309 or visit www.knowsyourcar.com to schedule an appointment.
Your vehicle deserves proper care, and sometimes that means getting your hands a little greasy – but when in doubt, our team is always here to help ensure your car runs smoothly for miles to come.
Frequently Asked Questions
How much does a professional CV joint boot replacement typically cost?
Professional CV boot replacement typically costs between $200-$400 per side, depending on your vehicle make and model. This price usually includes parts and labor, though luxury or specialty vehicles may cost more.
How long does a CV boot replacement take?
A professional mechanic can typically replace a CV boot in 1-2 hours per side. DIY repairs usually take 3-4 hours for someone with moderate mechanical experience.
Can I drive with a torn CV boot?
You can drive temporarily with a torn CV boot, but you should replace it as soon as possible. Continued driving will allow contamination of the joint, leading to premature failure and a much more expensive repair.
How often should CV boots be replaced?
CV boots don’t have a standard replacement interval and should be replaced only when they show signs of damage or leakage. With proper care, they can last 80,000-100,000 miles or more.
Is it better to replace the entire CV axle or just the boot?
If your CV joint is still in good condition with no noise or vibration, replacing just the boot is sufficient and more economical. If the joint shows signs of contamination or damage, replacing the entire axle assembly is the better long-term solution.


Pingback: Axle Shaft Spline Wear Inspection 7 Tips - knowsyourcar.com