Overview
This article presents five essential tips for successful car body kit installation, including thorough research before purchase, gathering proper tools, careful surface preparation, meticulous alignment, and attention to finishing details. The guidance emphasizes the importance of patience and precision throughout the process to achieve professional-quality results that enhance both the vehicle’s appearance and potentially its aerodynamic performance.
Table of Contents
- Introduction
- Tip #1: Research Before Purchasing
- Tip #2: Gather All Necessary Tools and Materials
- Tip #3: Proper Surface Preparation is Crucial
- Tip #4: Take Your Time with Alignment
- Tip #5: Finishing Touches Make the Difference
- Conclusion
- Frequently Asked Questions
Introduction
There’s something incredibly satisfying about transforming your factory-standard vehicle into a head-turning masterpiece. Car body kits installation represents one of the most dramatic ways to personalize your ride and make it stand out from the crowd.
After 15 years in automotive customization, I’ve seen body kits completely revolutionize vehicles—from subtle enhancements to dramatic overhauls that leave onlookers wondering what model they’re even looking at. But I’ve also witnessed plenty of costly mistakes that could have been avoided with proper guidance.
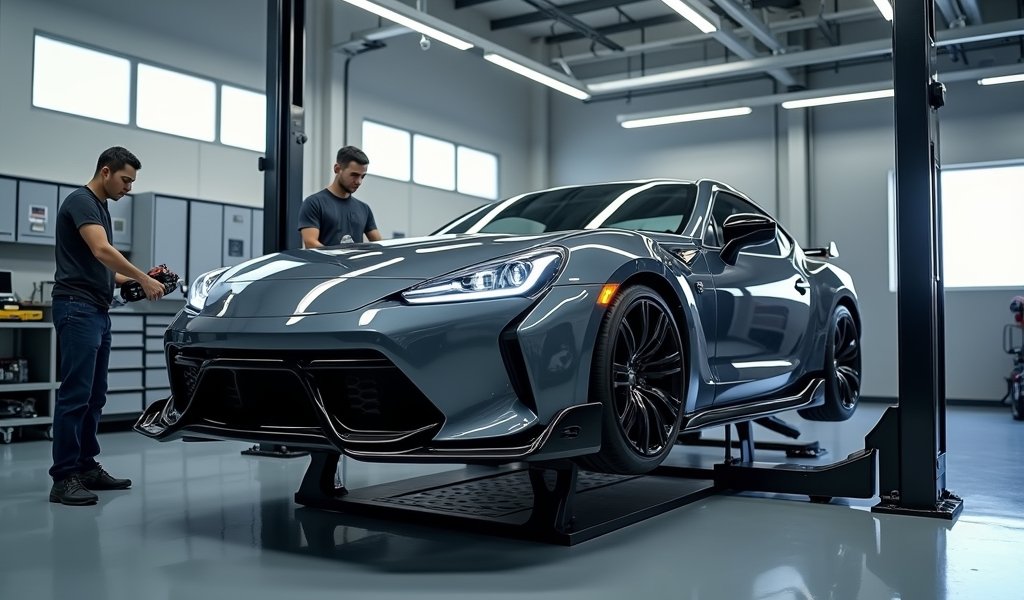
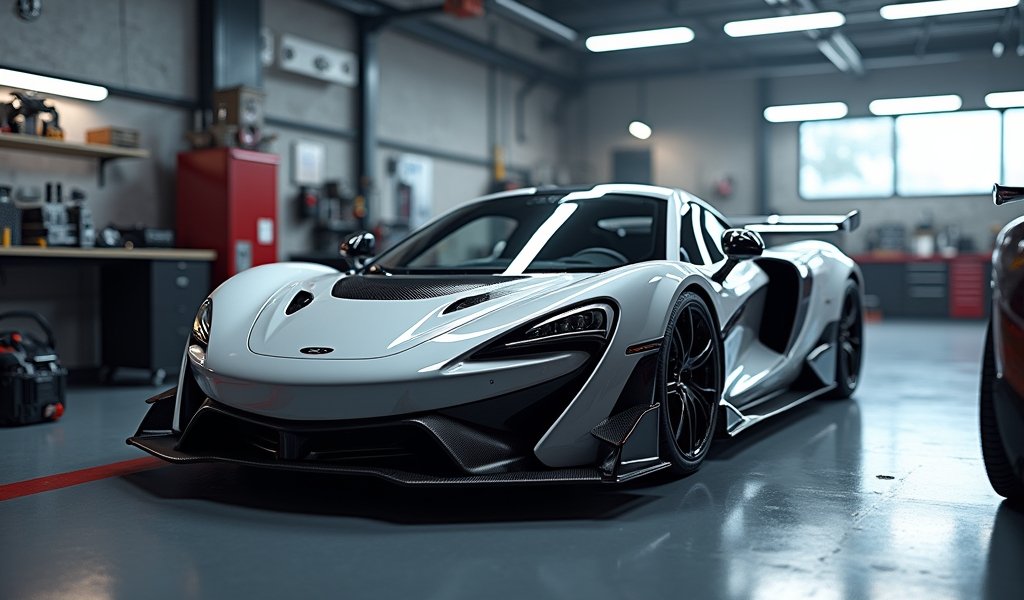
Body kits typically include front and rear bumpers, side skirts, and sometimes hood modifications or fender flares. Beyond aesthetics, well-designed kits can improve aerodynamics and even enhance performance by reducing drag or improving downforce at speed.
Whether you’re planning your first modification or your tenth, these professional tips will help ensure your car body kits installation goes smoothly, leaving you with results you’ll be proud to show off. Let’s get your project rolling in the right direction.
Tip #1: Research Before Purchasing
Before you even think about picking up a wrench, take time to research thoroughly. I can’t tell you how many enthusiasts I’ve seen stuck with ill-fitting parts because they rushed this crucial first step.
Start by understanding the three primary materials used in body kits:
- Fiberglass: Affordable and lightweight, but can be brittle and crack if not properly handled during installation
- Polyurethane: More flexible and durable than fiberglass, with better impact resistance, though typically more expensive
- Carbon Fiber: The premium option offering incredible strength-to-weight ratio, but comes with a significantly higher price tag
Each material requires different installation techniques and has unique long-term maintenance considerations. Your choice should balance your budget against durability needs and installation comfort level.
Vehicle compatibility is absolutely critical. Even within the same make and model, variations between production years can affect fitment. I’ve seen customers devastated after discovering their expensive kit was designed for a slightly different model variant.
Research brands thoroughly, as quality varies dramatically. Established manufacturers like Duraflex, Bomex, and VIS Racing have reputations built on consistent fitment quality. Budget options might save money upfront but often cost more in the long run through difficult installations and premature failures.
Don’t forget to factor in additional costs beyond the kit itself. Paint matching, professional installation help (if needed), and shipping can add 40-60% to your total project cost. Custom wheels and rims often complement body kits perfectly, but represent another significant investment to consider in your overall budget.
Finally, check SEMA’s automotive aftermarket directory for reputable manufacturers and read reviews from other enthusiasts who’ve installed the same kit on your specific vehicle model.

Tip #2: Gather All Necessary Tools and Materials
Nothing derails a smooth installation faster than realizing you’re missing a critical tool halfway through the job. I’ve learned this lesson the hard way more than once, so trust me on this one.
Before starting, ensure you have these essential tools on hand:
- Socket and wrench set (both metric and standard)
- Screwdriver set (Phillips and flathead in various sizes)
- Plastic pry tools (to prevent damaging existing components)
- Drill with various bits
- Jigsaw or cutting tool (for modifying existing panels if necessary)
- Sandpaper (80-400 grit range)
- Measuring tape and level
- Masking tape for test fitting
You’ll also need specific materials that make or break your installation:
- Automotive-grade adhesives or epoxies
- Panel bonding materials
- Seam sealers
- Self-tapping screws or rivets
- Double-sided automotive tape (the heavy-duty kind)
Your workspace matters tremendously. I recommend a clean, well-lit garage with enough room to walk completely around your vehicle. Temperature control is ideal, as adhesives cure poorly in extreme conditions. If working outdoors, check weather forecasts—humidity and temperature can affect your results dramatically.
Never skimp on safety equipment. At minimum, keep these items within arm’s reach:
- Protective gloves
- Safety glasses
- Respirator or mask when working with adhesives or paints
- Jack stands if lifting the vehicle
- Fire extinguisher
Consider renting specialized tools if your installation requires them. That panel-pulling tool you’d use once might cost $150 to buy, but only $15 to rent for the weekend. Your local auto parts store often provides tool rental services for specialty items you won’t need regularly.
Tip #3: Proper Surface Preparation is Crucial
When it comes to car body kits installation, proper surface preparation isn’t just important—it’s everything. I’ve seen gorgeous, expensive kits fail prematurely simply because someone rushed through this step.
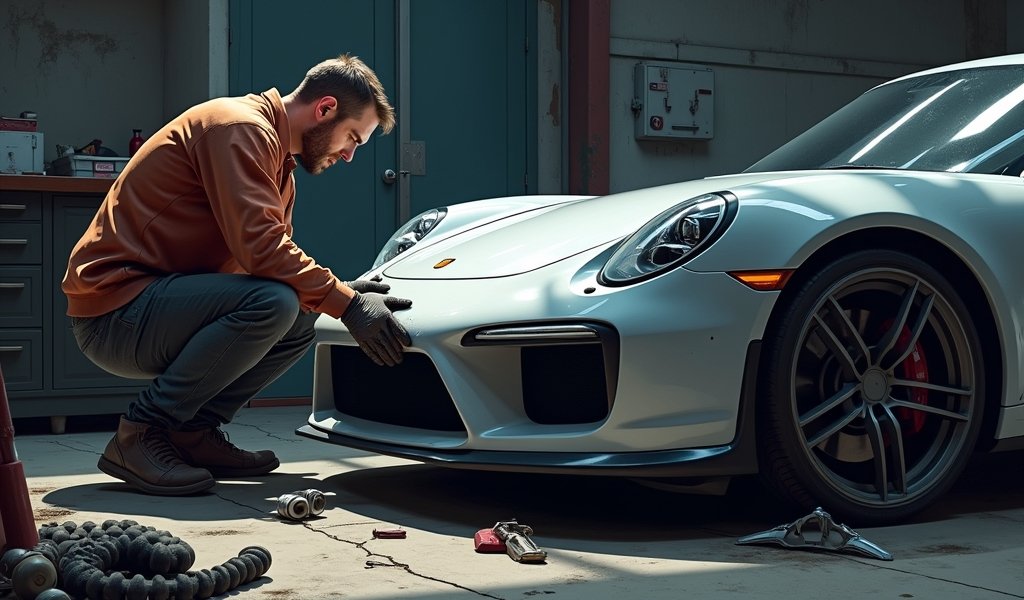
Start with a thorough cleaning of all mounting surfaces. Years of road grime, wax buildup, and environmental contaminants create an invisible barrier that prevents proper adhesion. First, wash with automotive soap, then degrease thoroughly. Finish with isopropyl alcohol as a final wipe-down to ensure a truly clean surface.
Existing damage must be addressed before installation. Even minor rust spots will continue to spread beneath your new body kit, eventually compromising the entire installation. Small dents or uneven areas should be properly repaired to ensure flush mounting of new components.
Temperature and humidity significantly impact adhesive performance. Ideal installation occurs in moderate temperatures (65-75°F) with humidity below 50%. When conditions aren’t ideal, consider adjusting your workspace with heaters, dehumidifiers, or even rescheduling your installation.
Test fitting is non-negotiable. I always recommend using masking tape to temporarily hold components in place before permanent mounting. This reveals alignment issues, clearance problems, and fitment challenges that are much easier to address beforehand.
For parts requiring cutting or drilling of your original bodywork, measure at least three times before making irreversible modifications. Mark your cut lines with masking tape for better visibility and cleaner cuts. When modifying suspension components for performance, similar precision is essential to maintain proper wheel alignment and handling characteristics.
If your kit will be painted, any surface imperfections need addressing now. Light sanding with progressively finer grits (starting around 180 and working up to 400) helps create the smooth foundation necessary for professional-looking paint results.
Tip #4: Take Your Time with Alignment
Rushing alignment is where most body kit installations go wrong. I’ve spent entire days on this step alone for complex kits, and it’s always time well invested.
Start by mounting the largest components first—typically the front and rear bumpers—and work toward smaller pieces. This approach establishes your primary reference points for aligning everything else. Large components also tend to have the most visual impact if misaligned, making them priorities for perfect positioning.
Panel gaps deserve obsessive attention. The spaces between your new body kit components and original bodywork should be consistent throughout. Professional shops aim for 3-5mm gaps in most applications. Use automotive gap gauges or even credit cards as makeshift spacers to verify uniform spacing.
Enlist help whenever possible. An extra set of eyes can spot issues from different angles, and additional hands allow for adjustments while you check alignment from a distance. When working solo, use temporary fasteners or supports to hold pieces in position while you step back to assess.
Alignment challenges I frequently encounter include:
- Bumper droop (fix with additional mounting points)
- Uneven panel gaps (address with shims or adjustment of mounting locations)
- Side skirt misalignment (ensure consistent height from ground along entire length)
- Fender flare positioning (must align perfectly with wheel arches and tire clearance)
Document your progress with photos. This helps identify subtle alignment issues that might not be immediately apparent and provides reference points if components shift during permanent mounting.
When you think alignment is perfect, take one final walk around the vehicle from multiple angles and distances. What looks aligned up close might reveal problems when viewed from 10 feet away. Trust your eye—humans are remarkably good at detecting even slight asymmetry.

Tip #5: Finishing Touches Make the Difference
The finishing touches separate amateur installations from professional-quality work. After 15 years in the business, I’ve learned these final details create lasting impressions.
Proper sealing prevents moisture intrusion, which can lead to premature deterioration of both the body kit and your vehicle’s body. Apply appropriate automotive seam sealer to all joints, paying special attention to areas exposed to road splash or weather. Allow full curing before exposing to elements—typically 24-48 hours depending on the product and conditions.
Paint matching requires patience and skill. If your kit came unpainted, consider professional painting for the best results. Color matching to factory paint is notoriously difficult, especially with metallic or pearl finishes. If painting yourself, remember that plastic components require special primers and flexible paint additives to prevent cracking as parts flex during normal use.
Many enthusiasts complement their body kits with custom car wraps instead of paint. This approach offers unique design possibilities and protection for your investment, while remaining reversible if you decide to change your style later.
Before considering the project complete, perform this final inspection checklist:
- Check all fasteners for proper torque
- Verify all adhesive areas have fully cured
- Look for any gap inconsistencies or alignment issues
- Test all affected components (headlights, sensors, etc.) for proper operation
- Inspect underneath for any loose components or interference with suspension
- Check door and hood operation for clearance issues
- Verify ground clearance at various points (especially important for lowered vehicles)
Finally, respect the break-in period. Even after installation appears complete, avoid high speeds, aggressive driving, or automatic car washes for at least two weeks. This allows adhesives to fully cure and components to settle into their final positions. I’ve seen rushed drivers literally watch parts fly off because they couldn’t wait for proper curing time.
Consider applying paint protection film to vulnerable areas of your new body kit. Leading edges of front bumpers and side skirts are particularly prone to stone chips and road debris damage. This small investment from quality protection film providers can preserve your kit’s appearance for years.
Conclusion
Installing a body kit transforms not just your vehicle, but often the entire driving experience. There’s undeniable satisfaction in personalizing your ride and creating something unique that reflects your vision and style.
Through proper research, thorough preparation, meticulous alignment, and attention to finishing details, you can achieve results that rival professional installations. The journey requires patience—rushing any step inevitably leads to disappointment and costly do-overs.
Remember that quality materials and components generally pay dividends in easier installation and longer-lasting results. The extra investment upfront typically saves money and frustration over time. If certain aspects of the installation seem beyond your comfort level, don’t hesitate to seek professional assistance for those specific steps.
Document your transformation with before-and-after photos. These not only provide personal satisfaction but can help others in the community considering similar modifications. The automotive enthusiast community thrives on shared knowledge and experience.
Your newly enhanced vehicle isn’t just transportation; it’s a rolling showcase of your personal style and attention to detail. With proper installation, your body kit will turn heads for all the right reasons for years to come.
Frequently Asked Questions
How long does it typically take to install a complete body kit?
For first-timers, expect to spend 2-3 full weekends on a complete installation. Professionals with proper facilities can often complete the job in 3-5 days, including paint and curing time.
Can I install a body kit myself if I have limited mechanical experience?
Simple bolt-on kits are possible for beginners with basic tools and patience. For complex kits requiring cutting or extensive modifications, professional help is strongly recommended for at least those portions.
Will installing a body kit void my vehicle’s warranty?
Modifications can affect warranty coverage for related components but cannot void the entire warranty. The Magnuson-Moss Warranty Act protects consumers, requiring manufacturers to prove the modification caused the failure.
How much does professional body kit installation typically cost?
Professional installation usually ranges from $1,000-$3,000, not including the kit itself or paint. Costs vary based on kit complexity, required modifications, and regional labor rates.
Do body kits affect insurance rates?
Many insurers require notification of significant modifications and may adjust rates accordingly. Some specialty insurers offer better coverage for modified vehicles at competitive rates.

