Overview
This article explains how camber adjustment bolt kits improve vehicle handling and tire longevity by allowing precise wheel angle adjustments, with different optimal settings for daily driving (-0.5° to -1.5°) versus performance use (up to -3.0°). Written by an experienced mechanic, it covers kit selection criteria, detailed installation steps, setting recommendations, and maintenance tips to ensure long-term performance benefits.
Table of Contents
- Understanding Camber Adjustment: What It Is and Why It Matters
- Selecting a Quality Camber Bolt Kit: What to Look For
- The Installation Process: Step-by-Step Guide
- Finding Your Optimal Camber Settings
- Maintenance Tips for Long-Term Performance
- Conclusion: Achieving Better Handling and Tire Life
- Frequently Asked Questions
As a mechanic with over 15 years working on performance vehicles, I’ve seen how proper camber settings can transform a car’s handling. Whether you’re experiencing uneven tire wear or want to dial in your car’s performance, understanding camber adjustment bolt kits is crucial. I’m here to walk you through everything you need to know without the confusing jargon.
Camber adjustment bolt kits are one of the most cost-effective suspension upgrades you can make, but only when installed correctly. Let me share my professional insights to help you maximize your vehicle’s potential and save money on premature tire replacements.
Understanding Camber Adjustment: What It Is and Why It Matters
Camber refers to the vertical tilt of your wheels when viewed from the front of your vehicle. When the top of the wheel leans inward toward the car, that’s negative camber. When it leans outward, that’s positive camber. This seemingly small angle makes a world of difference in how your car handles and how your tires wear.
Most factory vehicles come with a slightly negative camber setting (around -0.5° to -1°) to balance handling performance with tire longevity. However, these settings can change over time or after modifications like installing lowering springs or performance suspension components.
You might need a camber adjustment bolt kit if:
- You notice uneven tire wear (particularly on the inside or outside edges)
- Your vehicle pulls to one side during braking or acceleration
- You’ve lowered your vehicle
- You want to improve cornering performance
- Your vehicle’s handling feels “off” after a collision or hitting a major pothole
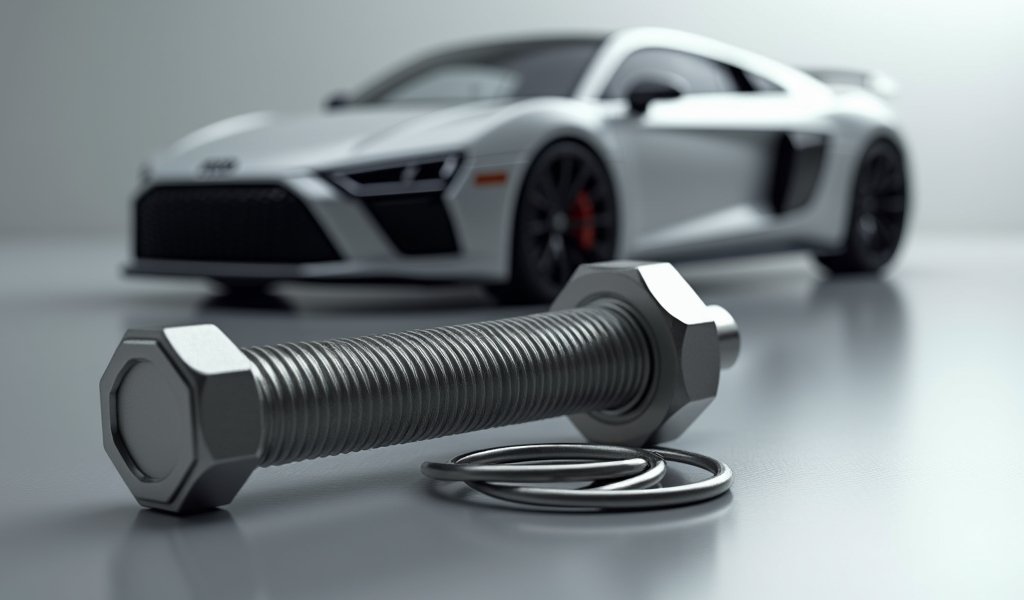
The beauty of camber bolt kits is their simplicity. They replace one or more of your existing suspension bolts with eccentric (off-center) versions that allow you to adjust the camber angle. It’s like giving your suspension system fine-tuning capabilities it didn’t have before.
According to a study published by the Society of Automotive Engineers, proper camber settings can extend tire life by up to 30% while simultaneously improving handling dynamics. That’s a win-win in my book!
Selecting a Quality Camber Bolt Kit: What to Look For

Not all camber bolt kits are created equal. I’ve seen plenty of customers learn this the hard way after installing cheap hardware that either slipped out of adjustment or corroded within months. Here’s what separates the good from the bad:
First, material quality matters enormously. Look for hardened steel bolts with zinc or similar corrosion-resistant coatings. These might cost a bit more upfront but will save you headaches down the road. Cheaper bolts made from mild steel will wear faster and can lose their adjustment capability.
Second, consider the adjustment mechanism. The best kits use a cam-style design that allows for smooth, precise adjustments without slippage. Some premium kits include serrated contact surfaces that help lock the adjustment in place.
Third, make sure the kit is specifically designed for your vehicle. Universal kits might seem appealing price-wise, but vehicle-specific kits ensure proper fitment and full adjustment range. Your Honda Civic and your buddy’s Ford Mustang have different suspension geometries for good reason!
Price ranges to expect:
- $30-50: Basic bolt kits (good for minor adjustments)
- $80-150: Mid-range kits with better materials and adjustment range
- $150-300+: Premium kits or complete systems including camber plates
For serious performance applications, you might want to consider camber plates instead of just bolt kits. These replace the upper strut mounts and provide even greater adjustment range. They’re particularly useful for rallycross suspension tuning or track day setups where maximum cornering grip is essential.
Remember, the camber bolts are what keep your wheels attached to your car. This isn’t the place to pinch pennies. Quality matters.
The Installation Process: Step-by-Step Guide
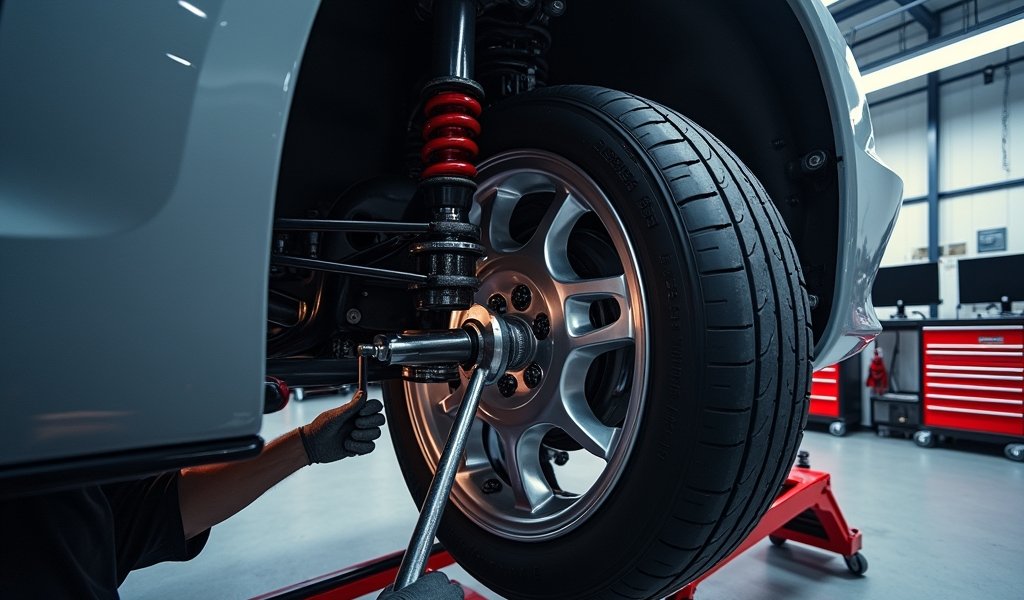
Installing camber adjustment bolts is within reach of most DIY mechanics with basic tools. That said, if you’re not comfortable working on your suspension, there’s no shame in having a professional handle it. Here’s my simplified approach that I’ve refined over hundreds of installations:
Preparation
- Gather your tools: Socket set, torque wrench, floor jack, jack stands, penetrating oil
- Loosen lug nuts before lifting the vehicle
- Raise and secure the vehicle on jack stands (never work under a car supported only by a jack!)
- Remove the wheels
Installation Steps
- Locate the strut-to-knuckle bolts (usually two bolts where the strut connects to the steering knuckle or lower control arm)
- Spray penetrating oil on any rusty hardware and let it sit for a few minutes
- Before removing any factory bolts, mark their positions with paint or a marker
- Support the knuckle assembly with a jack or bungee cord to prevent stress on CV joints or brake lines
- Remove one bolt at a time, replacing it with the camber bolt before removing the next one
- Initially install all camber bolts in the neutral position (matching the original bolt positions)
- Tighten the bolts enough to hold position but still allow adjustment
Adjustment Procedure
- Reinstall the wheels and lower the vehicle to the ground
- With weight on the suspension, adjust the camber by rotating the eccentric washer
- Clockwise rotation typically increases negative camber (tilts the top of the wheel inward)
- Counter-clockwise typically decreases negative camber
- Once you’ve reached your desired setting, tighten to the manufacturer’s torque specification
The most common mistake I see is rushing the process. Take your time, especially if you’re working with older vehicles where hardware may be stubborn. Breaking a bolt or stripping threads will turn a two-hour job into a two-day headache.
For optimal results, plan to get a professional alignment after installation. While you can make approximate adjustments at home, only an alignment machine will give you precise measurements and ensure all your suspension angles (camber, caster, and toe) work together harmoniously.
Finding Your Optimal Camber Settings
This is where the magic happens. Your ideal camber setting depends entirely on how you use your vehicle and what you’re trying to accomplish. Let me break down some guidelines I’ve developed over years of setting up everything from daily drivers to track monsters:
For Daily Driving
For everyday street use, mild negative camber between -0.5° and -1.5° usually provides the best balance of handling and tire wear. If you never drive spiritedly and just want maximum tire life, staying closer to -0.5° is your best bet.
If you’ve lowered your car, you’ll likely need more negative camber than stock to compensate for the suspension geometry changes. A lowered car with factory camber settings will typically wear the outer edges of the tires prematurely.
For Performance Driving
If you’re into weekend canyon carving or occasional track days, increasing negative camber to -1.5° to -2.5° front and -1.0° to -2.0° rear can dramatically improve cornering grip. Your tires will wear faster, but the enhanced performance might be worth the trade-off.
For dedicated track cars, some drivers go as negative as -3.0° or more, especially up front. At this point, you’re prioritizing maximum cornering performance over tire longevity, which makes sense for competitive driving.
Finding Your Sweet Spot
The best approach is iterative—start conservative, test, and adjust. After installing your camber bolt kit, drive for a week or two, then inspect your tires for wear patterns. Even wear across the tread surface means you’ve nailed it. Inner edge wear indicates too much negative camber, while outer edge wear suggests you need more.
Temperature readings across the tire tread can also reveal a lot about your setup. After a spirited drive, use an infrared thermometer to check temperatures across the tire’s width. Ideally, temperatures should be within 10-15°F from inner to outer edge.
Remember that car suspension upgrades for performance work as a system. Camber is just one piece of the puzzle that includes spring rates, damper settings, and other alignment factors like toe and caster. As you become more familiar with how your car responds, you’ll develop an intuitive sense of what it needs.
Maintenance Tips for Long-Term Performance

Once you’ve installed your camber bolt kit and dialed in your settings, you’ll want to keep everything working properly. Here’s how to ensure long-term reliability from your adjustment system:
Regular Inspection
Check your camber bolts for signs of loosening or movement every 5,000 miles or after any significant impact (like hitting a pothole). Look for rust, wear on the eccentric washers, or any signs that the bolts have rotated from their set position.
A quick visual inspection of your tire wear patterns can also tell you if your settings have shifted. Sudden changes in wear patterns often indicate that something has moved.
Preventative Measures
Apply a small amount of thread-locking compound (medium strength, like blue Loctite) to the threads when you’ve finalized your settings. This helps prevent unwanted movement without making future adjustments impossible.
Consider marking your final bolt positions with a dab of paint. This gives you a visual reference to quickly spot if anything has moved.
If you live in an area with harsh winters and road salt, spray the hardware with a corrosion inhibitor seasonally. This small step can add years to the life of your adjustment hardware.
Re-Torque Schedule
After your initial installation, re-check the torque of your camber bolts after about 500 miles. Suspension components typically “settle in” during this period, which can lead to slight loosening.
Thereafter, make torque checks part of your regular maintenance routine—I suggest every oil change or tire rotation. A properly torqued bolt is a happy bolt!
If you track your vehicle or drive it hard, consider checking more frequently. The increased forces and heat cycles can accelerate hardware loosening.
Remember that torque specifications matter. According to the Engineering Toolbox, a bolt tightened to only 75% of its specified torque may have less than 50% of its designed clamping force. That’s not something you want happening with critical suspension components!
Conclusion: Achieving Better Handling and Tire Life
Installing a quality camber adjustment bolt kit is one of the smartest moves you can make to improve your vehicle’s handling and extend tire life. It gives you control over an aspect of your suspension that significantly impacts how your car drives and wears.
Remember these key takeaways:
- Quality matters—invest in good hardware that won’t slip or corrode
- Take your time during installation and follow proper torque specifications
- Your ideal camber setting depends on how you use your vehicle
- Regular maintenance ensures your settings stay where you want them
- When in doubt, less extreme settings are usually better for daily driven vehicles
The beauty of camber adjustment is that it’s customizable to your specific needs. As your driving style evolves or if you make other suspension modifications, you can easily tweak your settings to match.
I’ve seen countless drivers transform their vehicles’ handling with nothing more than a proper camber adjustment. That slight angle change in your wheels can make the difference between a car that feels sloppy in corners and one that carves through them with precision.
Best of all, unlike many performance modifications that come with significant drawbacks for daily use, proper camber adjustment truly offers benefits for everyone—from commuters looking for even tire wear to weekend racers seeking every last bit of grip.
So grab your wrenches, pick up a quality bolt kit, and take control of your vehicle’s handling. Your tires, your wallet, and your driving experience will thank you.
Frequently Asked Questions
What exactly does a camber bolt kit do?
A camber bolt kit replaces one or more of your factory suspension bolts with eccentric (off-center) bolts that allow you to adjust the angle of your wheels. This adjustment helps optimize handling performance and tire wear patterns.
How do I know if my car needs a camber adjustment?
Signs include uneven tire wear (particularly on inner or outer edges), the vehicle pulling to one side, or poor handling after lowering your car. A professional alignment measurement can confirm if your camber is out of specification.
Can I install a camber bolt kit myself?
Yes, if you have basic mechanical skills and the right tools. The process typically involves safely supporting the vehicle, removing factory bolts, and installing the adjustment bolts in their place.
How much negative camber is too much for street driving?
For most street-driven vehicles, anything beyond -2.0° is generally excessive and will cause premature inner tire wear. Daily drivers typically perform best with -0.5° to -1.5° of negative camber.
Will installing a camber kit void my vehicle’s warranty?
Possibly, but only for related components. Under the Magnuson-Moss Warranty Act, manufacturers must prove that aftermarket parts caused a failure before denying warranty coverage for that specific component.


Pingback: Double Wishbone Suspension Geometry Tips - knowsyourcar.com