Overview
This article provides five essential brake inspection tips for vehicle safety: performing visual inspections of pads and rotors, identifying warning sounds like squealing or grinding, monitoring brake pedal feel for changes, conducting safe performance tests, and knowing when to seek professional inspection. Regular brake maintenance is critical for preventing accidents, as brake failures contribute to 22% of mechanical-related crashes, making timely inspection not just a maintenance task but a life-saving practice.
Table of Contents
- Introduction: Why Brake Inspections Matter
- Tip #1: Master the Art of Visual Inspections
- Tip #2: Decode Your Brake’s Warning Sounds
- Tip #3: Pay Attention to Brake Pedal Feel
- Tip #4: Test Your Brake Performance Safely
- Tip #5: Know When to Call the Professionals
- Conclusion: Your Braking Safety Action Plan
- Frequently Asked Questions
Introduction: Why Brake Inspections Matter
We’ve all been there – that moment when you press the brake pedal and your heart skips a beat because the response isn’t quite what you expected. After 25 years working as a certified brake specialist, I’ve seen how proper brake maintenance isn’t just about vehicle care – it’s about life preservation.
Brake failures contribute to roughly 22% of all mechanical-related vehicle crashes according to the National Highway Traffic Safety Administration. That’s nearly one-quarter of mechanical accidents that might have been prevented with timely inspections.
Your vehicle’s braking system is sophisticated yet surprisingly vulnerable to wear and environmental factors. Regular brake inspections aren’t just another item on your maintenance checklist – they’re your insurance policy against potential disaster.
In this guide, I’ll walk you through five proven safety tips for brake inspection that could literally save your life. These aren’t theoretical suggestions but practical steps I’ve refined over decades in the shop. Let’s dive in and demystify brake inspection together.
Tip #1: Master the Art of Visual Inspections
Visual inspections are your first line of defense against brake failure. You don’t need fancy equipment – just a flashlight, ten minutes, and a little know-how.
Checking Brake Pads
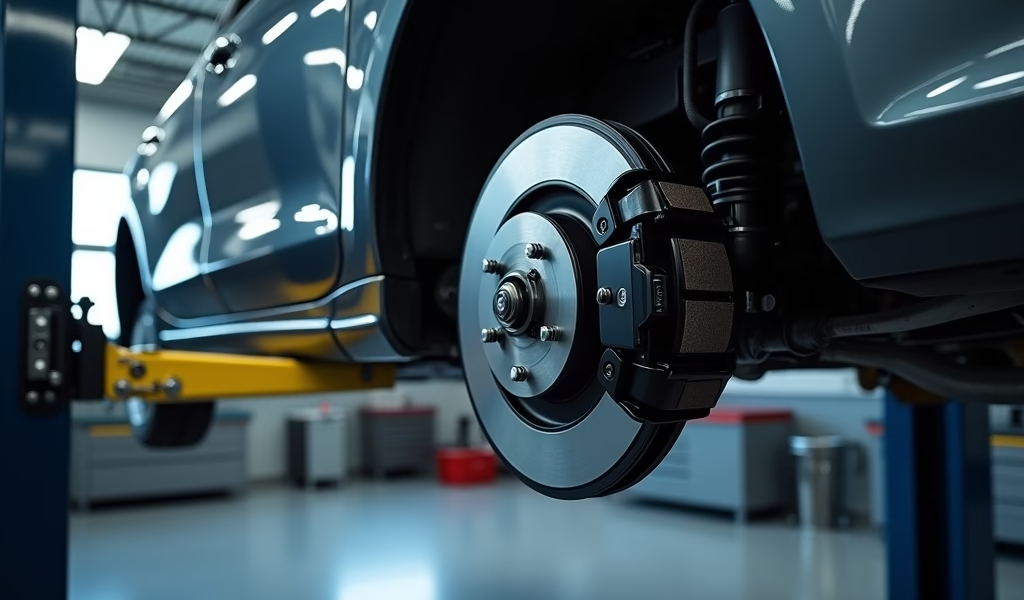
Your brake pads should have plenty of friction material left – at least 3-4mm. Look through the wheel spokes at the metal rotor and the pad pressing against it. New pads typically start with 10-12mm of material, so anything under 3mm means it’s replacement time.
Many modern pads include wear indicators – small metal tabs that create that notorious squealing sound when pads get too thin. If you’re hearing that sound, your brakes aren’t just making noise; they’re sending an urgent message.
Examining Rotors
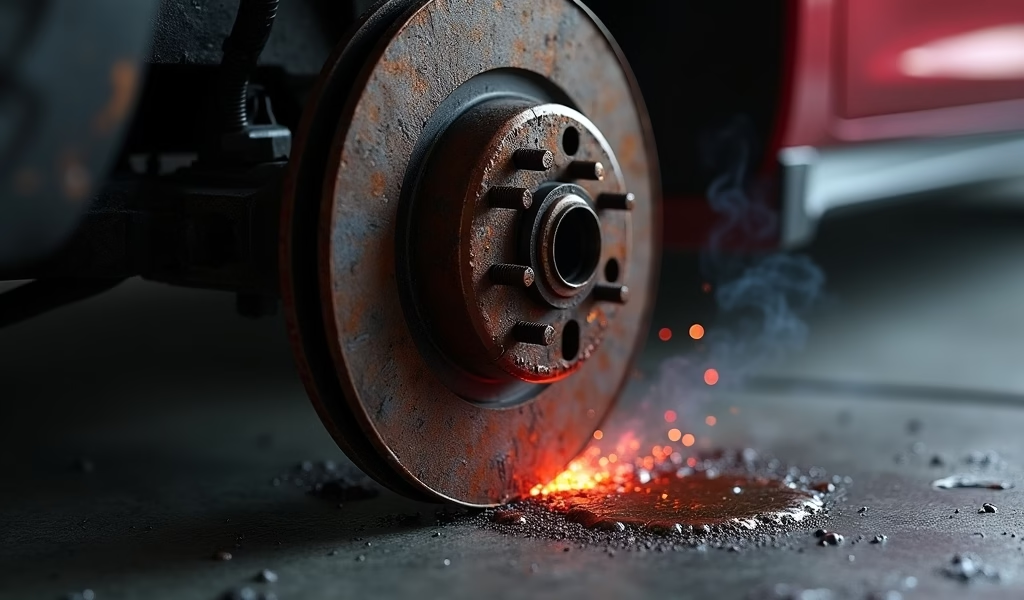
While you’re looking at the pads, check those rotors too. They should be smooth and evenly colored. Warning signs include:
- Deep grooves or scoring
- Blue discoloration (indicates overheating)
- Visible cracks or warping
- Rust beyond the outer edge
Spotting Fluid Leaks
Brake fluid leaks compromise your entire system. Look for:
- Clear to amber fluid puddles under your vehicle
- Wet spots around brake lines, calipers, or the master cylinder
- A dropping fluid level in your master cylinder reservoir
I recommend performing these visual checks monthly and before any road trips. This simple 10-minute routine has saved countless customers from dangerous situations and expensive repairs.

Tip #2: Decode Your Brake’s Warning Sounds
Your brakes communicate through sound, and as someone who’s diagnosed thousands of brake issues, I can tell you they speak quite clearly if you know how to listen.
The Meaning Behind the Squeals
That high-pitched squeal typically indicates:
- Worn brake pads (those wear indicators are doing their job)
- Glazed pads or rotors from excessive heat
- Foreign debris caught in the caliper assembly
Occasional squeaking in damp conditions is usually normal. But persistent squealing, especially when braking, demands attention.
Grinding: The Sound of Danger
If squealing is your brake’s polite request for service, grinding is its emergency distress signal. This metal-on-metal sound means:
- Your brake pads are completely worn out
- The metal backing plate is now contacting your rotor
- Damage is actively occurring with every brake application
Hearing grinding? Don’t drive any further than necessary to reach a brake shop. Every moment adds to the damage and decreases safety.
The Clicking Concern
A rhythmic clicking during braking often suggests:
- Loose brake hardware
- Worn anti-rattle clips or springs
- Improperly installed components
While not immediately dangerous like grinding, clicking indicates components that may fail at a critical moment. Get it checked within your next few drives.
After decades in the shop, I’ve found that unusual brake sounds rarely resolve themselves. In fact, they almost always worsen with time. Addressing them early typically means simpler, less expensive repairs.
Tip #3: Pay Attention to Brake Pedal Feel
The communication between your foot and your brake pedal provides vital intelligence about your braking system. I’ve taught hundreds of customers that this “pedal feel” is one of the most reliable early warning systems.
What Normal Feels Like
A healthy brake pedal should:
- Feel firm and consistent
- Begin engaging about 1-2 inches from its resting position
- Provide smooth, progressive resistance
When you’re familiar with how your brakes normally feel, you’ll immediately notice when something changes.
The Spongy Pedal Problem
If your brake pedal feels soft or sinks closer to the floor than usual, you’re likely dealing with:
- Air in the brake lines
- A hydraulic fluid leak
- A failing master cylinder
- Deteriorating brake hoses
This sponginess signals compromised hydraulic pressure – the very force that multiplies your foot’s pressure to stop your vehicle. Don’t gamble with spongy brakes; they can fail completely with little warning.
Pulsating Pedal Concerns
A brake pedal that vibrates or pulsates against your foot typically indicates:
- Warped brake rotors
- Uneven pad deposits on the rotor surface
- Problems with caliper operation
While a pulsating pedal won’t usually cause immediate brake failure, it reduces stopping efficiency and will worsen over time. Plus, it’s often a relatively straightforward fix when caught early.
In my experience, changes in pedal feel rarely resolve themselves. Schedule a brake service appointment as soon as you notice a difference. Your future self will thank you for the proactive approach.
Tip #4: Test Your Brake Performance Safely
You don’t need a professional test track to evaluate your brakes – just a safe approach and an empty stretch of road. After inspecting countless braking systems, I’ve developed a simple yet effective testing method that any driver can use.
The Safe Brake Test Method
Find a safe, low-traffic area and:
- Accelerate to approximately 20 mph
- Apply your brakes firmly (but not in panic-stop fashion)
- Pay close attention to how your vehicle responds
Early Sunday mornings in empty parking lots or quiet industrial areas during off-hours make ideal testing grounds. Never test your brakes in traffic or situations where unexpected stopping could endanger others.
Critical Signs to Watch For
During your test, be alert for:
- Vehicle pulling to one side (indicates uneven braking force)
- Longer than normal stopping distance (suggests reduced efficiency)
- Jerky or uneven deceleration (points to rotor or caliper issues)
- Unusual noises or vibrations (signals component problems)
This simple test has helped many of my customers identify brake issues before they became serious problems. It’s especially valuable before long trips or after extended periods without driving.
According to Consumer Reports, many drivers only discover brake problems during emergency situations – precisely when you need them most. A controlled test gives you insights during low-stress conditions when you have time to address any concerns.
If your vehicle exhibits any warning signs during testing, don’t ignore them. The issues won’t improve with time, and addressing them promptly is always less expensive than waiting for failure.

Tip #5: Know When to Call the Professionals
While DIY brake monitoring is essential between service visits, nothing replaces a professional inspection. After 25 years in the field, I’ve seen countless situations where expert eyes caught problems that would have been invisible to even vigilant vehicle owners.
When to Schedule Professional Inspections
Mark your calendar for brake inspections:
- Every 12,000 miles or annually (whichever comes first)
- Before and after winter in regions using road salt
- Immediately if you notice any warning signs from tips 1-4
- Two weeks before any major road trip
- After any collision, even minor ones
These intervals ensure small issues don’t grow into major problems or safety hazards.
What Professionals Can Detect
A thorough professional brake inspection includes elements beyond DIY capability:
- Precise measurement of pad and rotor thickness using specialized tools
- Brake fluid testing for contamination and moisture content
- Comprehensive system pressure testing
- Evaluation of internal hydraulic components
- Inspection of brake hardware often hidden from view
Many serious brake issues develop invisibly inside sealed components. Professional equipment can detect these problems before they become apparent in performance.
Finding the Right Brake Specialist
Not all inspections are created equal. Look for:
- ASE-certified brake technicians
- Shops that provide digital inspection reports with measurements
- Technicians willing to show you the components they’re concerned about
- Places that don’t pressure you into immediate repairs for minor issues
The ASE (Automotive Service Excellence) certification ensures your technician has passed rigorous testing specifically for brake systems. It’s your assurance of professional knowledge.
Professional inspections typically cost between $80-150 depending on your vehicle and location. When compared to the average collision repair cost of $3,000+ or the incalculable cost of injury, this preventive expense becomes one of the wisest investments in your vehicle.
Conclusion: Your Braking Safety Action Plan
Your vehicle’s braking system works tirelessly to keep you safe, asking only for regular attention in return. By implementing these five proven safety tips, you’re not just maintaining car components – you’re protecting lives.
Start with monthly visual inspections, stay alert to warning sounds, and pay attention to how your brake pedal feels beneath your foot. Test your brakes safely in controlled environments, and never skip professional inspections at recommended intervals.
Remember that when it comes to brakes, procrastination isn’t just expensive – it’s dangerous. Even minor issues can escalate rapidly, turning today’s small repair into tomorrow’s major overhaul or, worse, a preventable accident.
I recommend beginning with a simple visual inspection this weekend. Then, if it’s been more than a year since your last professional brake check, schedule one this month. Your safety is worth the investment.
After decades working with braking systems, I’ve learned that the most dangerous brake problems are those ignored until it’s too late. Don’t wait for your brakes to fail before giving them attention – by then, it’s already too late.
Frequently Asked Questions
How often should brake pads be replaced?
Most brake pads should be replaced every 30,000-70,000 miles, depending on driving conditions and habits. Have them inspected annually to catch wear issues early.
What causes brakes to squeak?
Brake squeaking is typically caused by worn brake pads, glazed rotors, or debris caught in the caliper assembly. Occasional squeaking in wet conditions is normal, but persistent noise indicates service is needed.
How much does a brake inspection cost?
Professional brake inspections typically cost between $80-150 depending on your location and vehicle type. Many shops offer free inspections if you purchase service from them.
Can I drive with grinding brakes?
No, you should not drive with grinding brakes except to reach a repair facility. Grinding indicates metal-on-metal contact that’s actively damaging your braking system and compromising safety.
What’s the difference between drums and disc brakes?
Disc brakes use calipers to squeeze pads against a rotor, while drum brakes use shoes that press outward against the inner surface of a drum. Disc brakes dissipate heat better and generally provide superior stopping power.


Pingback: Brake Inspection Schedule: Avoid Costly Repairs & Stay Safe - knowsyourcar.com