Overview
This article explains that blind spot monitoring systems require proper calibration after collisions, bumper repairs, windshield replacements, suspension changes, or mirror replacements to ensure they function correctly. It outlines the calibration process (including preparation, static and dynamic calibration, and verification), discusses manufacturer-specific requirements, and provides maintenance tips while highlighting the importance of these safety systems for preventing accidents.
Table of Contents
- Understanding Blind Spot Monitoring Systems
- Signs Your Blind Spot Monitoring Needs Calibration
- When Is Calibration Necessary?
- DIY vs. Professional Calibration: What’s Right for You?
- The Calibration Process Explained
- Manufacturer-Specific Calibration Requirements
- Common Calibration Pitfalls to Avoid
- Maintenance Tips for Optimal Performance
- Conclusion
- Frequently Asked Questions
Understanding Blind Spot Monitoring Systems
Blind spot monitoring calibration is one of those maintenance items that flies under the radar for most drivers. As a mechanic who’s worked with these systems for years, I can tell you they’re not just fancy bells and whistles – they’re genuine lifesavers when properly maintained.
These systems use a combination of sensors (usually radar or cameras) mounted on your side mirrors, rear bumper, or both to detect vehicles that might be lurking in areas you can’t easily see. When a vehicle enters your blind spot, you’ll typically get a visual alert in your side mirror or dashboard, and some systems even provide audible warnings or steering wheel vibrations if you activate your turn signal while a vehicle is detected.
Think of blind spot monitoring as your ever-vigilant co-pilot that never gets distracted, tired, or busy changing the radio station. But like any sophisticated system, it needs proper alignment to do its job effectively.
Signs Your Blind Spot Monitoring Needs Calibration
Your vehicle has ways of telling you when its blind spot monitoring system isn’t feeling quite right. Pay attention to these warning signs that calibration might be necessary:
- Inconsistent alerts – sometimes warning you when vehicles are present, sometimes not
- False alarms when no vehicles are actually in your blind spot
- Complete failure to detect vehicles that are clearly there
- Dashboard warning lights specifically related to blind spot monitoring or driver assistance systems
- Alerts that come too early (when vehicles are still far behind you) or too late (when they’re already alongside)
- System shutting off intermittently or failing to activate at startup
Most drivers I’ve worked with initially dismiss these symptoms as minor annoyances. “It’s just being overly cautious,” they’ll say. But here’s the truth: inconsistent performance means compromised safety. A system that cries wolf too often will eventually be ignored, and one that fails to alert you at a crucial moment defeats its purpose entirely.

When Is Calibration Necessary?
Certain events in your vehicle’s life almost always necessitate blind spot monitoring calibration. Understanding these triggers can help you stay ahead of potential problems:
- After collision repair – Even minor fender benders can knock sensors out of alignment
- Following bumper repair or replacement – Since most blind spot sensors are mounted in or near the bumpers
- After windshield replacement – Many vehicles integrate their safety systems with components near the glass
- When suspension components are modified or replaced – Changes in ride height affect sensor angles
- After side mirror replacement – For vehicles with mirror-mounted sensors
- When you purchase a used vehicle with blind spot monitoring – Previous damage may have left the system uncalibrated
- Following significant modifications like adding a trailer hitch or body kit
I once had a customer who couldn’t figure out why his blind spot system was acting up. Turns out, he’d replaced a damaged side mirror with an aftermarket part that looked identical but lacked the proper sensor housing. The system was working overtime trying to communicate with a sensor that wasn’t even there!
Another common scenario I see in the shop involves vehicles that have been in seemingly minor parking lot scrapes. The bumper might look fine after a quick repair, but the delicate calibration of the sensors inside has been thrown completely off kilter.
DIY vs. Professional Calibration: What’s Right for You?
The question I get most often is whether blind spot monitoring calibration is something drivers can handle themselves. The honest answer? It depends on your vehicle, your technical comfort level, and the tools you have available.
For DIY-friendly systems, you’ll typically need:
- An OBD-II scanner with ADAS calibration capabilities (expect to spend $100-500 for a decent one)
- Manufacturer-specific instructions (the generic guides online rarely cover all the specifics)
- A level, clean surface away from electromagnetic interference
- Basic tools for removing trim pieces to access sensors
- Patience and precision – rushing this job often means doing it twice
DIY calibration works best for:
- Basic blind spot systems that only require electronic resets
- Older models with simpler sensor arrangements
- Situations where you merely need to clean sensors and perform a system reset
Professional calibration is recommended for:
- Camera-based systems requiring precise alignment targets
- Radar systems needing specialized electronic calibration equipment
- Vehicles with integrated ADAS systems where blind spot monitoring is just one component
- After significant body work or collision repair
Professional calibration typically costs between $150-$400 depending on your vehicle make, model, and the complexity of its system. While not cheap, it’s significantly less expensive than replacing damaged components after a collision that could have been avoided.
As someone who’s seen the results of both successful and unsuccessful DIY attempts, I’ll share this: if you’re mechanically inclined and comfortable with automotive electronics, simple resets can often be handled at home. For anything requiring physical alignment or specialized tools, the peace of mind that comes with professional calibration is worth every penny.
The Calibration Process Explained
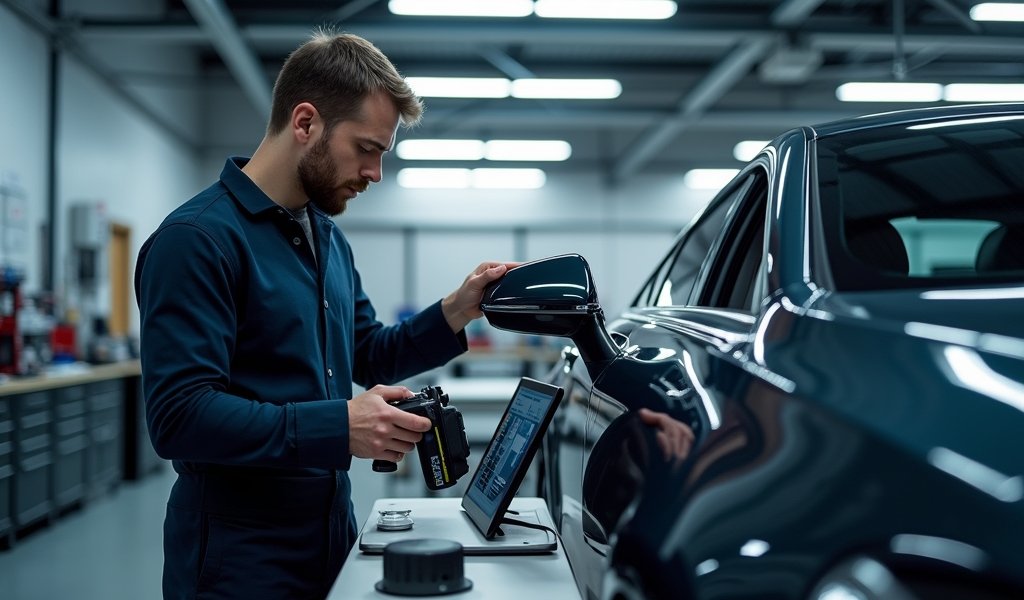
Whether you’re attempting this yourself or just want to understand what your mechanic is doing, here’s a breakdown of a typical blind spot monitoring calibration process:
1. Preparation
This critical first step sets the stage for successful calibration:
- Clean all sensors and cameras thoroughly – even fingerprints can interfere
- Ensure proper tire pressure and vehicle loading – uneven weight affects alignment
- Park on a perfectly level surface away from electromagnetic interference
- Remove any magnetic accessories from the vehicle (they can confuse sensors)
- Connect a battery maintainer if the procedure will take more than 30 minutes
2. Static Calibration
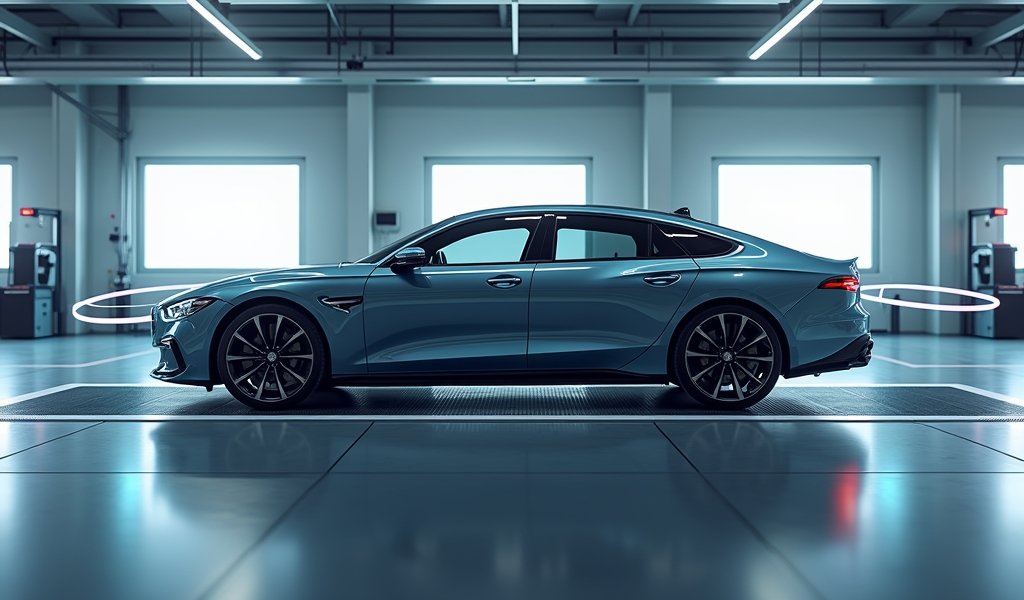
This phase is performed with the vehicle stationary:
- Connect the diagnostic tool to your vehicle’s OBD-II port
- Access the ADAS or blind spot monitoring calibration menu
- Initiate the reset procedure according to manufacturer specifications
- Some vehicles require specific targets to be placed at exact distances from sensors
- Allow the system to complete its self-tests and adjustments
3. Dynamic Calibration
Many vehicles also require driving to complete calibration:
- Drive on a clear road with well-defined lane markings
- Maintain a steady speed (usually between 45-55 mph)
- Follow the specific pattern required (some need straight driving, others need gentle curves)
- Continue until the system indicates calibration is complete (this could take 10-30 minutes)
4. Verification Testing
The final and most crucial step ensures everything is working correctly:
- Test the system in real-world conditions with another vehicle
- Verify alerts trigger at appropriate times and distances
- Check that no warning lights remain illuminated on the dashboard
- Document the calibration for warranty and insurance purposes
I recently calibrated a system for a customer who was experiencing constant false alarms. After completing the process, we discovered his previous shop had skipped the dynamic calibration entirely. They’d reset the computer but never “taught” it how to properly identify vehicles in motion – like tuning an instrument without ever playing a note!

Manufacturer-Specific Calibration Requirements
Each automaker approaches blind spot monitoring calibration with their own special recipe. Here’s what you should know about some popular brands:
Toyota/Lexus
Toyota’s Blind Spot Monitor (BSM) system typically requires both static and dynamic calibration. Their systems are particularly sensitive to proper alignment after body work. Toyota recommends calibration in a controlled environment with specific lighting conditions. Most newer models integrate with their Toyota Safety Sense package, requiring adaptive cruise control calibration to be performed simultaneously.
Honda/Acura
Honda’s Blind Spot Information System (BSI) often requires a Honda-specific diagnostic tool. Their calibration procedures are quite precise, with exact measurements needed for sensor positioning. Honda’s technical guidelines specify that calibration should be performed after any repair affecting the rear bumper cover or quarter panels.
Ford/Lincoln
Ford’s Blind Spot Information System (BLIS) typically needs calibration after any rear-end work. Their procedure involves both static calibration and a specific driving pattern at moderate speeds. Ford vehicles are somewhat more forgiving of minor alignment issues, but still require precise calibration after significant repairs.
General Motors
GM’s Side Blind Zone Alert system across their brands (Chevrolet, GMC, Buick, Cadillac) often requires more extensive driving during dynamic calibration – typically 20+ minutes at highway speeds. Their systems frequently need a GM-specific scanner to properly communicate with the vehicle’s complex network.
European Brands
Mercedes-Benz, BMW, and Audi typically have the most complex calibration requirements, often needing dealer-level equipment. These systems frequently integrate with multiple other safety features, making proper calibration critical. According to I-CAR research, European manufacturers often require the most precise environmental conditions for successful calibration.
In my experience, the difference between manufacturers isn’t just about complexity – it’s about philosophy. Japanese brands tend to prioritize reliability and consistent performance. American brands often focus on user-friendliness and ease of service. European systems typically deliver the most sophisticated integration but can be the most challenging to calibrate correctly.
Common Calibration Pitfalls to Avoid
Even with the best intentions, blind spot monitoring calibration can go wrong. Here are the most common mistakes I see and how to avoid them:
- Environmental interference: Attempting calibration in poor weather, extreme temperatures, or areas with electronic interference can compromise accuracy. Always choose a controlled environment.
- Ignoring manufacturer protocols: Generic calibration methods rarely work properly. Vehicle-specific procedures exist for a reason – follow them.
- Incomplete verification: Never assume calibration was successful without thorough testing. A system that works in the shop parking lot might fail at highway speeds.
- Rushing the process: Proper calibration takes time. Shortcuts almost always lead to incomplete results and continued problems.
- Failure to document: Always document calibration with before and after measurements, screenshots of diagnostic results, and verification tests. This protects both you and the vehicle owner.
One particularly memorable job involved a customer who had attempted DIY calibration using a generic scanner. The system seemed fine at first, but would randomly deactivate at speeds over 65 mph – precisely when you need it most! The issue? His scanner had reset the system but hadn’t properly aligned the detection parameters for high-speed operation. A complete professional calibration solved the problem permanently.
Maintenance Tips for Optimal Performance
Beyond calibration, there are several ways to keep your blind spot monitoring system performing at its best:
- Regular cleaning: Keep sensors and cameras clean, especially in winter when road salt and grime can accumulate
- Protect during car washing: Some high-pressure car washes can damage or misalign sensors – hand washing is gentler
- Avoid sensor covers: Aftermarket bumper protectors or covers can interfere with proper operation
- Watch for physical damage: Even minor bumps to bumpers or mirrors can affect alignment
- Schedule periodic checks: Have the system inspected during regular maintenance, especially if you notice any changes in performance
A preventative approach I recommend to my customers is to have their blind spot monitoring system checked annually, regardless of whether they’ve noticed issues. Think of it as an eye exam for your car – catching small alignment issues early prevents bigger problems later.
One simple maintenance tip that pays huge dividends: clean your sensors seasonally or whenever driving conditions change significantly. Road grime, pollen, dust, and even bug splatter can reduce sensor effectiveness long before you notice performance issues.
Conclusion
Blind spot monitoring calibration might seem like just another item on a growing list of modern vehicle maintenance tasks, but it’s one that directly impacts your safety on the road. When properly calibrated, these systems provide an invaluable extra set of eyes watching areas you physically cannot see.
Whether you choose the DIY route or professional service, the most important thing is that calibration gets done when needed. The peace of mind that comes with knowing your safety systems are functioning correctly is truly priceless.
Remember that these sophisticated systems aren’t just luxury features – they’re genuine safety equipment designed to prevent accidents and save lives. Treating them with the same maintenance diligence you’d give to your brakes or tires ensures they’ll be ready when you need them most.
Next time you’re changing lanes on a busy highway and that little light illuminates to warn you of a vehicle in your blind spot, take a moment to appreciate the intricate technology working silently to keep you safe. And if you ever notice that light behaving erratically or not appearing when it should, don’t wait – proper calibration ensures this invisible shield remains strong.
Frequently Asked Questions
How much does blind spot monitoring calibration typically cost?
Professional calibration typically costs between $150-$400 depending on your vehicle make and model. Complex systems on luxury vehicles may cost more due to specialized equipment requirements.
How long does the calibration process take?
A complete calibration usually takes 1-2 hours, including both static and dynamic phases. Some high-end vehicles with integrated systems may require up to 3 hours for comprehensive calibration.
Can I drive with an uncalibrated blind spot monitoring system?
Yes, but it’s not recommended as the system may provide inconsistent or inaccurate warnings. An uncalibrated system might miss vehicles or generate false alarms, creating a false sense of security.
Will my check engine light come on if calibration is needed?
Not necessarily. Many vehicles have separate warning lights specifically for driver assistance systems. Some systems simply stop working without any dashboard indication.
Do aftermarket blind spot systems need calibration?
Yes, most aftermarket systems require initial calibration during installation and recalibration if sensors are moved or bumped. Follow the manufacturer’s specific instructions for your system model.


Pingback: Backup Camera Grid Line Calibration Tips - knowsyourcar.com