Overview
This article presents seven essential maintenance techniques for car vinyl wraps, including proper hand washing with pH-neutral soaps, protecting from environmental damage, swift contaminant removal, DIY repairs for minor issues, applying appropriate protective coatings, avoiding harmful cleaning products, and scheduling professional maintenance every 3-6 months. With proper care techniques, car wraps can last 3-7 years while maintaining their appearance and protecting the vehicle’s original paint underneath.
Table of Contents
- Understanding Car Wraps: The Basics
- Hack #1: Master Proper Washing Techniques
- Hack #2: Shield Your Wrap from Environmental Damage
- Hack #3: Swift Contaminant Removal
- Hack #4: DIY Touch-up and Minor Repair
- Hack #5: Appropriate Protective Coatings
- Hack #6: Avoid These Common Mistakes
- Hack #7: Establish a Professional Maintenance Schedule
- Conclusion: Protecting Your Investment
- Frequently Asked Questions
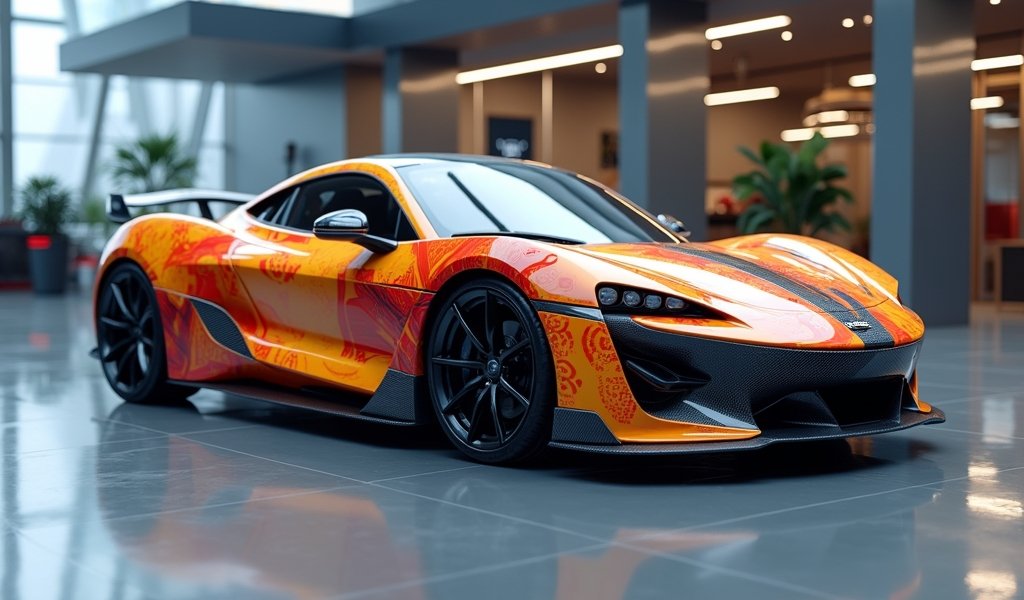
If you’ve been considering a car wrap to transform your vehicle’s appearance, you’re exploring one of the most versatile customization options available today. As a mechanic with over 15 years of experience working with vehicle exteriors, I’ve seen firsthand how the best car wrap ideas can completely revitalize a vehicle without the permanence and expense of a paint job. Whether you’re looking for a sleek matte finish, eye-catching chrome, or a custom design that turns heads, proper maintenance is the key to keeping your investment looking showroom-fresh.
Many car owners invest in quality wraps but underestimate the importance of proper care. Think of your car wrap like any other high-performance component – it requires specific maintenance to function at its best. In this comprehensive guide, I’ll share seven professional-grade maintenance hacks that will extend the life of your vehicle’s vinyl wrap, helping you protect both its appearance and your investment.
Understanding Car Wraps: The Basics
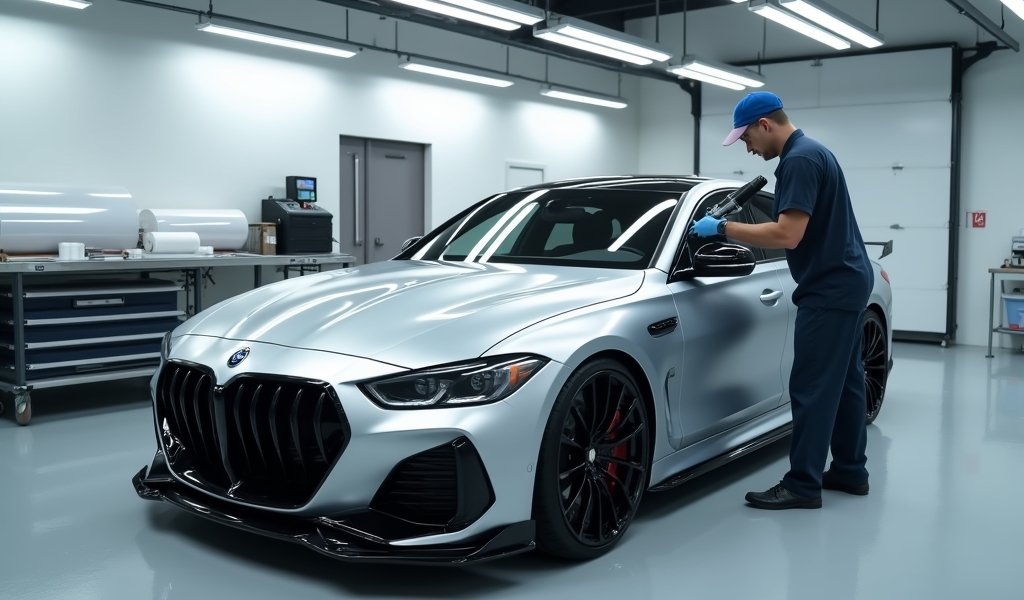
Before diving into maintenance techniques, let’s understand what we’re working with. Car wraps are primarily made from vinyl films that are precision-cut and professionally applied to your vehicle’s exterior. Unlike paint, these films sit on top of your original finish, protecting it while transforming your car’s appearance.
Car wraps come in several varieties:
- Standard vinyl wraps (most common and cost-effective)
- Matte wraps (non-reflective, sophisticated finish)
- Gloss wraps (shiny, paint-like appearance)
- Chrome and metallic wraps (highly reflective finishes)
- Carbon fiber and textured wraps (specialty finishes)
The advantages of wraps over traditional paint are significant. They’re generally more affordable than quality paint jobs, protect your vehicle’s original paint, and can be removed or changed when you’re ready for something new. Plus, they offer protection against minor scratches and stone chips while allowing for finishes that would be difficult or impossible to achieve with paint alone.
A quality wrap typically lasts between 3-7 years, depending on the material grade, installation quality, and – most importantly – how well you maintain it. That’s where our maintenance hacks come in.
Hack #1: Master Proper Washing Techniques

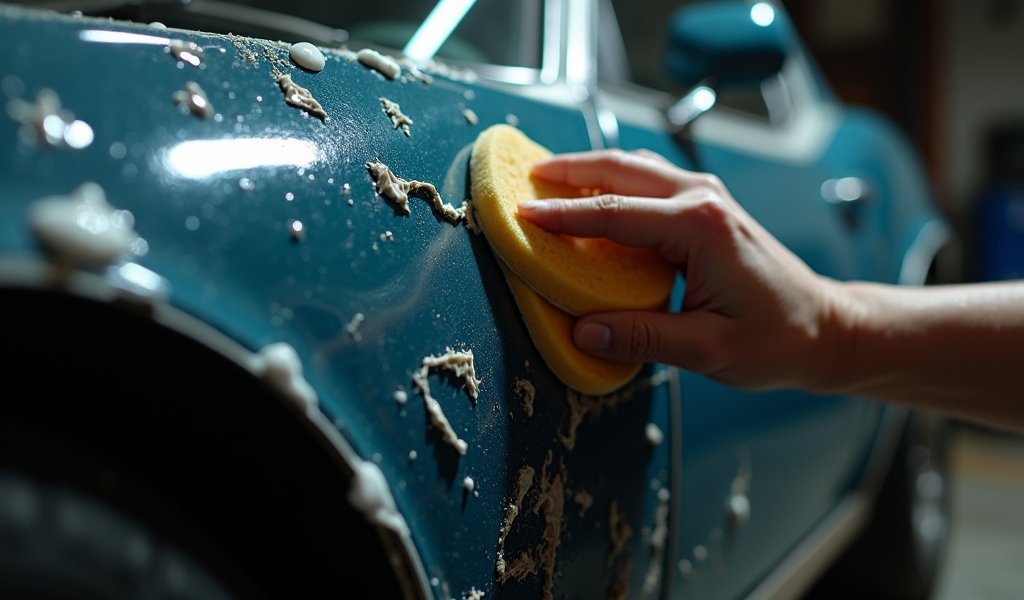
The way you wash your wrapped vehicle makes all the difference in preserving its appearance. Unlike painted surfaces, wraps require a gentler approach to avoid damage to the vinyl film.
First and foremost, always hand wash your wrapped vehicle. Those automatic car washes with rotating brushes? They’re vinyl wrap killers. The stiff bristles and high-pressure systems can catch on edges, causing lifting and premature wear. Even touchless automatic washes often use aggressive chemicals that can degrade vinyl over time.
For cleaning products, stick with pH-neutral automotive soaps specifically formulated for vinyl wraps. 3M’s dedicated vinyl cleaning solutions work wonderfully, but in a pinch, a gentle automotive wash solution or even mild dish soap diluted properly can work. The key is avoiding anything with petroleum distillates, solvents, or abrasive components.
Here’s my professional washing process:
- Use a soft microfiber wash mitt – never anything abrasive
- Implement the two-bucket method (one with soap solution, one with clean rinse water)
- Wash from the top down in straight, overlapping motions
- Rinse thoroughly with clean, cool water
- Dry with clean microfiber towels using a patting motion rather than rubbing
I recommend washing your wrapped vehicle every 1-2 weeks, or immediately after exposure to harmful contaminants like bird droppings or tree sap. This frequent care prevents substances from bonding to the vinyl surface and causing permanent damage.
Hack #2: Shield Your Wrap from Environmental Damage
In my years working on vehicle exteriors, I’ve identified environmental factors as the primary enemies of vinyl wraps. Proper storage and protection strategies can dramatically extend your wrap’s lifespan.
Whenever possible, park in a garage. This provides the ultimate protection against the wrap’s worst enemies: UV rays, precipitation, and temperature fluctuations. The sun’s ultraviolet radiation is particularly damaging, causing colors to fade and vinyl to become brittle over time.
If garage parking isn’t available, invest in a high-quality car cover specifically designed for wrapped vehicles. Look for covers with breathable materials that prevent moisture buildup, UV protection properties, and soft interior lining that won’t scratch or stick to the vinyl.
For outdoor parking, try these strategies:
- Choose shaded areas when possible
- Rotate your parking position to distribute sun exposure evenly
- Consider ceramic coating products designed for vinyl wraps to provide UV protection
Each season brings different challenges for your wrap. In winter, promptly remove road salt and ice-melting chemicals. During summer, increase washing frequency during high pollen seasons. Fall brings tree sap and fallen leaves that can stain if left too long, while spring often sees increased bird activity and resulting droppings that can etch into vinyl if not quickly removed.
Hack #3: Swift Contaminant Removal
In my shop, we have a saying: “The clock starts ticking the moment contaminants land on your wrap.” The speed of your response to substances like bird droppings, tree sap, and fuel spills can be the difference between a quick clean and permanent damage.
Bird droppings are particularly problematic because they contain acids that can etch into vinyl. Clean them immediately by saturating with warm, soapy water for about 10 minutes to soften the deposit, then gently wipe away with a microfiber cloth. For stubborn residue, a specialized automotive detailer spray designed for vinyl can help.
Tree sap should be addressed within 24 hours before it hardens completely. I’ve had good results using isopropyl alcohol diluted with water (1:1 ratio) applied with a microfiber cloth. Just be sure to clean the area with soap and water afterward to remove any alcohol residue.
For bug splatter, commercial bug removers formulated for vinyl wraps work well. Apply the solution, let it dwell for the recommended time, then gently wipe away. For road tar, use a specialized automotive tar remover applied sparingly to the affected area.
Keep these contaminant-fighting tools in your garage:
- Detailing clay bars designed for vinyl (helps remove embedded contaminants)
- Soft microfiber towels (essential for gentle cleaning)
- Plastic scrapers for hardened substances (never use metal)
- Soft-bristled detailing brushes for textured vinyl
Remember, the gentler your approach, the better. Patience pays off when removing stubborn contaminants from vinyl wraps.
Hack #4: DIY Touch-up and Minor Repair
Even with diligent care, small imperfections can develop in your wrap. The good news is that minor issues don’t always require professional intervention. With the right approach, you can address these problems yourself.
For surface scratches that haven’t penetrated through the vinyl, try this technique:
- Clean the area thoroughly with an appropriate vinyl cleaner
- Apply a small amount of vinyl revitalizer (available at automotive specialty shops)
- Gently buff with a microfiber cloth using circular motions
- Apply vinyl protectant after the repair is complete
For small tears or punctures, vinyl patch kits can be effective. Purchase a matching vinyl patch kit, cut a piece slightly larger than the damaged area, and apply according to the kit instructions. A heat gun on a low setting can help blend the edges, but be careful – excessive heat can damage the surrounding wrap.
Know when to call in professionals, though. Seek help for tears larger than one inch, delamination (vinyl separating from the vehicle), significant color fading, bubbling that can’t be worked out, or damage along complex curves or edges. These issues typically require specialized equipment and expertise that most DIYers don’t have access to.
Many of my clients keep a small piece of their wrap material stored safely for potential future repairs. If you’re having a vehicle wrapped, ask your installer if they can provide a small leftover piece for this purpose.
Hack #5: Appropriate Protective Coatings

The right protective products can add months or even years to your wrap’s lifespan. However, not all coatings work for all wrap types – using the wrong product can cause more harm than good.
Different wrap finishes require different protective products:
- Gloss wraps: Use spray waxes specifically formulated for vinyl
- Matte wraps: Apply only matte-specific sealants (never use regular wax on matte finishes)
- Chrome wraps: Use specialized metal-look vinyl protectants
- Textured wraps: Apply porous surface protectants designed for textured vinyl
When applying protective coatings, timing and technique matter. Always apply in the shade on a mild temperature day (60-80°F is ideal). Use applicator pads specifically designed for vinyl, apply in small sections with overlapping motions, and remove excess product promptly before it dries.
I recommend applying protective coatings every 3-4 months under normal conditions. If your vehicle experiences extreme conditions – such as coastal areas with salt spray, areas with high pollution, or regions with extreme heat – increase application frequency to every 2-3 months.
Many professional installers now offer ceramic coatings specifically formulated for vinyl wraps. While more expensive than DIY options, these professional-grade protectants can significantly extend wrap life and maintain appearance with enhanced UV and chemical resistance.
Hack #6: Avoid These Common Mistakes
In my years working with vehicle wraps, I’ve seen countless cases where simple mistakes led to significant damage. Knowing what to avoid is just as important as understanding proper maintenance techniques.
Never use these products on vinyl wraps:
- Petroleum-based cleaners (degrades vinyl adhesive)
- Citrus-based cleaners (too acidic for vinyl)
- Kitchen or bathroom cleaners (contain harsh chemicals)
- Engine degreasers (dissolve vinyl adhesive)
- Oven cleaners or other caustic substances
- Bleach or ammonia products (cause discoloration)
Pressure washing seems convenient but comes with significant risks for wrapped vehicles. If you must use pressure washing, maintain at least 2 feet of distance, keep pressure below 2000 PSI, use a 40-degree nozzle or wider, avoid directing water at vinyl edges, and never use hot water. When in doubt, hand washing is always safer.
Temperature considerations are often overlooked. Never wash when the surface is hot to touch – the ideal cleaning temperature is between 60-80°F (15-27°C). In freezing temperatures, try to use indoor facilities if possible. Always let your vehicle cool down after driving before washing to prevent cleaning products from evaporating too quickly and leaving residue.
Another common mistake is using automated gas station brushes for spot cleaning. These brushes collect debris from hundreds of other vehicles and can cause fine scratches in your wrap. Instead, keep a small detailing kit in your trunk with microfiber towels and a gentle spray detailer formulated for vinyl wraps.
Hack #7: Establish a Professional Maintenance Schedule
Even with diligent home care, professional attention helps maximize your wrap’s lifespan. Think of it like dental care – regular home maintenance combined with professional check-ups yields the best results.
I recommend scheduling professional maintenance:
- Every 6 months for standard use vehicles
- Every 3-4 months for vehicles with high exposure to elements
- Immediately after any significant contamination event
- When you notice edge lifting or bubbling beginning to form
Professional maintenance typically includes deep cleaning with specialized equipment, treatment of problem areas, resealing edges that may be beginning to lift, and application of professional-grade protectants that aren’t available to consumers.
Watch for these warning signals that indicate your wrap needs professional attention:
- Color shifting or fading (especially on horizontal surfaces)
- Brittleness or cracking when touched
- Edge curling or lifting, particularly around complex curves
- Surface texture changes or increased roughness
- Areas that seem to attract and hold dirt despite cleaning
With proper maintenance, quality wraps typically last 3-5 years on vertical surfaces and 1-3 years on horizontal surfaces exposed to direct sunlight. Following a professional maintenance schedule can often extend these timeframes by 20-30%, representing significant value for your investment.
Conclusion: Protecting Your Investment
Throughout my years working with vehicle exteriors, I’ve seen how the best car wrap ideas can transform ordinary vehicles into true expressions of personality. However, the most beautiful wrap in the world won’t stay that way without proper care. These seven maintenance hacks represent the collective wisdom I’ve gathered from working with hundreds of wrapped vehicles.
Proper maintenance isn’t just about aesthetics – it’s about protecting your investment. A well-maintained wrap not only continues to look great but also keeps your vehicle’s original paint in pristine condition underneath, preserving resale value and giving you flexibility for future customization options.
Remember that consistency is key. Small, regular maintenance efforts prevent the need for costly repairs or premature replacement. With these professional tips in your arsenal, you can maintain that head-turning custom look that made you choose a wrap in the first place.
Whether you’re rocking a subtle color change, bold graphic design, or attention-grabbing chrome finish, your wrap deserves care that matches the creativity that went into designing it. Follow these maintenance hacks, and you’ll enjoy your custom wrap’s vibrant appearance for years to come.
Frequently Asked Questions
How much does a car wrap typically cost?
Car wrap costs typically range from $2,500 to $5,000 for a full wrap, depending on vehicle size, wrap quality, and design complexity. Partial wraps start around $1,000, while premium materials like color-shift or chrome finishes can exceed $6,000.
How long does a car wrap last?
A quality car wrap lasts 3-7 years with proper maintenance, with vertical surfaces lasting longer than horizontal ones. Factors affecting longevity include material quality, installation expertise, environmental exposure, and maintenance practices.
Can I take my wrapped car through an automatic car wash?
No, automatic car washes with brushes will damage your wrap by catching edges and causing premature wear. Touchless automatic washes are less harmful but still not recommended due to their aggressive chemicals.
Will removing a wrap damage my original paint?
When professionally removed within 5 years of application, a wrap should not damage factory paint that was in good condition before wrapping. Older wraps or those exposed to extreme conditions may require more careful removal to preserve the underlying paint.
What are the most durable types of car wraps?
Premium cast vinyl wraps from manufacturers like 3M, Avery Dennison, and KPMF offer the greatest durability and longevity. These higher-end materials provide better conformability around curves, superior UV resistance, and more reliable adhesives than budget alternatives.

