Overview
Ball joints are critical suspension components that show various wear indicators like unusual noises, uneven tire wear, and steering issues, which require timely intervention through five professional fixes: visual inspection, proper greasing, torque adjustment, complete replacement, or upgrading to enhanced components. Regular maintenance and early detection of these warning signs can prevent dangerous failures, extend component life, and save substantial repair costs while maintaining vehicle safety and performance.
Table of Contents
- Understanding Ball Joints and Their Importance
- Recognizing Ball Joint Wear Indicators
- Fix #1: Visual Inspection and Maintenance
- Fix #2: Proper Grease Application
- Fix #3: Torque Adjustment and Tightening
- Fix #4: Complete Ball Joint Replacement
- Fix #5: Upgrade Options for Enhanced Durability
- Preventive Maintenance for Ball Joints
- Conclusion
- Frequently Asked Questions
Understanding Ball Joints and Their Importance
Ball joints are crucial components in your vehicle’s suspension system that connect the control arms to the steering knuckles. Think of them as the human shoulder joint—they allow smooth pivoting movement while bearing the weight of your vehicle. As a mechanic with over 15 years of experience, I’ve seen how ball joint wear indicators can save drivers from dangerous failures and expensive repairs when properly monitored.
These hardworking parts experience constant stress from everyday driving conditions. Each bump, pothole, and turn puts pressure on your ball joints, gradually wearing them down over time. Modern vehicles typically have both upper and lower ball joints, with the lower ones bearing most of the vehicle’s weight and experiencing more significant wear.
The ball joint wear indicator is a simple yet ingenious feature designed to alert you before a critical failure occurs. When functioning correctly, ball joints provide controlled movement while maintaining proper wheel alignment. However, when they begin to fail, you might notice problems ranging from uneven tire wear to dangerous steering issues.
Recognizing Ball Joint Wear Indicators
Catching ball joint wear early can save you from roadside breakdowns and costly repairs. The ball joint wear indicator comes in various forms depending on your vehicle make and model, but they all serve the same purpose—to warn you of impending failure. Here are the common indicators you should be watching for:
- Unusual noises (popping, clicking, or creaking) when turning or going over bumps
- Uneven or accelerated tire wear, particularly on the inside or outside edges
- Steering wheel vibration or wandering while driving
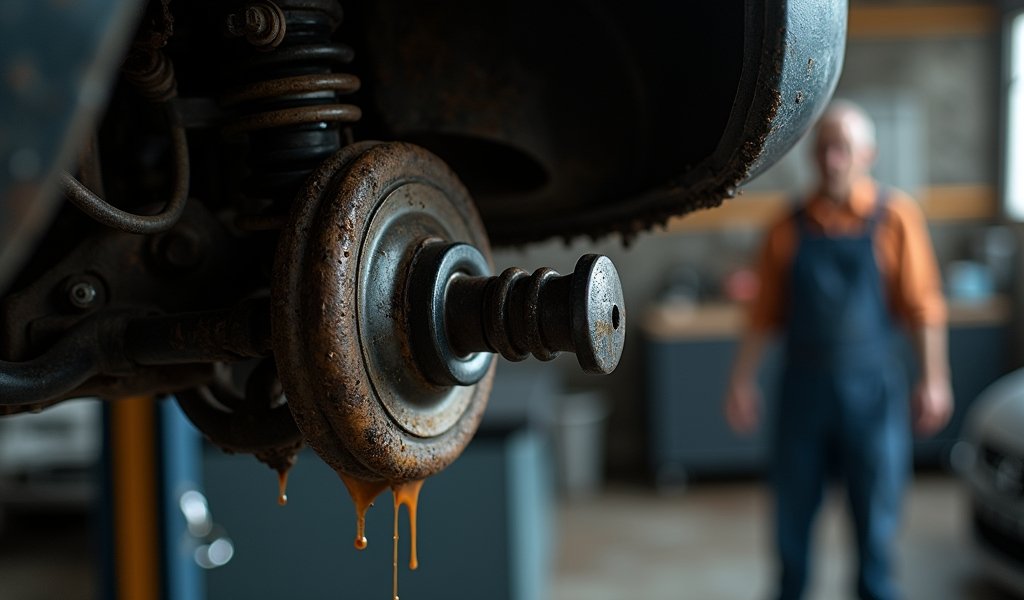
- Visual indicators such as grease leakage or physical wear marks
- Excessive play in the wheel when performing a physical check
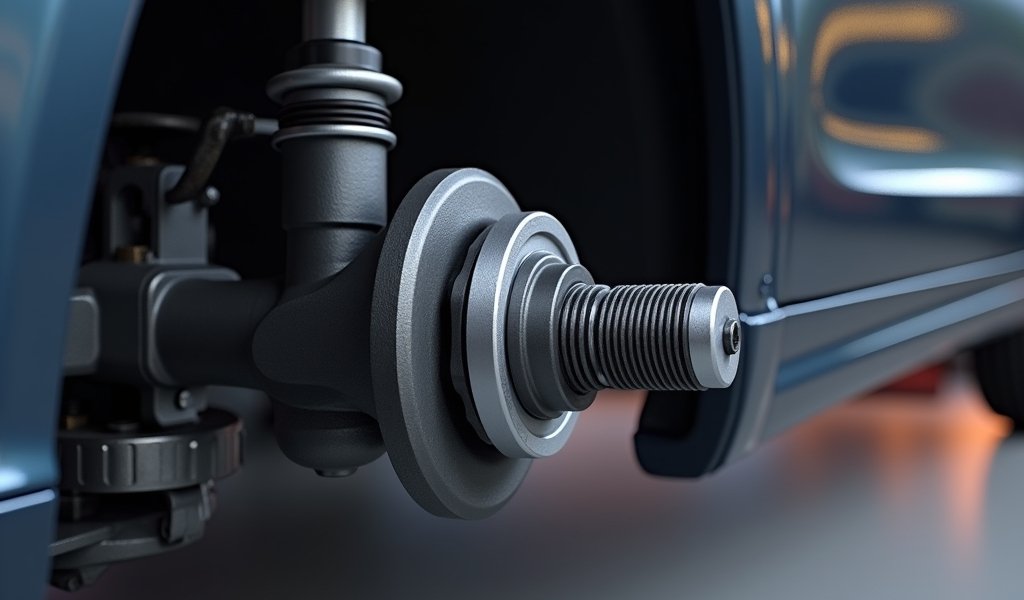
Some modern vehicles come equipped with built-in wear indicators—small metal tabs or visual markers that become exposed when the ball joint has worn past acceptable limits. These physical indicators take the guesswork out of maintenance timing.
When conducting a thorough car inspection, checking ball joints should always be on your list. I’ve seen too many customers ignore these warning signs until they hear a catastrophic clunk—which often means you’re already in the danger zone.

Fix #1: Visual Inspection and Maintenance
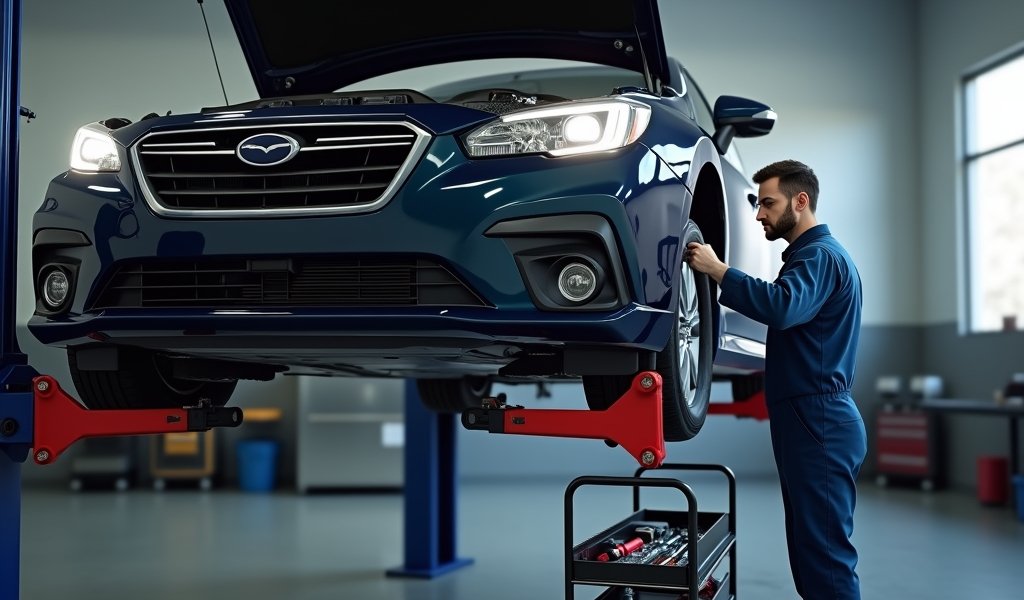
The first professional fix for addressing ball joint wear indicators is a thorough visual inspection. This is something you can do yourself with basic tools, or have done during routine maintenance. Let me walk you through how professionals do it:
Start by parking your vehicle on a level surface and safely lifting the front end with a jack. Secure it properly with jack stands—never rely solely on a hydraulic jack for safety. With the wheel removed, you’ll have clear access to examine the ball joint assembly.
Look carefully for any signs of damage or deterioration. Cracked or torn rubber boots are a critical warning sign—these protective covers keep grease in and contaminants out. If the boot is compromised, moisture and dirt can enter the joint, accelerating wear dramatically.
Check for grease leakage around the joint, which indicates seal failure. Most modern ball joints are sealed units, so visible grease is always a red flag. Also examine the ball joint for any physical deformation, rust, or unusual positioning.
If your vehicle has visible wear indicators—typically small metal tabs or marks—verify their position. According to SAE International research, these indicators are designed to become visible only when approximately 70-80% of usable life has been depleted.
After visual inspection, record your findings and plan accordingly. Even minor issues warrant monitoring, while significant wear requires immediate attention. This simple preventive step can add thousands of miles to your suspension components when done regularly.
Fix #2: Proper Grease Application
For serviceable ball joints with grease fittings (also called zerk fittings), proper lubrication is your second professional fix to address wear indicators. While many modern ball joints are sealed units, vehicles with serviceable joints benefit tremendously from this maintenance procedure.
First, locate the grease fitting on the ball joint—it’s usually a small nipple-like fitting on the body of the joint. Clean the fitting thoroughly to prevent introducing contaminants during the greasing process. A simple wire brush works wonders for removing caked-on dirt or debris.
Use a high-quality grease gun loaded with the manufacturer-recommended lubricant. Typically, lithium-based or moly-based greases work best for ball joints due to their excellent adhesion and pressure-handling capabilities. Attach the gun to the fitting and pump slowly until you see a small amount of fresh grease emerge from the joint seal.
Be careful not to over-grease—contrary to popular belief, more isn’t better here. Excessive grease pressure can damage the seals, allowing contaminants to enter and lubricant to escape. I typically recommend 3-4 pumps of the grease gun for most passenger vehicle ball joints.
For vehicles with high mileage, this procedure becomes even more critical. As part of your high mileage maintenance routine, I suggest greasing serviceable ball joints every 3,000-5,000 miles or according to your vehicle’s service schedule.
This simple maintenance step can dramatically extend ball joint life by reducing friction and preventing corrosion—often doubling the service interval when done consistently. I’ve seen properly maintained ball joints last over 150,000 miles in some vehicles, while neglected ones can fail before 50,000.
Fix #3: Torque Adjustment and Tightening
The third professional fix focuses on proper torque—something often overlooked even by some repair shops. Ball joints are secured with nuts, bolts, or castle nuts with cotter pins, depending on your vehicle’s design. Over time, these fasteners can loosen, creating play that accelerates wear.
Start by checking all mounting hardware for your ball joints. Loose connections can mimic the symptoms of worn ball joints while actually being a much simpler fix. Using a torque wrench, verify that all fasteners meet the manufacturer’s specifications. This is critical—both under-torquing and over-torquing can lead to premature failure.
For vehicles with adjustable ball joints, proper preload setting is essential. This adjustment controls the tension on the ball joint and directly impacts performance and lifespan. Consult your vehicle’s service manual for the exact specifications, as they vary widely between makes and models.
Pay special attention to castle nuts and cotter pins. These safety devices prevent critical fasteners from backing off completely. If you find damaged cotter pins or stretched castle nuts, replace them immediately. Never reuse old cotter pins—they’re inexpensive insurance against catastrophic failures.
After making torque adjustments, perform a movement test by grasping the control arm and trying to move it vertically. Any detectable movement could indicate continued wear beyond what torque adjustment can fix. In this case, you might need to move on to more extensive repairs.
Proper torque adjustment can often resolve minor play issues and extend the service life of ball joints showing early wear indicators. I’ve saved numerous customers from premature replacements simply by restoring proper torque to their suspension components.

Fix #4: Complete Ball Joint Replacement
When wear indicators show significant deterioration, replacement becomes necessary. This fourth professional fix requires more technical skill but delivers a complete resolution to ball joint problems. Here’s how the pros approach it:
Begin by gathering all necessary components before starting work. Always replace ball joints in pairs (left and right sides) even if only one shows wear indicators. This ensures balanced handling and prevents uneven stress on your suspension components. Quality matters tremendously here—I always recommend OEM or premium aftermarket parts from reputable manufacturers.
The replacement process typically involves removing the wheel, disconnecting the steering knuckle, and using a ball joint press or separator tool to remove the old joint. Modern vehicles often have ball joints integrated into the control arm assembly, which may require replacing the entire component.
Pay close attention to any shims or washers during removal, as their positions affect alignment. Take photos before disassembly if you’re uncertain. Clean all mating surfaces thoroughly before installing the new components. Apply a thin layer of anti-seize compound to threads to prevent future corrosion.
When installing new ball joints, always follow torque specifications precisely. Torque sequence matters as much as the final values—typically, you’ll tighten in stages to ensure proper seating. After installation, verify freedom of movement without excess play.
A professional alignment is absolutely essential after ball joint replacement. New components will alter your suspension geometry, potentially causing handling issues and accelerated tire wear without proper alignment. According to Hunter Engineering, even small alignment changes can reduce tire life by thousands of miles.
Fix #5: Upgrade Options for Enhanced Durability
For those who’ve experienced recurring ball joint issues or drive in harsh conditions, the fifth professional fix involves upgrading to enhanced components. This proactive approach can prevent future wear indicator problems and provide longer service life.
Heavy-duty ball joints offer significantly improved durability over standard replacements. These upgraded components typically feature stronger materials, better seals, and more robust designs. For trucks, SUVs, or vehicles used in demanding conditions, this investment pays dividends through extended service intervals.
Greasable designs represent another valuable upgrade for vehicles that originally came with sealed units. The ability to periodically lubricate your ball joints can dramatically extend their lifespan, especially in dusty, wet, or salt-exposed environments. These conversions typically involve minimal additional cost during replacement.
For enthusiasts considering suspension modifications for performance, high-performance ball joints with tighter tolerances offer improved steering precision. These specialized components are ideal for performance driving or track use, though they may require more frequent maintenance.
When selecting upgrades, consider your driving habits and environment honestly. Off-road enthusiasts benefit from reinforced designs with larger ball studs and improved articulation ranges. Conversely, comfort-oriented drivers might prefer joints with integrated noise-damping features.
I’ve installed countless upgraded ball joints for customers who previously experienced premature failures. While the initial investment is slightly higher, the extended service life and improved performance make these upgrades cost-effective in the long run—especially for vehicles driven in challenging conditions.
Preventive Maintenance for Ball Joints
Beyond the five professional fixes, implementing a preventive maintenance strategy will help you avoid future ball joint problems. Prevention is always more economical than repair, especially with suspension components.
Regular inspection should become part of your routine maintenance schedule. Even a brief visual check during oil changes can catch early warning signs before they develop into significant issues. Make it a habit to check for leaking grease, damaged boots, or visible corrosion.
Driving habits significantly impact ball joint longevity. Avoiding harsh impacts from potholes and speed bumps reduces stress on these components. Smooth, anticipatory driving not only improves comfort but extends the life of your entire suspension system.
Environmental factors play a major role in ball joint wear. If you live in areas with road salt or frequent flooding, consider more frequent inspections and maintenance. Salt accelerates corrosion, while water can compromise seals and wash away lubricants.
Weight considerations matter too. Overloading your vehicle puts additional stress on ball joints. If you regularly carry heavy loads, consider upgrading to heavy-duty components designed for increased weight capacity. The small additional investment upfront can prevent costly failures later.
Finally, don’t overlook the importance of tire maintenance in protecting your ball joints. Proper tire inflation distributes road forces evenly, while regular rotation helps maintain balanced wear patterns. These simple practices reduce the stress on all suspension components, including your ball joints.
Conclusion
Monitoring ball joint wear indicators is a crucial aspect of vehicle maintenance that directly impacts safety, performance, and long-term ownership costs. By implementing the five professional fixes outlined—visual inspection, proper greasing, torque adjustment, timely replacement, and strategic upgrades—you can effectively manage this critical suspension component.
Remember that ball joints don’t fail suddenly without warning. The wear indicators we’ve discussed provide ample opportunity for intervention before catastrophic failure occurs. By developing the habit of including ball joint checks in your regular maintenance routine, you’ll catch problems early when they’re simpler and less expensive to address.
Whether you’re maintaining a daily driver, preparing for a long road trip, or servicing a work vehicle, proper attention to ball joints will reward you with improved handling, extended component life, and the peace of mind that comes from driving a well-maintained vehicle. Your suspension system is only as strong as its weakest link—don’t let that be your ball joints.
Frequently Asked Questions
How often should ball joints be replaced?
Ball joints typically last 70,000-150,000 miles depending on driving conditions and maintenance. Replace them when wear indicators show problems or during recommended service intervals.
What happens if a ball joint fails completely?
Complete ball joint failure can cause the wheel to separate from the suspension, resulting in loss of vehicle control. This dangerous situation often requires expensive towing and repairs.
Can I drive with a worn ball joint?
Driving with a worn ball joint is extremely dangerous and not recommended. The risk of catastrophic failure increases dramatically once wear indicators are present.
How much does ball joint replacement typically cost?
Professional ball joint replacement generally costs between $200-$400 per side including parts and labor. Costs vary based on vehicle make, model, and whether control arm replacement is required.
Are aftermarket ball joints as good as OEM?
High-quality aftermarket ball joints from reputable brands can be equal to or better than OEM parts. Avoid bargain-priced options as they typically use inferior materials and manufacturing processes.

