Overview
This article explains why air filter housing seals are critical for preventing unfiltered air from entering your engine, causing damage and reducing performance. The guide provides step-by-step instructions for inspecting and maintaining these seals, emphasizing that regular inspection every 15,000-30,000 miles can prevent expensive engine repairs while maintaining optimal fuel efficiency.
Table of Contents
- Why Air Filter Housing Seals Matter
- Identifying Problems with Your Air Filter Housing Seal
- Tools Needed for Proper Inspection
- Step-by-Step Inspection Process
- Common Problems and Solutions
- Maintenance Tips for Longevity
- DIY vs. Professional Service
- Conclusion
- Frequently Asked Questions
Your car’s engine needs clean air to function properly, much like we need clean air to breathe. The air filter housing seal plays a crucial role in this process by ensuring that all air entering your engine passes through the filter first. When this seal fails, unfiltered air can bypass your air filter, potentially causing serious engine damage over time.
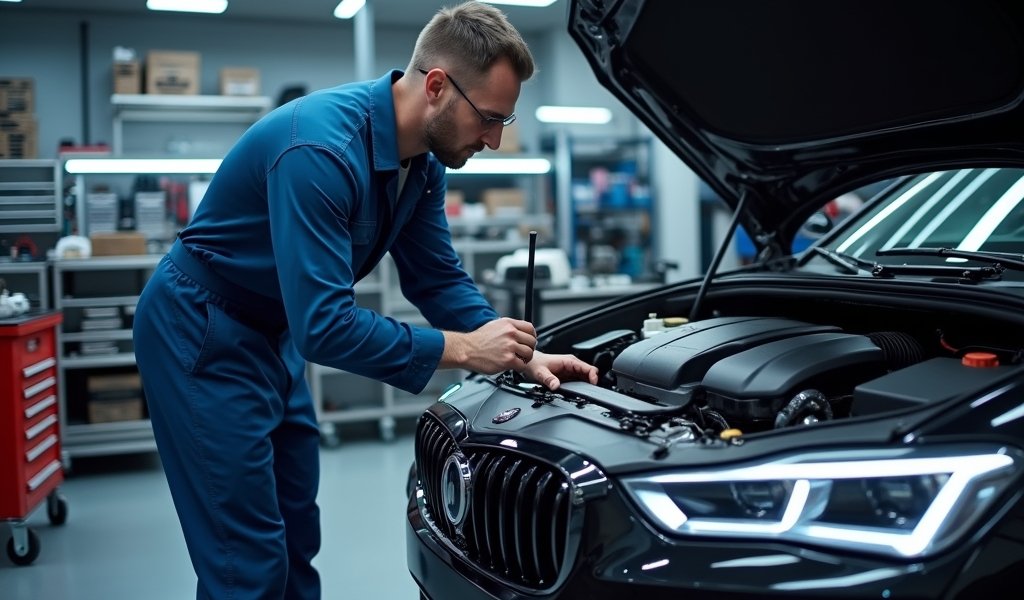
I’ve spent over 20 years working as an automotive technician, and I can’t tell you how many times I’ve seen engines damaged by something as simple as a deteriorated air filter housing seal. What makes this particularly frustrating is how easy and inexpensive this issue is to prevent with regular inspection and maintenance.
In this guide, I’ll walk you through everything you need to know about air filter housing seal inspection, from why it matters to how you can check yours at home. Let’s keep your engine breathing clean air and running smoothly for years to come.
Why Air Filter Housing Seals Matter
Think of your engine’s air intake system as its respiratory system. The air filter housing seal is like the seal around an oxygen mask – if it’s not airtight, you’re not getting the filtered air you need. This unassuming rubber or foam gasket creates a tight seal between components of your air filter housing, ensuring all incoming air passes through the filter.
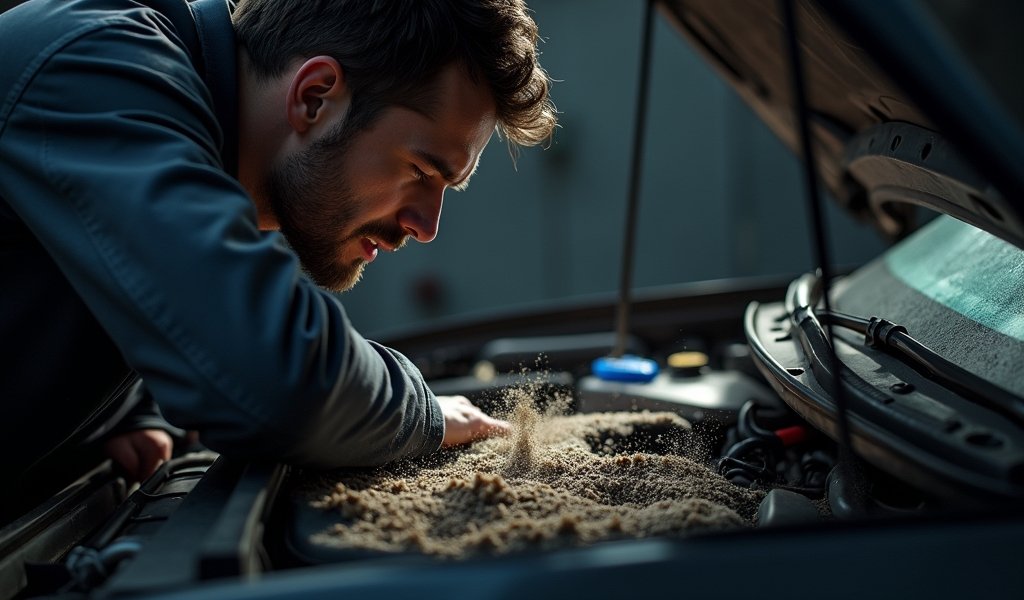
When this seal is compromised, unfiltered air containing dust, dirt, and debris can sneak past your air filter and enter directly into your engine. Even tiny particles act like sandpaper on your engine’s internal components. Over time, this accelerates wear on cylinder walls, pistons, and bearings – parts that are expensive to repair or replace.
Beyond preventing premature engine wear, a proper seal is essential for optimal performance. Modern vehicles rely on precise air-to-fuel ratios calculated by the engine computer. When unmetered air bypasses the mass airflow sensor, this careful balance is disrupted, leading to:
- Reduced power and acceleration
- Decreased fuel efficiency
- Rough idling or stalling
- Potential check engine light activation
According to a study by the Society of Automotive Engineers, even minor air leaks can reduce fuel economy by up to 4% and increase emissions. That means a simple seal inspection could save you money at the pump while helping the environment.
Identifying Problems with Your Air Filter Housing Seal

Your car often gives you clues when the air filter housing seal isn’t doing its job. Here are the most common symptoms I see in my shop:
Engine Performance Issues
If your vehicle suddenly feels sluggish, hesitates during acceleration, or idles roughly, a compromised air filter housing seal could be the culprit. These symptoms occur because your engine computer expects a certain amount of air but gets more than calculated when unfiltered air sneaks in past the sensors.
Unusual Engine Noises
Listen for whistling, hissing, or sucking sounds coming from the engine bay, especially during acceleration. These noises often indicate air being drawn through gaps in the filter housing seal rather than through proper channels.
Excessive Dirt Inside the Air Box
When inspecting your air filter, check the “clean” side of the filter housing (the side facing the engine). If you find dirt accumulation here, it’s a sure sign that contaminated air is bypassing the filter through a faulty seal.
Check Engine Light
Modern engines monitor airflow carefully. When unmetered air enters the system due to a leak, sensors detect these inconsistencies and may trigger the check engine light. Codes related to the manifold absolute pressure or mass airflow sensor often point to air intake leaks.
Tools Needed for Proper Inspection
The good news is that inspecting your air filter housing seal doesn’t require fancy equipment. Here’s what you’ll need:
Basic Tools
- Screwdriver set (flathead and Phillips)
- Pliers or socket set (depending on your vehicle’s fastener type)
- Flashlight or work light for better visibility
- Clean shop rags
Safety Equipment
- Gloves to protect your hands
- Safety glasses for eye protection
Optional Diagnostic Equipment
- OBD-II scanner (for reading engine codes)
- Spray bottle with soapy water (for leak detection)
Before starting, make sure your vehicle is cool to prevent burns, and disconnect the battery if you’re working around electrical components. Safety first – I’ve seen too many DIYers learn this lesson the hard way.
Step-by-Step Inspection Process
Now let’s get our hands dirty with a thorough inspection of your air filter housing seal:
1. Locate the Air Filter Housing
The air filter housing is typically a plastic box located near the front of the engine bay. It’s connected to a large tube that leads to the engine’s intake manifold. If you’re having trouble finding it, check your owner’s manual – it’s usually easy to spot once you know what you’re looking for.
2. Remove Access Components
With your engine off and cool, begin by carefully disconnecting any electrical connectors attached to the air box. Next, loosen the clamps that secure the air intake tubes, and remove any fasteners holding the air box cover in place. I always recommend taking a quick photo with your phone before disassembly – it makes reassembly much easier!
3. Perform Visual Inspection
Once you’ve removed the air filter, examine the sealing surfaces around the housing. Look for:
- Cracks or splits in the rubber gasket
- Deformation or warping of the plastic housing
- Buildup of dirt or debris on sealing surfaces
- Signs of air bypassing the filter (dirt trails on the clean side)
4. Conduct Physical Testing
Run your finger along the seal to feel for irregularities that might not be visible. A good seal should be pliable but firm – if it feels brittle, hard, or sticky, it’s likely deteriorating. Pay special attention to corners and bends in the seal, as these areas are most prone to damage.
5. Check Housing Alignment
Inspect how the housing components fit together. Even with a good seal, misalignment can create gaps. When reassembling, ensure all clips and fasteners are properly engaged and that the housing halves line up correctly.
6. Optional Leak Test
For a more thorough inspection, reassemble the air box but leave the intake tube connected to the engine disconnected. With the engine running, carefully spray soapy water around the sealing areas of the air box. Any bubbling indicates air being drawn through a leak. Just be careful not to spray water into the open intake!
This process might seem detailed, but it typically takes less than 20 minutes and can save you from expensive engine repairs down the road. I’ve saved countless customers thousands of dollars by catching these issues early.
Common Problems and Solutions

After inspecting thousands of air filter housings over my career, I’ve noticed some recurring issues. Here are the most common problems and how to address them:
Hardening and Cracking
Heat exposure and age cause rubber seals to harden and crack over time. This is particularly common in vehicles over 5 years old or those operated in extreme temperatures. The only real solution is replacement – trying to revive a hardened seal with lubricants is just a temporary fix.
Deformation
Improper installation or overtightening fasteners can warp both the seal and the plastic housing. If the deformation is minor, sometimes simply loosening and properly realigning the components can help. For severe cases, you’ll need new parts.
Contamination
Oil, fuel, or cleaning chemicals can deteriorate rubber seals prematurely. If you spot chemical damage, not only will you need to replace the affected seals, but you should also investigate the source of the contamination to prevent recurrence.
When to Replace vs. When to Clean
Here’s my rule of thumb:
- Replace: If the seal shows cracking, hardening, or permanent deformation
- Clean: If the issue is primarily dirt accumulation or minor misalignment
- Replace the housing: If the plastic components are warped or damaged
In many vehicles, the seal is integrated into the air filter housing, meaning you’ll need to replace the entire component. Other models have separate gaskets that can be purchased individually. A quick check of your vehicle’s service manual or a call to your local parts store can clarify which type you have.
For those interested in upgrading their intake system, cold air intake systems often feature improved sealing designs, though they require proper installation to maintain their sealing integrity.
Maintenance Tips for Longevity
An ounce of prevention is worth a pound of cure, especially when it comes to air filter housing seals. Here are my top maintenance tips based on decades in the shop:
Regular Inspection Schedule
I recommend inspecting your air filter housing seal every time you replace your air filter – typically every 15,000-30,000 miles depending on your driving conditions. However, if you frequently drive in dusty environments or off-road, more regular inspections (every 10,000 miles or even less) are advisable.
According to research from the Car Care Council, air filters in severe conditions may need replacement up to three times more frequently than those in normal conditions – and the same applies to inspecting seals.
Proper Cleaning Techniques
When servicing your air filter, take a moment to clean the sealing surfaces with a damp cloth. Avoid using harsh chemicals or petroleum-based products that can degrade rubber seals. A simple mixture of mild soap and water works best for removing accumulated dirt.
Correct Assembly Practices
- Always ensure proper alignment when reinstalling the air filter housing
- Tighten fasteners in a cross-pattern, similar to tightening lug nuts on a wheel
- Never overtighten – snug is enough for most plastic housings
- Ensure all clips and latches are fully engaged
Following these simple practices has saved my customers thousands in unnecessary repairs over the years. A well-maintained air filter housing seal can easily last 5+ years under normal conditions.
DIY vs. Professional Service
I’m a firm believer that an informed vehicle owner makes better maintenance decisions. Let’s break down when to handle this yourself versus when to seek professional help:
When to DIY
If you’re comfortable performing basic maintenance like changing an air filter, inspecting the housing seal is well within your capabilities. The process requires minimal tools and technical knowledge, making it an ideal DIY project. Most seals or housings range from $20-100 depending on your vehicle model, making this an affordable maintenance task.
When to Seek Professional Help
Consider professional assistance if:
- You’ve identified a leak but can’t locate its source
- Your vehicle requires disassembly of complex components to access the air filter housing
- You’re experiencing performance issues that persist after seal replacement
- Your vehicle’s computer is showing air-related trouble codes
Professional service typically adds $50-150 in labor costs but can save you time and frustration, especially for complex systems. Many shops will perform a basic inspection during routine maintenance at no extra charge if you ask.
Remember, even if you choose professional service, understanding what your mechanic is checking helps ensure you’re getting proper maintenance. Don’t be afraid to ask questions – good mechanics appreciate customers who take an interest in their vehicle’s care.
Conclusion
The air filter housing seal may be one of the most overlooked components in your vehicle’s maintenance schedule, but its importance can’t be overstated. This humble rubber gasket stands guard between your engine and a world of abrasive contaminants. With regular inspection and timely maintenance, you can ensure your engine breathes only the cleanest air possible.
I’ve seen far too many engines damaged by something as simple as a deteriorated air filter housing seal. What makes this particularly frustrating is how easy and inexpensive this issue is to prevent with regular inspection and maintenance.
Whether you choose to perform this maintenance yourself or have a professional handle it, the important thing is that it gets done. Your engine deserves to breathe clean air, just as you do. A few minutes of attention to this often-overlooked component can make all the difference in your vehicle’s health and longevity.
Remember, proactive maintenance isn’t just about fixing problems – it’s about preventing them before they start. By incorporating air filter housing seal inspections into your regular maintenance routine, you’re taking a simple step that can save you thousands in potential repairs down the road.
Frequently Asked Questions
How often should I inspect my air filter housing seal?
Inspect it every time you replace your air filter, typically every 15,000-30,000 miles. For dusty environments, check it more frequently, around every 10,000 miles.
Can a bad air filter housing seal damage my engine?
Yes, it can allow unfiltered air containing abrasive particles to enter your engine. Over time, these particles can cause accelerated wear on internal engine components.
How much does it cost to replace an air filter housing seal?
The parts typically cost between $20-100 depending on your vehicle model. If you need professional installation, expect to add $50-150 in labor costs.
What are the signs of a failing air filter housing seal?
Common symptoms include reduced engine performance, unusual whistling noises, dirt on the clean side of the filter, and sometimes a check engine light. You might also notice decreased fuel economy.
Can I repair a damaged air filter housing seal?
In most cases, replacement is better than repair for a damaged seal. Temporary fixes like silicone sealants rarely hold up and can contaminate your air intake system.

