Overview
This guide explains how to properly bleed a vehicle’s hydraulic clutch system to remove air bubbles that cause spongy pedal feel and poor shifting performance. It covers essential tools, step-by-step bleeding techniques, vehicle-specific considerations, and testing procedures to restore responsive clutch operation.
Table of Contents
- Introduction: Understanding the Hydraulic Clutch System
- Why Bleeding Your Clutch System Matters
- Essential Tools and Materials for Clutch Bleeding
- Know Your Vehicle’s Specific Bleeding Requirements
- Mastering the Proper Bleeding Technique
- Using Pressure Bleeding Tools for Better Results
- How to Test Your Clutch After Bleeding
- Conclusion
- Frequently Asked Questions
Introduction: Understanding the Hydraulic Clutch System
Your vehicle’s hydraulic clutch system is an engineering marvel that often doesn’t get the appreciation it deserves. Unlike mechanical clutch systems that rely on cables, a hydraulic setup uses fluid dynamics to multiply force, allowing your foot’s pressure to smoothly engage and disengage the clutch.
Think of this system as your transmission’s silent partner. When everything works correctly, you don’t notice it. But when air infiltrates the hydraulic lines, your clutch performance suffers dramatically. That’s where proper clutch hydraulic system bleeding becomes essential.
I’ve spent 20+ years as an automotive technician, and I can tell you that a properly bled clutch system makes a world of difference in your driving experience. It’s like the difference between trying to have a conversation underwater versus talking normally – one is frustrating and ineffective, while the other is effortless.
Why Bleeding Your Clutch System Matters
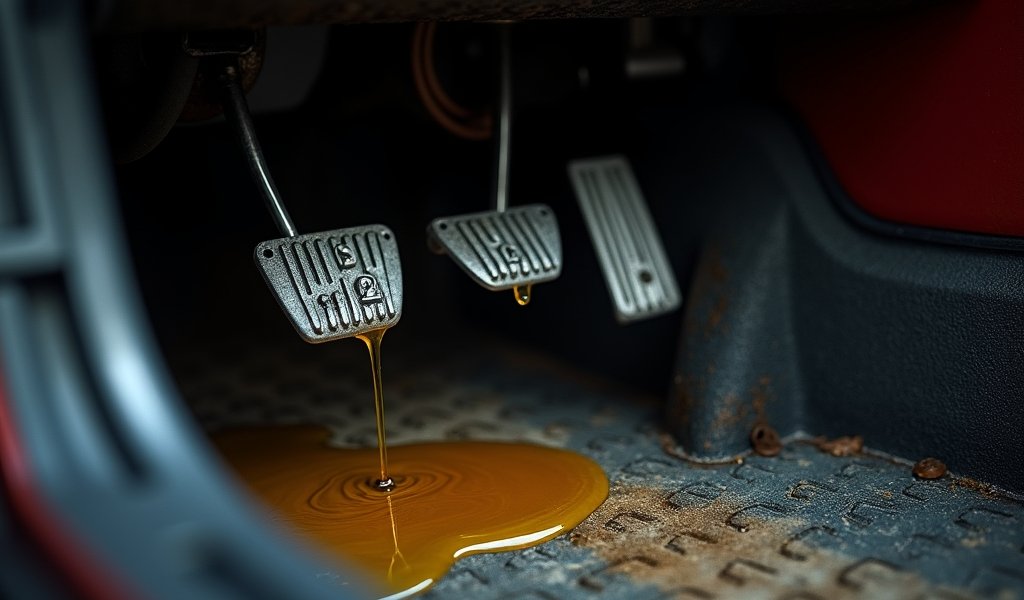
Air is the enemy of any hydraulic system. Unlike fluid, air compresses, creating a spongy, inconsistent feel when you press the clutch pedal. This air can enter your system during maintenance, through tiny leaks, or as fluid ages and releases dissolved gases.
You’ll know your clutch system needs bleeding when you notice:
- A soft, spongy clutch pedal that feels inconsistent
- Increased pedal travel before the clutch engages
- Difficulty shifting gears, especially when the engine is hot
- Clutch slippage or incomplete disengagement
- A clutch pedal that sinks to the floor or rebounds slowly
Left unaddressed, these issues can progress from minor annoyances to major headaches, potentially leading to premature clutch bearing replacement or transmission damage. The good news? Bleeding your clutch hydraulic system is a DIY-friendly job that can restore that crisp, responsive pedal feel.

Essential Tools and Materials for Clutch Bleeding
Before diving into clutch hydraulic system bleeding, gather everything you’ll need. Having all tools and materials ready prevents mid-job interruptions that could introduce more air into the system.
Here’s your essential toolkit:
- Correct size wrench for your vehicle’s bleeder valve (typically 8mm or 10mm)
- Clear vinyl tubing (¼-inch inner diameter)
- Clean catch container (a small jar works perfectly)
- Fresh clutch fluid (usually DOT 3 or DOT 4 as specified in your owner’s manual)
- Shop rags or paper towels for inevitable spills
- Safety glasses and chemical-resistant gloves
- Optional but helpful: a one-person bleeder kit or pressure bleeder
A word about clutch fluid: most systems use the same hydraulic fluid as your brake system, but never assume. Check your service manual to confirm. Using the wrong fluid can damage seals and components, turning a simple maintenance task into an expensive repair.
Also, clutch fluid is hygroscopic, meaning it absorbs moisture over time. Always use a fresh, unopened container, and keep it sealed when not in use. According to NHTSA safety recommendations, brake/clutch fluid should be stored in its original container and used within one year of opening.
Know Your Vehicle’s Specific Bleeding Requirements
Vehicles have their unique personalities when it comes to clutch hydraulic systems. Some have easily accessible bleeder screws, while others seem designed to test your patience and flexibility. Before starting, understand your specific system configuration.
Most vehicles employ one of these three clutch system designs:
- External slave cylinder: Located outside the transmission, usually mounted to the bellhousing
- Internal slave cylinder: Housed inside the transmission bellhousing (common in many modern vehicles)
- Concentric slave cylinder: Integrated with the release bearing (requires special procedures)
Locate your bleeder valve by consulting your vehicle’s service manual or reliable online resources specific to your make and model. For most external slave cylinders, it’s near the connection point of the hydraulic line.
If your vehicle has a clutch pedal adjustment procedure requirement, perform this before or after bleeding as recommended by the manufacturer. Ignoring vehicle-specific procedures is like baking a cake without following the recipe—the results rarely turn out well.
Mastering the Proper Bleeding Technique
Now for the main event. Here’s my step-by-step process for clutch hydraulic system bleeding that’s worked reliably on countless vehicles:
- Ensure your vehicle is safely supported and the engine is OFF
- Locate and clean the master cylinder reservoir and bleeder valve
- Fill the reservoir with fresh fluid to the “MAX” line
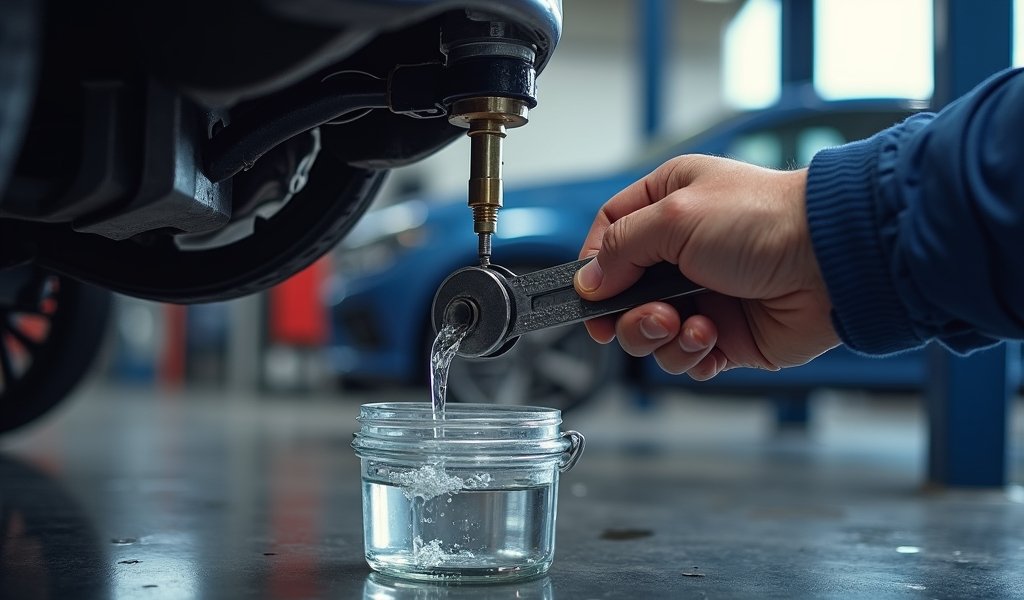
- Attach your clear vinyl tubing to the bleeder valve, placing the other end in your catch container with a small amount of fluid (this prevents air from being drawn back in)
- Have an assistant slowly press the clutch pedal to the floor and hold it there
- While the pedal is held down, loosen the bleeder valve about a quarter-turn
- Watch for fluid and air bubbles to flow through the tubing
- Close the bleeder valve completely
- Signal your assistant to slowly release the clutch pedal
- Repeat steps 5-9 until no more air bubbles appear in the expelled fluid
Throughout this process, keep a watchful eye on the master cylinder reservoir. If it runs dry, you’ll introduce more air and need to start over. I recommend checking the fluid level after every 3-4 bleeding cycles and topping off as needed.
One critical point that many DIYers miss: always close the bleeder valve before your assistant releases the clutch pedal. This timing is crucial to prevent air from being drawn back into the system.
If you’re working alone, a one-person bleeder kit with a check valve can be invaluable. These affordable tools allow you to perform what normally requires two people to accomplish. You can find quality one-person bleeder kits for under $30 at most auto parts stores.

Using Pressure Bleeding Tools for Better Results
After years of bleeding clutch systems, I’ve come to appreciate the efficiency of pressure bleeding tools. They’re not just for professional mechanics—they can make your DIY job significantly easier and more effective.
Pressure bleeders connect to your master cylinder reservoir and use compressed air to maintain constant pressure on the system. This steady pressure forces fluid through the lines, pushing air bubbles out more effectively than the manual method.
Here’s how to use a pressure bleeder effectively:
- Select a pressure bleeder compatible with your vehicle’s reservoir
- Fill the pressure bleeder with the correct type of fresh fluid
- Connect the adapter to your master cylinder reservoir
- Pressurize the system (typically 10-15 psi—check the tool’s instructions)
- Open the bleeder valve and collect the fluid as it flows out
- Close the valve when you see clear, bubble-free fluid
- Release pressure before disconnecting the tool
The beauty of this method is that it eliminates the need for a helper and often removes air more thoroughly than manual bleeding. I’ve found this particularly useful for stubborn systems where air seems determined to hide in hard-to-reach places.
If you’re hesitant about investing in a pressure bleeder (quality units run $50-200), consider that they’re invaluable for brake master cylinder bench bleeding as well. Many auto parts stores also offer tool rental programs, letting you access professional-grade equipment without the full purchase price.
How to Test Your Clutch After Bleeding
The proof of a successfully bled clutch system is in the pedal feel and performance. After completing the bleeding procedure, it’s essential to thoroughly test your system before hitting the road.
Here’s my testing checklist:
- Pedal feel test: Press the clutch pedal several times. It should feel firm and consistent, with no sponginess or changes in resistance.
- Return test: The pedal should spring back quickly when released.
- Engagement test: Start the engine and shift through all gears. The clutch should engage smoothly without grinding or difficulty finding gears.
- Engagement point test: The clutch should begin engaging at a logical point in the pedal travel—not too high or too low.
If your pedal still feels soft or performance remains inconsistent, don’t be discouraged. Some systems, especially those that have had air in them for a long time, may require multiple bleeding sessions. Air can hide in pockets and take several attempts to fully purge.
I once worked on a Subaru that required three separate bleeding sessions over two days before the clutch pedal finally firmed up. Patience pays off when it comes to hydraulic system maintenance.
Conclusion
Mastering clutch hydraulic system bleeding is a valuable skill that can save you money and provide the satisfaction of maintaining your own vehicle. A properly bled clutch system transforms your driving experience with crisp, predictable engagement and smooth shifting.
Remember these key takeaways:
- Air in your clutch hydraulic system is the primary cause of pedal sponginess and poor performance
- Proper preparation with the right tools and materials makes the job significantly easier
- Understanding your specific vehicle’s requirements prevents frustration and rework
- The bleeding sequence (press pedal, open valve, close valve, release pedal) must be followed precisely
- Consider a pressure bleeder for stubborn systems or solo work
- Testing thoroughly after bleeding confirms your success
To maintain your freshly bled clutch system, inspect hydraulic components regularly for leaks and change your clutch fluid according to your manufacturer’s recommendations (typically every 2-3 years).
With these tips, you’re well-equipped to keep your clutch hydraulic system in peak condition. Your transmission will thank you with years of smooth, reliable service—and that’s something every driver can appreciate.
Frequently Asked Questions
How often should I bleed my clutch hydraulic system?
Bleed your clutch hydraulic system every 2-3 years as part of regular maintenance, or whenever you notice symptoms of air in the system. More frequent bleeding may be necessary in high-performance applications or extreme driving conditions.
Can I use brake fluid in my clutch hydraulic system?
Most clutch hydraulic systems use the same DOT 3 or DOT 4 fluid as brake systems, but always check your owner’s manual to confirm. Using the incorrect fluid type can damage seals and internal components.
Why does my clutch pedal still feel spongy after bleeding?
Persistent sponginess may indicate trapped air bubbles, internal master/slave cylinder leaks, or a failing clutch master cylinder. Multiple bleeding attempts may be necessary, especially if air has been in the system for an extended period.
Can I bleed a clutch system by myself?
Yes, you can bleed a clutch system alone using a one-person bleeder kit with check valves or a pressure bleeding tool. These tools eliminate the need for someone to pump the pedal while you operate the bleeder valve.
How do I know when all the air is out of my clutch system?
Your clutch system is air-free when the pedal feels firm throughout its travel, returns quickly when released, and the clutch engages at a consistent point. The fluid flowing from the bleeder valve should also be clear and free of air bubbles.

