Overview
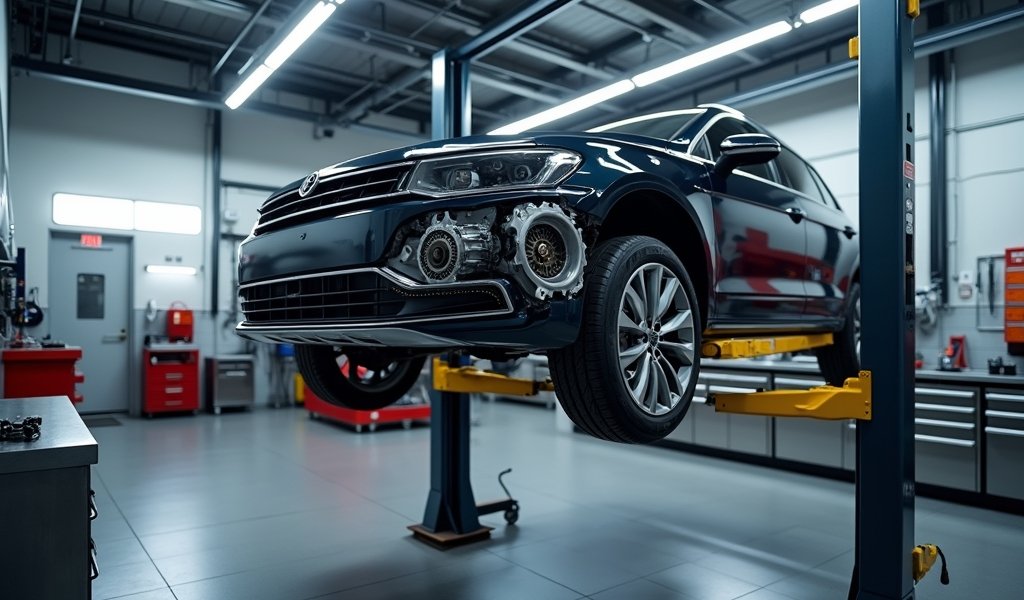
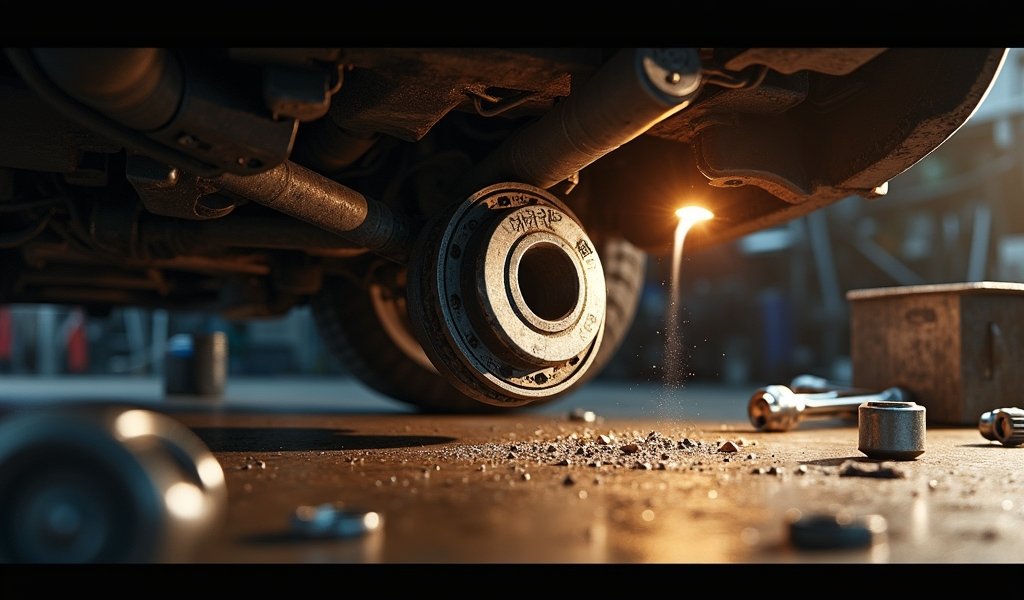
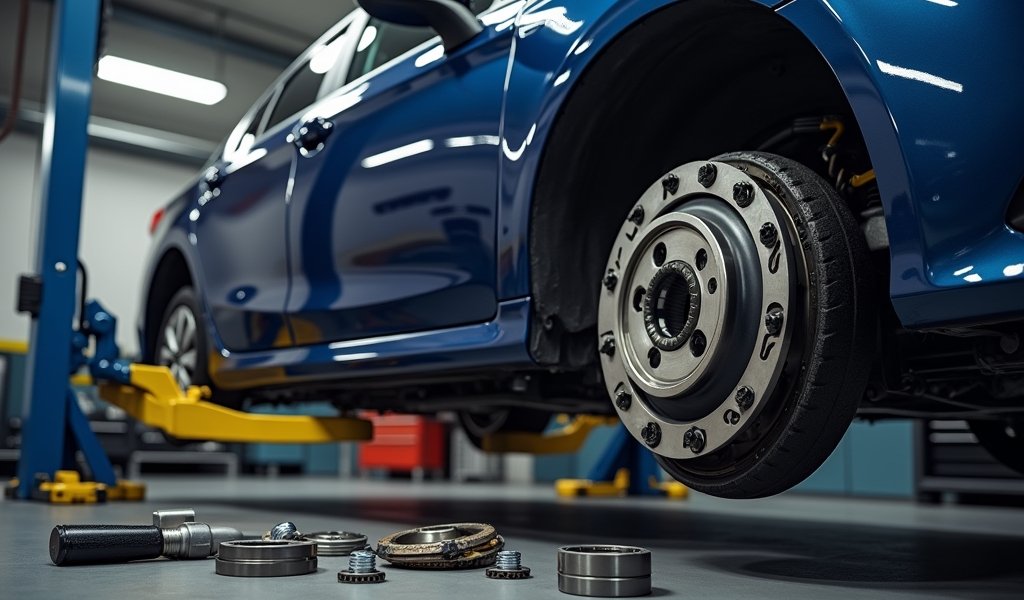
This guide provides a detailed walkthrough for diagnosing and replacing a failing clutch release bearing, covering everything from identifying symptoms (like chirping noises when pressing the clutch) to the complete replacement process requiring transmission removal. It emphasizes using quality parts, proper techniques, and good driving habits to extend the lifespan of the new components, while warning that ignoring early warning signs can lead to more extensive and costly repairs.
Table of Contents
- Introduction
- Understanding the Clutch Release Bearing
- Signs of a Failing Release Bearing
- Tools and Parts Needed
- Preparation Steps
- Step-by-Step Replacement Process
- Common Challenges and Troubleshooting
- Post-Replacement Testing
- Maintenance Tips
- Conclusion
- Frequently Asked Questions
Introduction
Let me tell ya something about clutch release bearings – they’re like that quiet friend who doesn’t say much until they’ve got a problem. Then suddenly, they’re making all kinds of noise!
I’ve been replacing these little buggers for over 20 years in my shop, and even though they’re just a small part of your manual transmission system, they can cause big headaches when they start to fail. The good news? With some patience and the right guidance, replacing a clutch release bearing is something you can tackle in your own garage.
This bearing plays a crucial role in your clutch system, acting as the middleman between your clutch pedal and the pressure plate’s diaphragm spring. Without it working properly, that smooth shifting you’ve come to expect turns into a grinding, noisy mess.
In this guide, I’ll walk you through the entire clutch release bearing replacement process, just like I would if you rolled your car into my shop. We’ll cover everything from diagnosing the problem to breaking in your new clutch components. So grab yourself a cold one (for after the job, of course), and let’s dive in!
Understanding the Clutch Release Bearing
Before we get our hands dirty, let’s understand what we’re dealing with. The clutch release bearing (sometimes called a throwout bearing) sits between your clutch fork and pressure plate. Its job is surprisingly simple yet absolutely critical.
When you press your clutch pedal, the release bearing pushes against the pressure plate fingers (or diaphragm spring), which then releases pressure on the clutch disc. This allows you to change gears without grinding your transmission to bits.
These bearings come in a few different designs depending on your vehicle. Some are integrated with the slave cylinder in hydraulic systems, while others work with mechanical linkages. Most modern ones are sealed units with ball bearings inside – which means when they go bad, you replace ’em, not rebuild ’em.
The average lifespan of a release bearing varies widely – I’ve seen some last 30,000 miles and others go 150,000+. The biggest factor? Your driving habits. If you’re constantly riding the clutch in traffic or using it as a footrest (please don’t), that bearing is working overtime.

Signs of a Failing Release Bearing
Your car will usually give you plenty of warning before a complete failure. Here’s what to listen and feel for:
- A chirping or squealing noise that appears ONLY when pressing the clutch pedal
- Grinding sounds when shifting gears (especially when the clutch is cold)
- Vibration in the clutch pedal that wasn’t there before
- Increased pedal effort – suddenly feels like you’re pushing against a brick
- Clutch slippage under acceleration (engine revs but car doesn’t speed up accordingly)
The classic telltale is that chirping noise that disappears as soon as you take your foot off the clutch pedal. It’s like your car saying, “Hey buddy, I need some attention down here!”
I had a customer once who ignored these signs for months – said he just “turned up the radio.” By the time he finally came in, the bearing had completely disintegrated and damaged his pressure plate fingers. What could’ve been a straightforward bearing replacement turned into a complete clutch job. Don’t be that guy.
Tools and Parts Needed
Let’s get your toolbox and parts list sorted. You don’t need professional-grade tools, but you will need some specific items:
Tools Required:
- Socket set and wrenches (metric or standard, depending on your vehicle)
- Floor jack and jack stands (at least 2 tons capacity)
- Transmission jack (hydraulic is best) or a second floor jack
- Pry bar and screwdrivers (flathead and Phillips)
- Torque wrench capable of your vehicle’s specifications
- Clutch alignment tool specific to your vehicle
- Penetrating oil (WD-40 won’t cut it – get the good stuff)
- Wire brush for cleaning mating surfaces
Parts Needed:
- New clutch release bearing (matched to your specific vehicle)
- Pilot bearing (might as well replace it while you’re in there)
- New clutch disc with fresh friction material (if worn)
- Pressure plate (if damaged or worn)
- Transmission fluid (for refill after reinstallation)
- High-temperature grease
- New transmission mount bolts (these are often stretch bolts)
Safety Equipment:
- Jack stands (never, EVER rely solely on a hydraulic jack)
- Mechanic’s gloves (your knuckles will thank you)
- Safety glasses (I’ve had too many rust flakes in my eyes)
- Wheel chocks
- Shop towels and parts cleaner
A word on parts quality – this isn’t the place to pinch pennies. I’ve seen too many folks do this job twice because they bought the cheapest parts they could find. OEM or reputable aftermarket brands are your friends here. Your knuckles will appreciate not doing this job again anytime soon.
According to a comprehensive clutch service guide, using quality replacement components can double the lifespan of your new clutch assembly.
Preparation Steps
The job ahead requires proper preparation. Take it from someone who’s learned the hard way – rushing into a transmission drop without prepping properly is asking for trouble.
First, find a level working surface. Your driveway might look flat, but use a level to be sure. I once had a car roll off jack stands because I thought “close enough” was good enough. Spoiler alert: it wasn’t.
Make sure you’ve got enough space around the vehicle. You’ll need room to maneuver, especially when dropping the transmission. Clear at least 3-4 feet on all sides if possible.
Before lifting the car:
- Loosen the lug nuts on your drive wheels while the car is still on the ground
- Disconnect the battery’s negative terminal (safety first!)
- Place wheel chocks behind the wheels that will remain on the ground
Gather your service manual or lookup the torque specifications for your specific vehicle online. Every car has different specs, and guessing isn’t an option here.
Set up a parts organization system. I use muffin tins or egg cartons for smaller bolts and label everything with masking tape. Trust me, after removing 30+ bolts, you won’t remember which one goes where.
Take “before” pictures with your phone. Snap photos of cable routing, bolt positions, and component orientations before disassembly. Your future self will be mighty grateful.
A final tip – give all fasteners a spray with penetrating oil the day before you start. Those bolts have likely been in place for years, and a little pre-soaking can save hours of frustration and colorful language.

Step-by-Step Replacement Process
Alright, let’s get into the nitty-gritty. I’ll break this down into manageable chunks so you don’t get overwhelmed.
1. Accessing the Transmission
First, jack up the vehicle and secure it on jack stands. Remove the drive wheels for better access.
Next, you’ll need to disconnect components that attach to the transmission:
- Shifter linkage or cables (often accessible from inside the vehicle)
- Speedometer cable or sensor connectors
- Driveshaft or axle shafts (mark their positions first!)
- Exhaust components that might be in the way
Support the engine with a jack or engine support bar. The engine will want to tilt when you remove the transmission, so proper support is crucial.
Remove the starter motor – it’s usually bolted to the transmission bell housing and will be in your way.
Remove the transmission crossmember or mount. This step varies widely between vehicles, so consult your manual.
2. Removing the Transmission
Position your transmission jack underneath and secure the transmission to it.
Remove all bell housing bolts. These are typically arranged in a circular pattern around the transmission-to-engine connection.
Here comes the tricky part – separating the transmission from the engine. It might be stuck due to dowel pins or just years of being connected. A gentle tap with a rubber mallet around the bell housing can help.
Once loose, carefully slide the transmission straight back until the input shaft clears the clutch assembly. Then lower it slowly with your jack.
Pro tip: transmissions are heavy and awkward. If you’ve never done this before, having a buddy help guide it down can prevent damage and back strain.
3. Accessing and Replacing the Release Bearing
With the transmission removed, you’ll see the clutch assembly attached to the flywheel.
Remove the pressure plate bolts in a star pattern – loosen each bolt a little at a time rather than removing them one by one. This prevents warping the pressure plate.
Once the pressure plate and clutch disc are removed, you can access the release bearing. Depending on your vehicle, it will either be on the transmission input shaft or attached to the clutch fork inside the bell housing.
Remove the old bearing by sliding it off the input shaft or detaching it from the clutch fork.
Before installing the new bearing, take time to inspect other components:
- Flywheel surface (check for scoring, cracks, or heat spots)
- Pilot bearing in the crankshaft (should spin freely)
- Clutch fork and pivot (look for wear or damage)
- Input shaft splines (check for damage or corrosion)
Clean the input shaft thoroughly and apply a thin layer of high-temperature grease to the contact points where the bearing will ride.
Install the new release bearing by sliding it onto the input shaft or attaching it to the clutch fork (follow the specific procedure for your vehicle).
4. Reinstalling the Clutch and Transmission
Position the clutch disc against the flywheel using an alignment tool. This tool ensures the disc is centered properly.
Mount the pressure plate over the disc and start all bolts by hand. Tighten in a star pattern to the specified torque.
Check that the clutch pedal adjustment and release mechanism are working correctly before reinstallation.
Apply a small amount of high-temp grease to the pilot bearing.
Carefully raise the transmission into position, making sure the input shaft aligns with the clutch disc center. This can be challenging and may take several attempts.
Once aligned, slide the transmission forward until it seats fully against the engine block.
Reinstall all bell housing bolts and tighten to specification.
From here, basically work backwards through your disassembly process:
- Reinstall transmission mount/crossmember
- Reconnect driveshaft/axles
- Reattach electrical connections
- Reinstall starter motor
- Reconnect shift linkage
- Refill transmission fluid
As you reassemble your transmission system, double-check each component to ensure everything is connected properly before moving to the next step.
Common Challenges and Troubleshooting
Even the most straightforward clutch bearing replacement can throw you some curveballs. Here are some common issues and how to handle them:
Transmission Won’t Separate from Engine
If you’ve removed all bolts but the transmission seems stuck, don’t reach for the sledgehammer. Check for hidden bolts – some vehicles have access bolts through the starter opening or from above.
Look for alignment dowel pins that might be holding things together. A gentle tap with a rubber mallet around the perimeter of the bell housing often helps break the seal.
Clutch Disc Alignment Difficulties
If you’re struggling to get the transmission input shaft through the clutch disc, your alignment tool might not be the right one. Double-check that it matches your specific vehicle.
Sometimes the clutch disc can shift after you remove the alignment tool. Have a helper hold the disc in place while you start the transmission installation.
Pilot Bearing Removal Challenges
A stuck pilot bearing is a common headache. My favorite trick is the “grease method” – pack the cavity behind the bearing with grease, then use a correctly sized drift to hammer it. The hydraulic pressure from the grease will push the bearing out.
Alternatively, specialty pullers are available at most auto parts stores.
Clutch Pedal Issues After Installation
If your clutch pedal feels wrong after installation, don’t panic. Check for proper clutch fork position and ensure the release bearing is correctly seated.
For hydraulic clutch systems, you may need to bleed the hydraulic line to remove air bubbles.
Transmission Input Shaft Won’t Engage
If the transmission won’t fully seat against the engine, the input shaft splines probably aren’t aligned with the clutch disc splines. Don’t force it! Pull the transmission back, verify alignment, and try again.
Rotating the engine slightly can sometimes help align the splines better.
Post-Replacement Testing
You’ve got everything back together – now comes the moment of truth. Here’s how to properly test your work:
Start with the transmission in neutral and verify the clutch pedal operates smoothly. It should have a consistent feel throughout its travel.
Start the engine and listen for unusual noises. A properly installed release bearing should be virtually silent.
With the engine running, press the clutch pedal and shift through all gears while stationary. Each gear should engage smoothly without grinding.
Take a gentle test drive in an uncrowded area. Start by testing first and reverse gears at low speeds.
Gradually work through all gears, listening and feeling for any abnormalities. Pay special attention to the clutch engagement point – it should be consistent and smooth.
Remember that new clutch components have a break-in period, typically around 500 miles. During this time:
- Avoid aggressive driving or rapid acceleration
- Don’t slip the clutch unnecessarily
- Avoid towing or hauling heavy loads
- Make smooth, deliberate shifts
If you notice issues during testing, address them immediately rather than hoping they’ll “break in.” Problems rarely fix themselves, and continuing to drive with improper installation can cause extensive damage.
Maintenance Tips
Now that you’ve successfully replaced your clutch release bearing, let’s talk about keeping it (and your entire clutch system) healthy for the long haul:
Driving Habits Matter
The biggest factor in clutch component lifespan is how you drive. Avoid these clutch-killing habits:
- “Riding” the clutch (keeping your foot resting on the pedal)
- Using the clutch to hold position on hills instead of the brake
- Launching your car aggressively
- Shifting without fully pressing the clutch pedal
Regular Inspection
Even with perfect driving, plan to inspect your clutch system every 30,000 miles or if you notice any changes in pedal feel or engagement.
For vehicles with hydraulic clutch systems, check the fluid level and condition during regular maintenance. Dark or dirty fluid should be flushed and replaced.
Address Issues Promptly
If you start hearing those telltale release bearing noises again, don’t ignore them! The earlier you catch clutch system problems, the more likely you can replace just the failed component instead of the entire clutch assembly.
Remember that modern clutch release bearings are sealed units designed to last the life of the clutch in ideal conditions. If you’re replacing bearings frequently, something else in your clutch system might be causing premature wear.
Conclusion
Replacing a clutch release bearing isn’t a job for the faint of heart, but with patience, preparation, and the right tools, it’s absolutely within reach for a dedicated DIYer. The satisfaction of solving that annoying clutch noise yourself (and saving hundreds in labor costs) makes the skinned knuckles worthwhile.
Remember that this job is as much about careful reassembly as it is about disassembly. Take your time, double-check your work, and follow proper torque specifications. Your reward will be that smooth, quiet clutch operation that makes driving a manual transmission car such a pleasure.
Don’t forget the break-in period – treat your new clutch components gently for the first 500 miles, and they’ll reward you with years of reliable service.
If you run into any major complications, there’s no shame in calling in professional help. Sometimes having the right specialized tools and experience makes all the difference between a weekend project and a week-long headache.
Have you tackled a clutch release bearing replacement yourself? I’d love to hear about your experience in the comments! And if this guide saved your bacon (or at least made the job a little less intimidating), pass it along to another manual transmission enthusiast who might be facing the same squeaky situation.
Frequently Asked Questions
How long does it take to replace a clutch release bearing?
For an experienced DIYer, expect 4-8 hours depending on your vehicle and skill level. First-timers should plan for a full weekend project with extra time for unexpected challenges.
Can I replace just the release bearing without replacing the clutch?
Technically yes, but it’s rarely advisable. Since the labor is identical, most mechanics recommend replacing the complete clutch kit while you’re already there.
How much does a professional clutch release bearing replacement cost?
Professional replacement typically costs between $500-$1,200 depending on your vehicle and location. Labor makes up the majority of this cost.
What causes a release bearing to fail prematurely?
The most common causes are riding the clutch, improper clutch adjustment, or misalignment in the clutch system. Driving habits have the biggest impact on bearing lifespan.
Is it dangerous to drive with a failing release bearing?
While not immediately dangerous, a failing bearing can eventually cause complete clutch failure, leaving you stranded. It can also damage other components if ignored too long.

