Overview
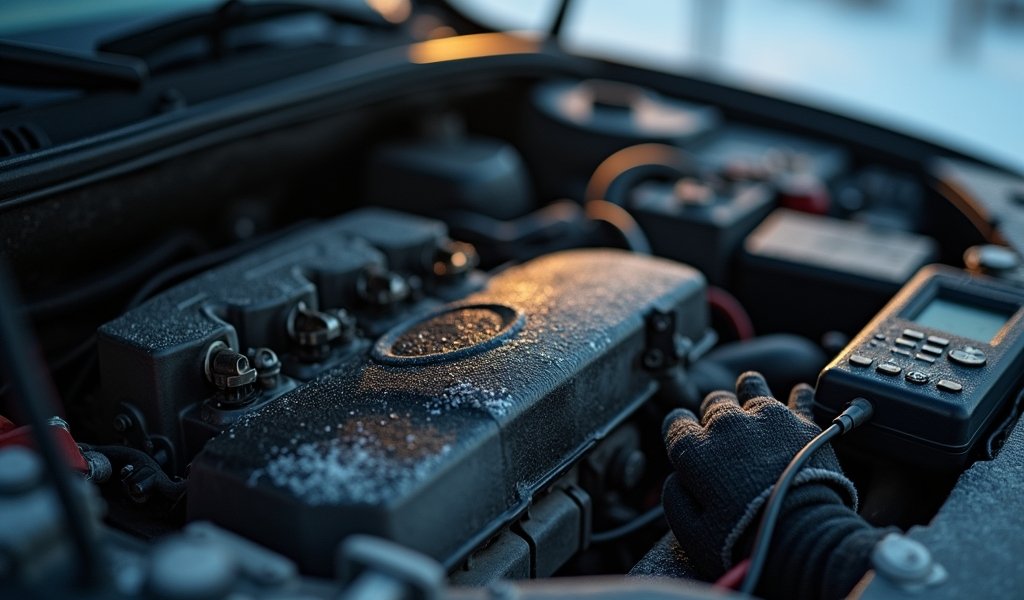
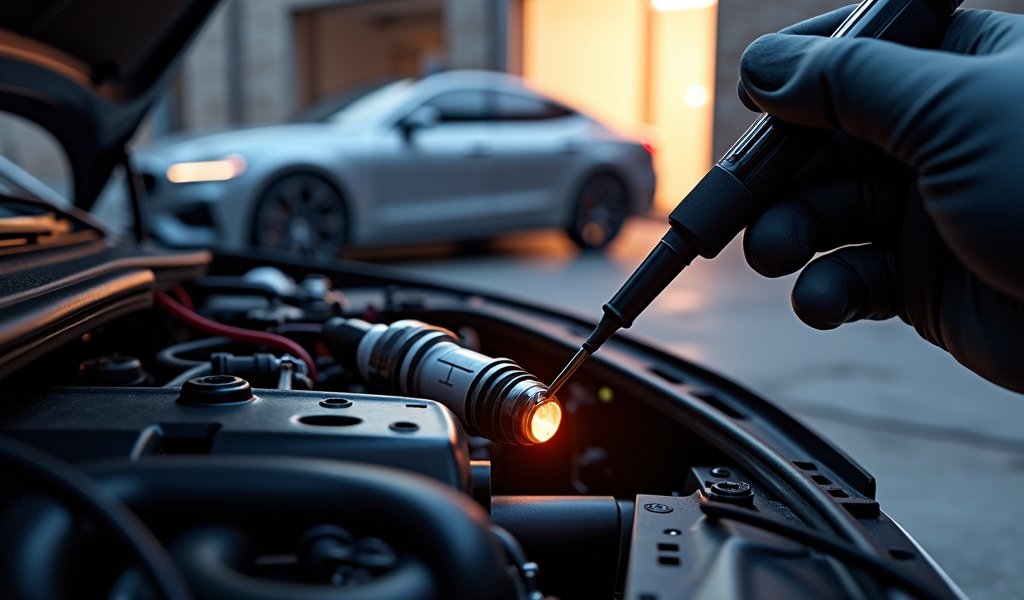
This article provides five essential tips for accurately testing glow plug resistance in diesel engines, explaining how proper testing can diagnose cold-start issues and prevent costly repairs. The guide covers tool selection, understanding manufacturer specifications, proper testing procedures, result interpretation, and when to replace glow plugs, emphasizing that regular testing is crucial preventative maintenance for diesel engines.
Table of Contents
- Understanding Glow Plugs: Your Diesel’s Cold-Weather Companions
- Why Glow Plug Resistance Testing Matters
- Tip #1: Gathering the Right Tools for Accurate Testing
- Tip #2: Understanding Manufacturer Specifications
- Tip #3: Following the Correct Testing Procedure
- Tip #4: Interpreting Your Test Results
- Tip #5: Taking Action Based on Your Findings
- Conclusion: Keeping Your Diesel Running Strong
- Frequently Asked Questions
Understanding Glow Plugs: Your Diesel’s Cold-Weather Companions
If you’ve ever marveled at how your diesel engine fires up on a frosty morning, you’ve got glow plugs to thank. These unsung heroes of the diesel world are essentially small heating elements that warm the combustion chambers before startup. Unlike gasoline engines with spark plugs that ignite the fuel mixture, diesel engines rely on compression heat for ignition – and when it’s cold outside, they need some help getting there.
I’ve been working with diesel engines for over 20 years, and I can tell you that healthy glow plugs are crucial for reliable cold starts and proper engine performance. When they fail, you’ll know it – hard starting, rough idle, white smoke, and even no-start conditions are common symptoms. But why wait for these headaches when a simple resistance test can tell you exactly how your glow plugs are performing?
Why Glow Plug Resistance Testing Matters
Glow plug resistance testing is like checking your blood pressure – it gives you a clear indication of health before symptoms become severe. These little heating elements deteriorate gradually over time, and measuring their electrical resistance provides an early warning system.
Testing resistance is particularly valuable because it’s non-invasive. You can check your glow plugs’ health without removing them from the engine in many cases. This saves time and prevents the potential complications of glow plug removal (like breaking them off in the cylinder head – trust me, that’s a repair bill you don’t want).
From my experience in the shop, at least 30% of cold-start issues in diesel engines stem from compromised glow plugs that could have been identified with a simple resistance test. Let’s dive into how you can perform this valuable diagnostic procedure yourself with my top five tips.

Tip #1: Gathering the Right Tools for Accurate Testing
You wouldn’t try to change your oil with a hammer, right? Having the proper tools for glow plug resistance testing is just as important. The star of the show is a quality digital multimeter. Don’t skimp here – those $10 bargain bin multimeters often lack the precision needed for accurate glow plug testing.
For reliable results, you’ll need:
- A digital multimeter with low ohm measurement capability (accuracy to 0.1 ohms or better)
- Insulated gloves for safety (you’re working with electrical components)
- A socket set and extensions (for accessing glow plugs if necessary)
- Clean rags (for wiping connections to ensure good contact)
- Your vehicle’s service manual (for specifications and access instructions)
When selecting a multimeter, look for one with auto-ranging capabilities. This feature automatically selects the appropriate measurement range, eliminating guesswork. Quality multimeters from trusted brands will provide consistent readings that you can rely on.
One thing I always tell my apprentice mechanics: cheap tools lead to expensive mistakes. A proper multimeter is an investment that will serve you well beyond just glow plug testing – it’s useful for diagnosing countless electrical issues across your vehicle.
Tip #2: Understanding Manufacturer Specifications
Here’s where many DIY mechanics go wrong – they test the resistance without knowing what values to expect. Each vehicle manufacturer specifies an acceptable resistance range for their glow plugs, and these specs vary widely between makes and models.
Generally speaking, most metal glow plugs have resistance values between 0.5 and 2 ohms when cold. Ceramic glow plugs typically range from 2 to 6 ohms. But don’t rely on these general guidelines! Always check the specific values for your engine.
You can find these specifications in:
- Your vehicle’s service or repair manual
- The manufacturer’s technical service bulletins
- Glow plug manufacturer documentation
- Reliable online databases like AllData or Mitchell
I once had a customer who replaced all six glow plugs in his Ford PowerStroke because they measured 0.6 ohms – perfectly normal for that engine, but he thought they were too low compared to his previous vehicle. Understanding your specific manufacturer’s specs would have saved him over $300!
An important detail to remember: resistance specifications usually refer to cold glow plugs. As these components heat up, their resistance changes. Always perform your testing with the engine cold for consistent, comparable results.
Tip #3: Following the Correct Testing Procedure
Now for the hands-on part. A methodical approach to testing will give you reliable results every time. After working on thousands of diesel engines, I’ve refined this procedure to be both thorough and efficient.
Here’s my step-by-step approach:
- Ensure the engine is completely cold (ideally not run for at least 2 hours)
- Disconnect the negative battery terminal for safety
- Locate your glow plugs – they’re typically found in the cylinder head with electrical connectors attached
- Set your multimeter to the ohms (Ω) setting, using the lowest range for most accuracy
- Disconnect the electrical connector from the glow plug
- For direct testing: Touch one probe to the terminal on top of the glow plug and the other to the engine block (ground)
- For removed plugs: Touch one probe to the terminal and one to the threaded portion
- Record each reading and label which cylinder it came from
- Repeat for all glow plugs to identify patterns or outliers
The most common mistake I see is testing through the vehicle’s wiring harness rather than directly at the glow plug. This introduces additional resistance from the wiring and gives false readings. Direct connection to the glow plug itself is essential for accurate measurement.
Consistency is key – use the same testing method for all glow plugs so you’re comparing apples to apples. If you need to remove the glow plugs for testing, make sure to follow proper resistance testing protocols as you would with other sensors.

Tip #4: Interpreting Your Test Results
Numbers don’t lie, but they can be confusing if you don’t know what they mean. When it comes to glow plug resistance readings, here’s how to make sense of what your multimeter is telling you:
If your readings are within specification, that’s good news! Your glow plugs are likely functioning properly. However, if you notice significant variation between plugs (even within spec), the outliers may be starting to degrade.
When resistance is higher than specified, the glow plug can’t draw enough current to heat properly. This means weaker heating and potential cold-start issues. Think of it like a garden hose with a kink – the water (electricity) can’t flow freely.
If resistance is significantly lower than specified, the glow plug might be shorting internally. This can draw excessive current and potentially damage your glow plug controller or relay.
The “infinity” reading (usually displayed as “OL” on digital multimeters) means there’s a complete break in the circuit – your glow plug has an open circuit and needs immediate replacement.
In my years at the shop, I’ve found that comparing resistance values across all cylinders reveals more than just checking against specs. For example, if seven glow plugs read around 1.2 ohms but one reads 1.9 ohms, that outlier is likely failing even if it’s technically within the manufacturer’s range of 0.9-2.0 ohms.
Tip #5: Taking Action Based on Your Findings
Now that you’ve gathered the data, what should you do with it? Let me share what I’ve learned after replacing thousands of glow plugs throughout my career.
When to replace individual glow plugs:
- Any plug showing “infinity” or “OL” (open circuit) readings
- Readings that fall outside manufacturer specifications
- Significant outliers compared to other cylinders
When to replace the complete set:
- When most plugs show borderline readings (near the edge of specification)
- If your vehicle has high mileage (over 100,000 miles) and you’re already replacing some plugs
- When access is difficult or time-consuming (save future labor costs)
Here’s a pro tip from my workshop: glow plugs typically wear at similar rates. If one has failed completely, the others are likely not far behind. I generally recommend replacing all glow plugs as a set, especially on higher-mileage vehicles. The labor to access glow plugs often exceeds the cost of the parts themselves, so doing them all at once usually makes economic sense.
If you’re experiencing cold-start issues but your glow plug resistance readings look good, don’t stop investigating. Check for problems with the glow plug controller, relay, or wiring. Modern diesel engines have sophisticated glow plug systems that can fail in ways beyond just the plugs themselves.
When selecting replacement glow plugs, I strongly recommend sticking with OEM or high-quality aftermarket options. I’ve seen too many comeback jobs from cheap glow plugs that failed within months of installation. Quality plugs from brands like NGK, Bosch, or Denso may cost more upfront but provide reliable performance for years.
Conclusion: Keeping Your Diesel Running Strong
Glow plug resistance testing isn’t just a diagnostic procedure – it’s preventive medicine for your diesel engine. By regularly checking these crucial components, you can catch issues before they leave you stranded on a cold morning.
Remember, the five keys to successful glow plug testing are: having the right tools, knowing your specifications, following proper testing procedures, correctly interpreting results, and taking appropriate action based on your findings.
I’ve seen too many diesel owners waste hundreds on unnecessary repairs or replacements when a simple resistance test would have pinpointed the real issue. With the knowledge from this guide and a quality multimeter in hand, you’re equipped to keep your diesel’s cold-start system in top condition.
Diesel engines are marvels of engineering that will serve you faithfully for hundreds of thousands of miles with proper care. Think of glow plug maintenance as your insurance policy against cold-weather starting problems and the cascade of issues that can follow.
Now that you understand how to test and evaluate your glow plugs properly, you’ve added another valuable skill to your diesel maintenance toolkit. Your engine (and your wallet) will thank you when the temperature drops and your diesel fires up without hesitation!
Frequently Asked Questions
How often should I test my diesel’s glow plugs?
I recommend testing glow plug resistance annually before winter or any time you experience cold-start issues. Regular testing is especially important for vehicles over 5 years old or with more than 60,000 miles.
Can I test glow plugs without removing them from the engine?
Yes, you can test most glow plugs while installed by disconnecting the electrical connector and testing between the terminal and engine ground. This non-invasive method works well for initial diagnostics.
What causes glow plugs to fail prematurely?
Excessive voltage from faulty controllers, fuel contamination, and frequent short-trip driving are common culprits. Using low-quality fuel or running incorrect glow plug cycle times can also accelerate wear.
Will a diesel start with bad glow plugs?
A diesel may start with bad glow plugs in warm weather, but will struggle or fail to start in cold temperatures. You might notice white smoke, rough idle, and poor acceleration until the engine warms up.
Do ceramic glow plugs have different resistance values than metal ones?
Yes, ceramic glow plugs typically have higher resistance values (2-6 ohms) compared to traditional metal glow plugs (0.5-2 ohms). Always refer to your specific vehicle’s specifications for accurate testing.

