Overview
This guide details the critical importance of water pump impeller inspection for preventing engine overheating, with step-by-step instructions for both DIY and professional approaches. Regular inspection can identify problems like cavitation damage, erosion, and corrosion before they lead to catastrophic engine failure, potentially saving thousands in repair costs.
Table of Contents
- Why Impeller Inspection Matters
- Essential Tools for Inspection
- Step-by-Step Inspection Process
- Common Impeller Problems
- Maintenance Tips During Inspection
- Inspection Frequency Guidelines
- DIY vs. Professional Inspection
- Preventative Measures
- Conclusion
- Frequently Asked Questions
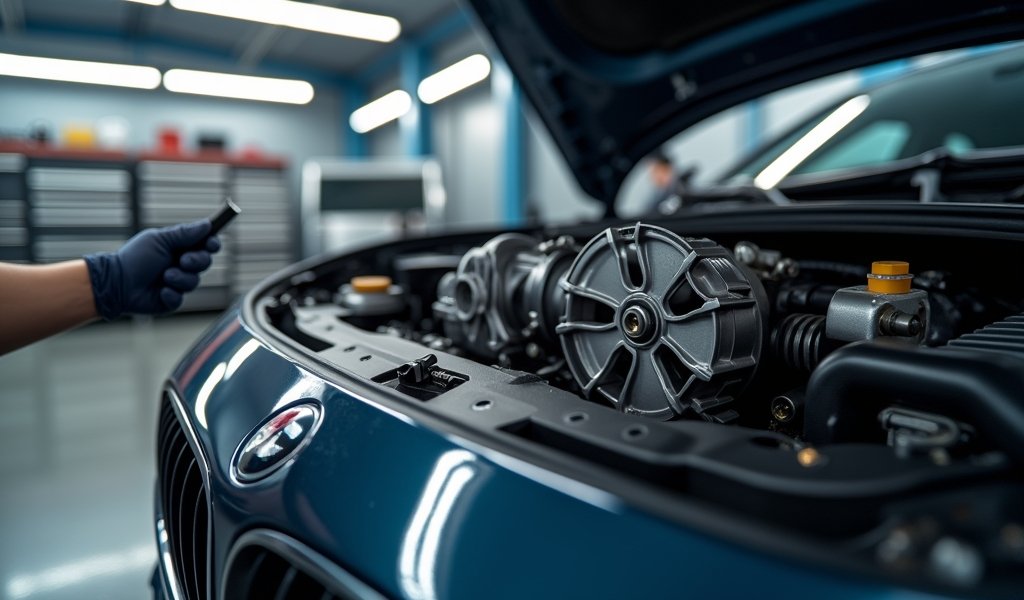
In the world of vehicle maintenance, your cooling system’s water pump impeller is the unsung hero that keeps your engine from turning into a furnace. As a mechanic who’s seen more melted engines than I care to count, I can tell you that water pump impeller inspection isn’t just another checkbox on a maintenance list—it’s a critical safeguard for your vehicle’s heart.
Think of your impeller as the paddle wheel of an old steamboat, churning tirelessly to keep coolant flowing through your engine’s veins. When this little propeller-like component falters, it’s like the drummer in a marching band suddenly stopping—everything else falls apart soon after.
This guide will walk you through inspecting your water pump impeller like a pro, saving you from the blistering surprise of engine overheating and the wallet-emptying repairs that follow. Whether you’re a weekend warrior ready to roll up your sleeves or just want to understand what we’re looking for when your car visits the shop, you’ll find clear, actionable advice here.
Why Impeller Inspection Matters
Your cooling system is a closed battlefield where heat and chemistry wage constant war. At the center of this conflict stands the impeller, pushing coolant through your engine like a loyal soldier. When this component fails, the dominoes start to fall—and quickly.
I once had a customer ignore a squealing water pump, only to find himself stranded on a mountain pass with steam billowing from his hood like a locomotive. The repair bill was north of $2,500 because the overheating damaged his cylinder head gaskets. His impeller had eroded to nearly nothing, and all for want of a simple inspection that could have caught the issue months earlier.
Regular impeller checks can prevent:
- Catastrophic engine overheating that warps cylinder heads
- Blown head gaskets that contaminate your oil system
- Poor fuel economy from an engine struggling at improper temperatures
- Unexpected breakdowns in inconvenient (or dangerous) locations
Consider this: a typical water pump replacement costs between $300-800, while engine repairs from overheating damage can easily rocket past $3,000. It’s a small investment with massive returns, as preventive as a flu shot in winter.
Essential Tools for Inspection
Like any craftsman worth their salt, a proper impeller inspection requires the right tools in your arsenal. Don’t worry—you won’t need to mortgage your house for specialized equipment. Most of these items are probably already scattered throughout your garage.

Here’s your checklist of equipment that will make your inspection as smooth as a freshly paved highway:
- Basic socket set and wrenches (both metric and standard to cover all bases)
- Flashlight or headlamp (the brighter, the better—cooling systems can be caves of darkness)
- Clean catch pan for coolant (because spilled coolant is both an environmental hazard and catnip for pets)
- Shop towels or rags (cleanup is half the job)
- Coolant pressure tester (can be rented from most auto parts stores)
- Small mirror on an extendable handle or a smartphone with a good camera
- Chemical-resistant gloves (coolant isn’t friendly to skin)
- Safety glasses (because eyes and chemicals should never meet)
For those willing to go the extra mile, an inspection camera (endoscope) that connects to your smartphone can be a game-changer. For around $30, these devices let you snake a camera into tight spaces, giving you a VIP pass to parts of your cooling system that would otherwise remain mysterious.
Remember, as the old mechanic’s saying goes, “The right tool turns a nightmare into a daydream.” Proper preparation transforms this inspection from intimidating to straightforward.
Step-by-Step Inspection Process
Now comes the meat and potatoes of our task. Follow these steps and you’ll be inspecting impellers like you’ve been doing it since you could walk.
Safety First: The Cool-Down
Before you dive in head-first, make sure your engine is completely cool. I’m talking cold-to-the-touch cool, not “it’s been off for 20 minutes” cool. Cooling systems operate under pressure, and opening a hot one is like uncorking champagne that’s been strapped to a rocket—explosive and dangerous.
Once cool:
- Disconnect the negative battery terminal (safety never takes a day off)
- Position your catch pan under the radiator drain
- Slowly release the radiator cap to ensure no residual pressure remains
Accessing Your Impeller
This step varies widely between vehicles—like comparing a leisurely Sunday drive to off-roading in the Rockies. Some vehicles allow direct access to the impeller, while others guard it like Fort Knox.
The general approach:
- Drain the cooling system into your catch pan
- Remove any accessory belts blocking access to the water pump
- Depending on your vehicle, you might need to remove just a cover plate or the entire water pump
For vehicles where the impeller is visible without pump removal, you’re in luck! Use your flashlight and mirror (or camera) to peer inside and examine the impeller. For the rest of us, we’ll need to remove components until we can see what we’re working with.
When in doubt, consult your vehicle’s service manual—it’s like having the car’s designer whispering instructions in your ear.
Visual Inspection: What to Look For
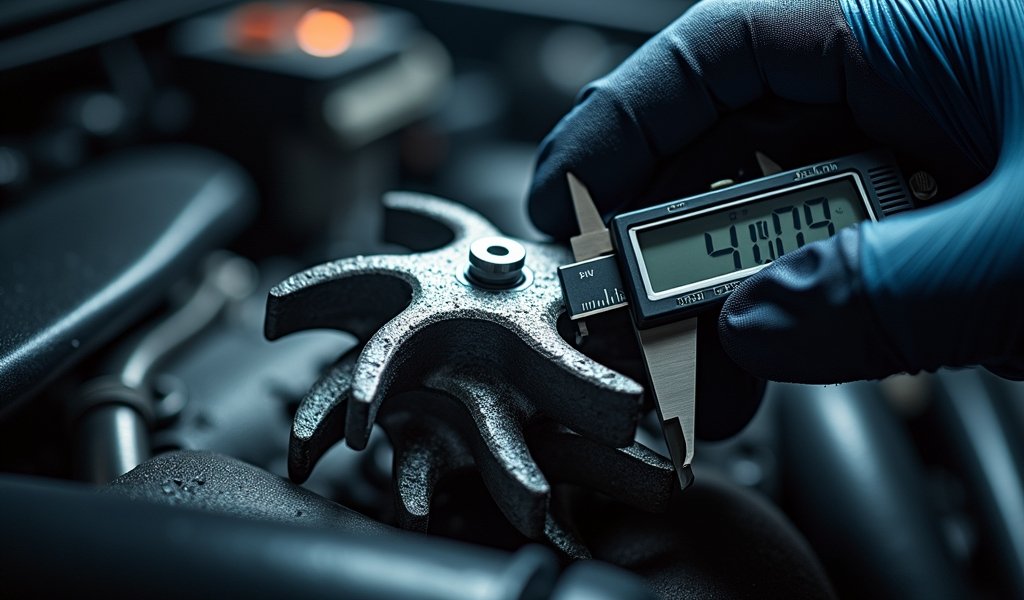
With the impeller finally in your sights, it’s showtime. You’re looking for a strong, intact component with evenly spaced vanes that resemble a pinwheel. Here’s your inspection checklist:
- Check for cracks, chips, or missing pieces in the impeller vanes
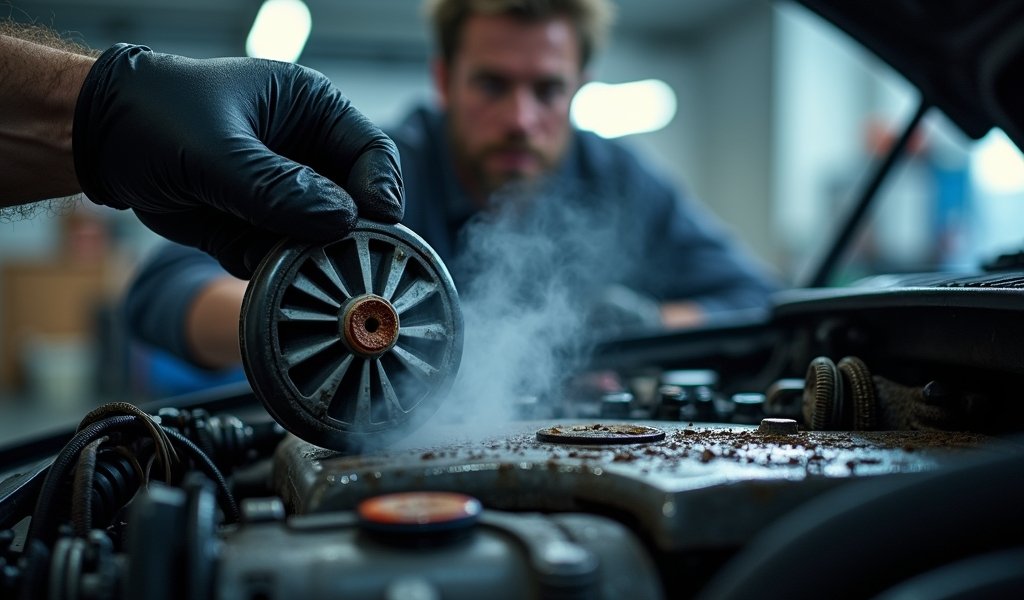
- Look for erosion, which appears as pitting or thinning material
- Examine for discoloration that might indicate chemical damage
- Verify the impeller fits snugly on its shaft without wobbling
- Ensure there’s no excessive play between the impeller and housing
- Check for debris buildup or foreign material caught between vanes
A healthy impeller should look uniform and substantial. If yours resembles Swiss cheese or has vanes that have thinned like a bad comb-over, you’re looking at a replacement situation.
Common Impeller Problems
After inspecting hundreds of water pump impellers over the years, I’ve noticed patterns of failure as predictable as a summer blockbuster. Knowing what to look for turns you from casual observer to diagnostic detective.
Cavitation Damage
Cavitation sounds like something from a dental visit, but it’s actually tiny imploding bubbles that create sonic shock waves. These microscopic explosions chip away at your impeller like underwater jackhammers.
The telltale signs include pitting that resembles moon craters across the surface of the impeller. This damage typically results from air in the cooling system, improper coolant mixtures, or intake restrictions that cause low pressure areas.
Wear and Erosion Patterns
Like footprints in sand, wear patterns tell a story of your impeller’s life:
- Even wear across all vanes suggests natural aging
- Excessive wear on leading edges points to abrasive particles in the coolant
- Uneven wear may indicate imbalance or alignment issues
- Wear concentrated at the base of the vanes suggests high-speed operation or frequent temperature cycling
I once saw an impeller that looked perfectly intact from the front, but the back side had eroded to paper-thinness—like a Hollywood set that’s just a facade. Always check all surfaces of the impeller when possible.
Corrosion: The Silent Killer
Your cooling system is a chemical soup where metals, rubber, and coolant live in tenuous harmony. When this balance shifts, corrosion moves in like unwelcome houseguests.
Look for:
- Green or white powdery deposits (signs of electrolysis)
- Flaking or scaling on the surface
- Color changes that suggest chemical reactions
- Material that’s become brittle or crumbly
Modern coolant formulations have improved corrosion protection, but if you’re the type who stretches coolant changes like the last dollar before payday, you’re inviting trouble to your engine’s doorstep.
Maintenance Tips During Inspection

Since you’ve already gone through the trouble of accessing your water pump impeller, it’s like clearing security at the airport—the hard part is done, so you might as well make the most of your journey.
Cleaning: Gentle Does It
If your impeller has light deposits but is otherwise structurally sound, careful cleaning might extend its life. The approach depends on your impeller material:
- Plastic impellers: Use soft brushes and mild soap, avoiding harsh chemicals that might degrade the plastic
- Metal impellers: A light brass brush can remove surface deposits without damaging the underlying material
Remember: cleaning is for light maintenance only. If your impeller looks like it survived a blender accident, cleaning won’t resurrect it. In that case, replacement is your only path forward.
The Replace vs. Repair Decision
In my thirty years turning wrenches, I’ve developed a simple rule: when in doubt, replace the impeller. Unlike fine wine, impellers don’t improve with age, and the consequences of failure make gambling a fool’s errand.
Consider replacement when you see:
- Any cracks, regardless of size
- Significant erosion or vane damage
- Impeller shaft play or wobbling
- Severe discoloration or material degradation
The cost of a replacement water pump (which includes a new impeller) ranges from $40-150 for the part alone, depending on your vehicle. That’s pocket change compared to the engine repairs that might follow a complete failure.
As one of my mentors used to say, “You can pay a little now, or a lot later—but you’re going to pay.” Those words ring especially true with cooling system components.
Inspection Frequency Guidelines
Like dental checkups or oil changes, water pump impeller inspections should follow a regular schedule. But unlike those one-size-fits-all maintenance items, impeller inspection timing varies based on your vehicle and driving habits.
For Personal Vehicles
For the average driver putting normal miles on their vehicle:
- Perform a basic external inspection (looking for leaks or weeping) during every oil change
- Schedule a thorough inspection every 60,000 miles or 5 years, whichever comes first
- Conduct immediate inspection if your temperature gauge starts acting erratically
If you’re towing regularly, live in extreme climates, or have a high-performance vehicle, cut these intervals in half. Your cooling system works overtime in these conditions, like a marathon runner compared to a casual jogger.
Special Considerations
Several factors should trigger more frequent inspections:
- If you’ve recently had radiator repair work done, check your impeller within 1,000 miles
- After any cooling system component replacement, inspect within 500 miles to ensure proper system operation
- When buying a used vehicle, make impeller inspection part of your initial maintenance regardless of service records
- Before long road trips, especially in summer heat
I’ve lost count of how many family vacations I’ve seen derailed by cooling system failures that simple pre-trip inspections could have prevented. Don’t let your memories include the inside of a tow truck cab.
DIY vs. Professional Inspection
The eternal question: should you tackle this yourself or leave it to the pros? The answer lies in your comfort level, tools, and experience.
What You Can DIY With Confidence
Even if your mechanical experience is limited to changing a tire, you can still handle these basic checks:
- External inspection for leaks around the water pump
- Monitoring your temperature gauge for unusual behavior
- Checking coolant level and condition
- Listening for unusual noises from the water pump area
These simple observations can catch developing issues before they evolve into roadside emergencies. Think of them as the mechanical equivalent of noticing a new mole that should be checked by a doctor.
When to Call the Professionals
Some scenarios warrant professional attention:
- When special tools are required for proper access
- If your vehicle has a timing belt that drives the water pump
- When you discover significant damage requiring system flushing
- If you’re not confident in your ability to properly reassemble everything
Many modern vehicles integrate the water pump with other critical systems, turning what used to be a straightforward job into a mechanical puzzle. In these cases, professional experience isn’t just convenient—it’s valuable insurance against costly mistakes.
Cost Considerations
Let’s talk dollars and cents:
- DIY inspection: $0-50 for basic tools and supplies
- Professional inspection during other service: $0-75 additional
- Dedicated professional inspection: $75-150
- Complete water pump replacement: $300-800 depending on vehicle complexity
The economics make sense: even paying for professional inspection every few years costs far less than a single overheating incident that damages your engine. As the old saying goes, “An ounce of prevention is worth a pound of cure”—and in the automotive world, that pound of cure comes with a heavyweight price tag.
Preventative Measures
Beyond regular inspections, several preventative practices can extend your impeller’s lifespan and keep your cooling system purring like a contented cat.
Coolant Management
Your coolant is the lifeblood of your cooling system, and proper management is critical:
- Use only manufacturer-recommended coolant types—mixing types is like putting diesel in a gasoline engine
- Maintain proper antifreeze-to-water ratios (typically 50/50)
- Replace coolant at specified intervals to prevent acidic buildup
- Use distilled water when mixing coolant to prevent mineral deposits
Modern coolants last longer than they used to, but they’re not immortal. According to Car Care Council research, coolant that’s past its prime becomes more corrosive, directly attacking your impeller and other cooling system components.
System Maintenance
A holistic approach to cooling system care includes:
- Keeping radiator hoses in good condition to prevent pressure fluctuations
- Ensuring your radiator cap maintains proper system pressure
- Addressing small leaks immediately before they affect system pressure
- Keeping belts properly tensioned if they drive your water pump
Remember: your cooling system components work as a team. When one player falters, the whole team suffers. Maintaining each component properly ensures the longest possible service life for your impeller and the entire system.
Driving Habits
How you drive affects your cooling system’s longevity:
- Allow proper warm-up time, especially in cold weather
- Avoid racing a cold engine, which causes thermal shock
- Don’t ignore temperature warnings hoping they’ll “go away”
- Be mindful of extended idling in hot weather
Treat your cooling system with respect, and it will return the favor with years of reliable service. Push it beyond its limits, and you’re playing automotive Russian roulette.
Conclusion
Your water pump impeller might be small, but its importance to your vehicle’s health is mighty. Like the heartbeat of your cooling system, this humble component keeps the lifeblood flowing, preventing the catastrophic consequences of overheating.
Regular water pump impeller inspection isn’t just another task to cross off your maintenance checklist—it’s an investment in your vehicle’s longevity and your financial peace of mind. The small effort required for periodic inspections pays enormous dividends in preventing unexpected breakdowns and expensive repairs.
Whether you choose the DIY route or rely on professional expertise, make impeller inspection a non-negotiable part of your vehicle care regimen. After all, in the world of automotive maintenance, an ounce of prevention isn’t just worth a pound of cure—it’s worth thousands of dollars and countless headaches avoided.
Next time you’re under the hood, spare a thought for that little spinner keeping your engine cool. A few minutes of attention now could save you from being that person watching steam billow from their hood on the highway shoulder. Your future self (and wallet) will thank you.
Frequently Asked Questions
How do I know if my water pump impeller is bad without removing it?
Listen for whining noises from the pump area and watch for engine temperature fluctuations. Coolant leaks around the water pump or reduced coolant flow through the radiator can also indicate impeller problems.
Can a water pump impeller be repaired?
Impellers generally cannot be repaired once damaged and should be replaced. The cost of replacement is far less than the potential damage from failure.
How often should a water pump impeller be inspected?
For most vehicles, inspect your impeller every 60,000 miles or 5 years, whichever comes first. Vehicles under heavy use or in extreme climates should be inspected more frequently.
What causes water pump impeller failure?
Common causes include cavitation damage, corrosion from improper coolant, debris in the cooling system, and natural wear over time. Overheating and age-related material degradation also contribute to failure.
Can I drive with a damaged water pump impeller?
Driving with a damaged impeller risks catastrophic engine overheating and should be avoided. Even temporary driving can lead to thousands in engine repairs that far outweigh the cost of prompt replacement.

