Overview
This article provides five essential tips for using hydraulic brake line flaring tools effectively, emphasizing that quality tools and proper technique are crucial for creating safe, leak-proof brake line connections. It covers tool selection, preparation procedures, flaring techniques, maintenance practices, and troubleshooting common issues, all underpinned by safety considerations for this critical automotive repair task.
Table of Contents
- What is a Hydraulic Brake Line Flaring Tool?
- Why Quality Matters in Brake Line Flaring
- Tip #1: Selecting the Right Hydraulic Brake Line Flaring Tool
- Tip #2: Proper Preparation Before Flaring
- Tip #3: Mastering the Flaring Technique
- Tip #4: Maintenance and Care of Your Flaring Tool
- Tip #5: Troubleshooting Common Flaring Issues
- Safety Considerations When Using Brake Line Flaring Tools
- Conclusion
- Frequently Asked Questions
What is a Hydraulic Brake Line Flaring Tool?
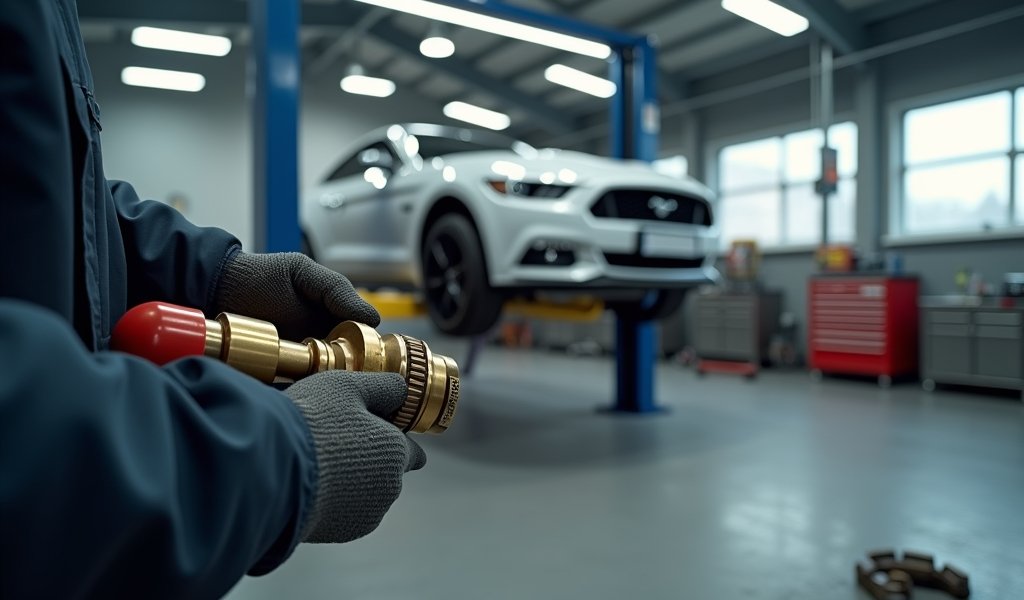
A hydraulic brake line flaring tool is a specialized piece of equipment that creates precisely shaped flares at the ends of brake lines. These flares are crucial for creating leak-proof connections in your vehicle’s braking system. As a mechanic who’s spent countless hours under hoods and chassis, I can tell you that this tool isn’t just another gadget—it’s the difference between a safe, reliable brake system and one that could fail when you need it most.
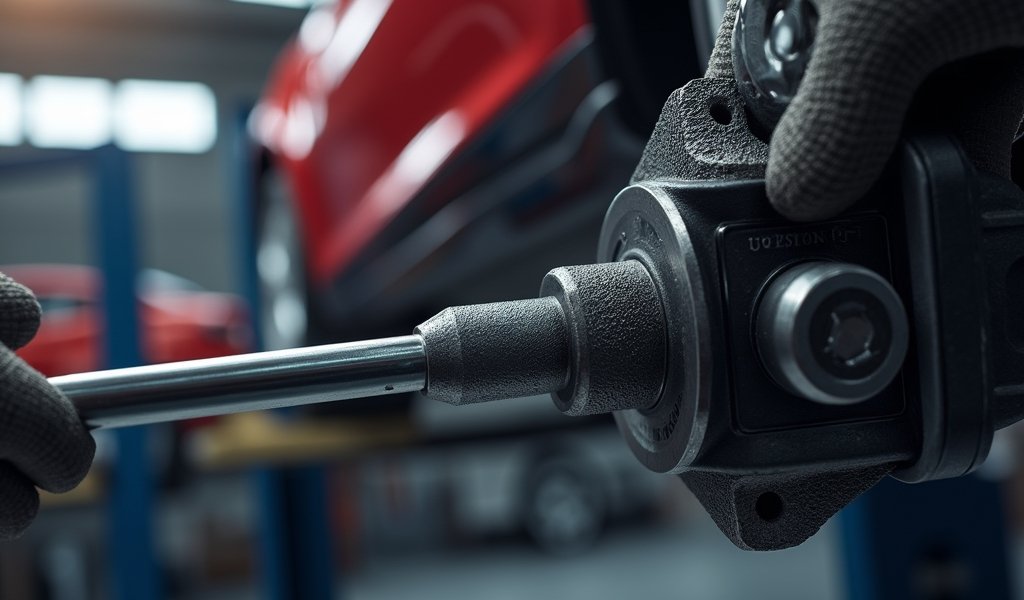
The beauty of a hydraulic brake line flaring tool lies in its precision and power. Unlike manual flaring tools that require significant arm strength and perfect technique, hydraulic tools use fluid pressure to create consistent, perfect flares every time. They typically consist of a hydraulic ram, dies for different flare types, a tubing cutter, and various adapters for different brake line sizes.
Most modern hydraulic flaring tools can create several types of flares, including single flares, double flares, and bubble flares (also known as ISO flares). Each has specific applications depending on your vehicle’s requirements and the brake system components you’re working with.
Why Quality Matters in Brake Line Flaring
When it comes to your vehicle’s braking system, there’s simply no room for compromise. A poorly created flare can lead to fluid leaks, air in the lines, or complete brake failure. I’ve seen the aftermath of brake line failures, and believe me, it’s not something you want to experience firsthand.
Quality flaring is essential because brake systems operate under high pressure—sometimes exceeding 1,500 PSI during hard braking. A properly created flare forms a metal-to-metal seal that can withstand these pressures while preventing brake fluid leaks. This is why investing in a good hydraulic brake line flaring tool is non-negotiable if you’re serious about brake work.
According to the National Highway Traffic Safety Administration, brake system failures contribute to a significant number of vehicle accidents each year. Many of these failures stem from improperly installed or maintained brake lines. With lives literally on the line, cutting corners with subpar tools or techniques simply isn’t an option.

Tip #1: Selecting the Right Hydraulic Brake Line Flaring Tool
Choosing the right hydraulic brake line flaring tool might seem overwhelming with all the options available, but I’ll simplify it for you. First, consider the types of flares you’ll need to create. Most domestic vehicles use double flares, while European models often require bubble (ISO) flares. A versatile tool that handles multiple flare types will serve you best in the long run.
Look for a tool with a sturdy steel construction—cast iron components are ideal for the base. The hydraulic ram should operate smoothly, and the dies should be precisely machined. Cheaper tools often have imprecise dies that create inconsistent flares, which is exactly what we’re trying to avoid.
Budget is obviously a consideration, but think of this as an investment. Professional-grade hydraulic flaring tools might range from $150 to $500, while premium models can exceed $1,000. For the average DIY mechanic who does occasional brake work, a mid-range tool around $200-300 usually provides the best balance of quality and value. Remember, you’re not just buying a tool—you’re investing in safety.
Some of my favorite brands include Mastercool, OTC, and Eastwood. These manufacturers have proven track records for producing reliable tools that create consistent, leak-proof flares. A quality tool from one of these brands will likely last your entire career if properly maintained.
Tip #2: Proper Preparation Before Flaring
Preparation is where many mechanics—both novice and experienced—make critical mistakes in car servicing. Before you even think about creating a flare, you need to properly prepare the brake line. Start by cutting the line squarely using a tubing cutter—never use a hacksaw as it can create uneven cuts and introduce debris into the line.
After cutting, use a deburring tool to remove any internal and external burrs. This step is non-negotiable; even a tiny burr can prevent proper seating of the flare and lead to leaks. Once deburred, thoroughly clean the line end with brake cleaner to remove any metal particles or contaminants.
Proper measurement is crucial. For double flares, you typically need to leave about 1/8″ of tubing extending beyond the die block. Too much tubing will create a malformed flare; too little won’t give you enough material to work with. Always refer to your specific tool’s instructions, as different manufacturers may recommend slightly different measurements.
Temperature matters more than you might think. Cold brake lines (especially in winter garage conditions) can be brittle and prone to cracking during flaring. If you’re working in cold conditions, warm the tubing slightly with a heat gun on its lowest setting before flaring. Just a gentle warming—you don’t want it hot to the touch.
Tip #3: Mastering the Flaring Technique
Now for the moment of truth—creating the perfect flare. With a hydraulic tool, the process is more forgiving than manual flaring, but technique still matters. Start by securing the brake line firmly in the appropriate size die. The line should be clamped tightly enough that it doesn’t move, but not so tight that you’re crushing the tubing.
For a double flare (the most common type), the process typically involves two steps. First, you’ll use the cone-shaped adapter to create a preliminary fold in the tubing. Remove this adapter, then use the flaring adapter to complete the flare. The hydraulic ram should be operated smoothly—no jerking or forcing.
The key is patience. Apply pressure gradually with the hydraulic ram until you meet resistance. Then, give it just a bit more pressure to complete the flare. Over-pressuring can lead to split flares or excessively thinned material. When done properly, the flare should have a smooth, even appearance with no cracks or irregularities.
One tip from years in the shop: rotate the tubing slightly between operations when making double flares. This compensates for any minor imperfections in the die and helps create a more even flare. It’s a small detail, but these little things separate good work from great work.
Remember that different materials require different approaches. Stainless steel brake lines, for instance, are notoriously harder to flare than standard steel lines. They require more pressure and sometimes special dies. Copper-nickel lines, which are becoming more common, are easier to work with but require a gentler touch to avoid over-flaring.

Tip #4: Maintenance and Care of Your Flaring Tool
A quality hydraulic brake line flaring tool isn’t just an expense—it’s an investment that can last decades with proper care. After each use, clean the dies thoroughly to remove any metal particles or debris. A small brush and some brake cleaner work perfectly for this. Pay special attention to the flaring surfaces of the dies, as even tiny particles can affect the quality of future flares.
The hydraulic system needs occasional attention too. Check for any fluid leaks around the ram and pump mechanism. Most quality tools use standard hydraulic oil that can be topped up if needed. If you notice the ram moving sluggishly, it might be time for an oil change or seal replacement—consult your tool’s manual for specific maintenance procedures.
Storage matters more than you might think. Keep your flaring tool in a clean, dry environment, preferably in its original case if provided. Consider applying a light coat of oil to metal components if storing for extended periods. This prevents rust and corrosion that can damage the precision surfaces.
Dies are the heart of your flaring tool, so treat them with special care. Never use them for purposes other than flaring the appropriate materials. Attempting to flare hardened steel or other inappropriate materials can damage the dies permanently. If you notice any nicks, gouges, or excessive wear on the dies, replace them rather than risk creating substandard flares.
Tip #5: Troubleshooting Common Flaring Issues
Even with the best tools and techniques, you’ll occasionally encounter problems when flaring brake lines. Let’s address some common issues I’ve seen throughout my career. If you’re getting split or cracked flares, you’re likely applying too much pressure or using tubing that’s too brittle. Try annealing the tubing end (heating to a dull red and allowing it to cool slowly) for stainless steel or hard lines.
Uneven or lopsided flares usually indicate that the tubing wasn’t centered properly in the die. Always double-check your setup before applying pressure. Sometimes, simply repositioning the tube and starting over is your best course of action. Remember, it’s better to waste a few inches of tubing than to install a questionable flare.
If your flares aren’t seating properly against fittings, you might be creating the wrong type of flare for your application. Double-check your vehicle’s requirements—using a double flare when a bubble flare is needed (or vice versa) will result in leaks regardless of how well-formed the flare appears.
Occasionally, you might find the hydraulic ram doesn’t develop sufficient pressure to complete the flare. This is usually due to air in the hydraulic system or worn seals. Most quality tools have a bleed valve to purge air. Open it slightly while pumping to release any trapped air, then close it and resume normal operation. If this doesn’t resolve the issue, a seal kit might be needed—they’re generally available from the manufacturer.
If you’re consistently having troubles despite addressing these common issues, consider having an experienced mechanic observe your technique. Sometimes small mistakes in car servicing can be difficult to spot in your own work, but obvious to someone else. We all had to learn sometime, and there’s no shame in seeking advice.
Safety Considerations When Using Brake Line Flaring Tools
Safety might not be the most exciting topic, but it’s crucial when working with brake systems. First and foremost, always wear appropriate eye protection when flaring brake lines. Metal fragments can cause serious eye injuries, and they’re entirely preventable with proper safety glasses.
Be mindful of your hand placement when operating the hydraulic ram. These tools generate significant force that can cause injury if fingers get caught between components. Always maintain awareness of pinch points and keep hands clear when applying pressure.
According to OSHA’s automotive safety guidelines, maintaining a clean, organized workspace significantly reduces accident risk. Keep your work area free of clutter, with adequate lighting and stable surfaces for your flaring operations.
Never test brake line integrity with compressed air. The proper testing method is to install the lines, fill the system with brake fluid, and then pressure test according to manufacturer specifications. Compressed air can create dangerous projectiles if a flare fails under pressure.
Finally, remember that brake fluid is highly caustic and can damage paint, skin, and eyes. Keep a clean work area, use appropriate gloves when handling components that have been exposed to brake fluid, and have eye wash supplies readily available just in case.
Conclusion
A hydraulic brake line flaring tool is more than just another item in your toolbox—it’s a precision instrument that directly impacts vehicle safety. By following these five tips—selecting quality tools, preparing properly, mastering technique, maintaining your equipment, and knowing how to troubleshoot—you’ll be able to create professional-grade brake line flares that ensure reliable, leak-free brake system performance.
Remember that practice makes perfect. Your first few flares might not be showcase examples, but with patience and attention to detail, you’ll quickly develop the skills needed for consistent results. Don’t rush the process—brake work is never the place to cut corners or hurry through steps.
Whether you’re a weekend warrior maintaining your own vehicles or a professional mechanic, investing in quality tools and developing proper technique pays dividends in both safety and satisfaction. There’s a unique pride in completing brake work that you know is done right—knowing that the vehicle will stop safely because of your careful workmanship.
Frequently Asked Questions
What’s the difference between single and double flares?
Single flares are simpler but less secure, consisting of just one 45-degree fold in the tubing. Double flares have two folds, creating a stronger, more leak-resistant connection that’s required for most automotive brake systems.
Can I use a hydraulic brake line flaring tool on stainless steel lines?
Yes, but stainless steel requires more pressure and sometimes special dies. Consider annealing the ends of stainless lines before flaring to make the process easier and reduce the risk of cracking.
How much does a good hydraulic brake line flaring tool cost?
Quality hydraulic brake line flaring tools typically range from $150 to $500 for mid-range models. Professional-grade tools can cost upwards of $1,000, but most DIYers can get excellent results with tools in the $200-300 range.
Do I need different tools for different types of flares?
Most quality hydraulic flaring tools come with interchangeable dies for different flare types. Look for a tool that can create both double flares (common in US vehicles) and bubble/ISO flares (common in European vehicles).
How can I tell if my brake line flare is good enough?
A proper flare should be symmetrical, smooth, and free from cracks or splits. The seating surface should be flat and even, and when assembled with the fitting, the connection should be able to withstand full system pressure without leaking.


Pingback: Oil Cooler Line Connection: 5 Epic Fixes - knowsyourcar.com
Pingback: Injector Return Line Routing: Best Fixes - knowsyourcar.com