Overview
This article provides five essential tips for measuring and maintaining drum brake shoe lining thickness, emphasizing the importance of regular inspections, proper measurement techniques, recognizing wear indicators, understanding environmental factors that affect wear, and making informed decisions about DIY versus professional replacement. Safe brake maintenance requires monitoring linings until they reach the minimum safe thickness of 1/16 inch (1.6mm), with inspections recommended every 10,000 miles for normal driving or more frequently for demanding conditions.
Table of Contents
- Understanding Drum Brakes and Their Importance
- Measuring Drum Brake Shoe Lining Thickness
- Tip 1: Regular Inspection Schedules
- Tip 2: Proper Measurement Techniques
- Tip 3: Recognizing Wear Indicators
- Tip 4: Environmental Factors Affecting Lining Wear
- Tip 5: DIY vs. Professional Replacement
- Conclusion
- Frequently Asked Questions
Understanding Drum Brakes and Their Importance
Drum brake shoe lining thickness is critical to your vehicle’s braking performance and safety. While many newer vehicles have switched to disc brakes on all four wheels, drum brakes remain common on rear wheels of many cars and trucks, especially in budget-friendly models. As a mechanic with over 15 years of experience, I’ve seen firsthand how neglecting these often-overlooked components can lead to expensive repairs and, more importantly, safety hazards.
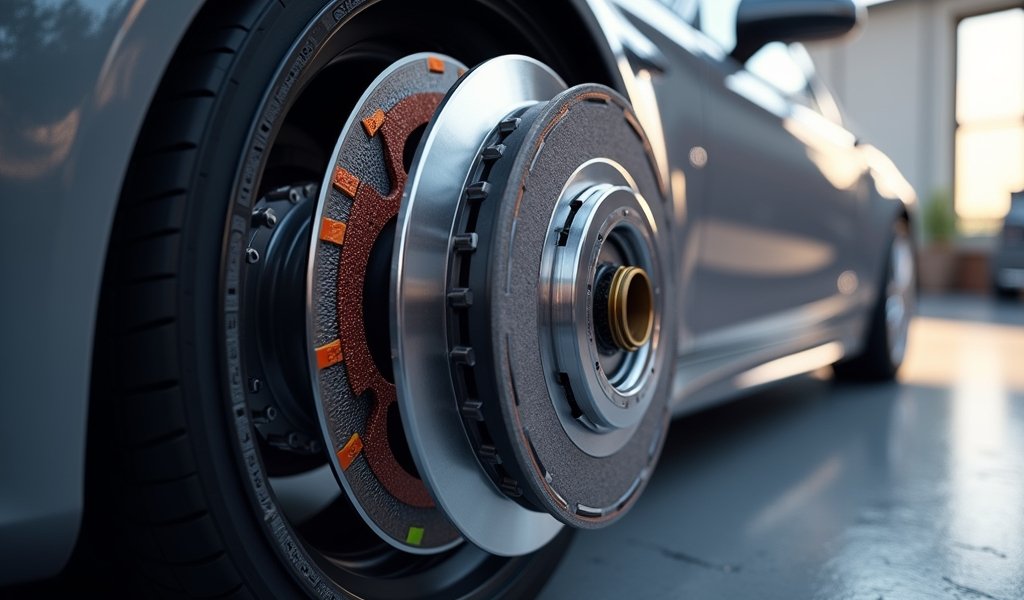
Drum brakes consist of several components working together inside a drum-shaped housing. The brake shoes, curved metal pieces lined with friction material (the lining), press against the inner surface of the drum when you apply the brakes. This friction slows and stops your vehicle. The lining material wears down gradually with each brake application – that’s normal, but knowing when it’s too thin is essential for safe driving.
Unlike disc brake pads that are relatively easy to inspect visually, drum brake components are hidden inside the drum assembly. This makes monitoring brake shoe lining condition more challenging for the average driver. Many folks only discover worn-out brake shoes during major brake failures or routine service appointments. Let’s change that approach with some proactive maintenance tips.
Measuring Drum Brake Shoe Lining Thickness
Before diving into specific tips, let’s establish what we’re measuring and what values matter. Drum brake shoe lining thickness refers to the depth of friction material bonded to the metal backing of the brake shoe. When new, most passenger vehicle brake shoes have a lining thickness between 3/16 inch (4.8mm) and 1/4 inch (6.4mm), depending on the manufacturer and vehicle specifications.
The minimum safe thickness varies by vehicle, but generally, you should consider replacement when the lining thickness reaches 1/16 inch (1.6mm) or less. Many manufacturers mark a “wear line” on the edge of the shoe that indicates the replacement threshold. Once you hit this line, it’s time for new brake shoes—no exceptions.
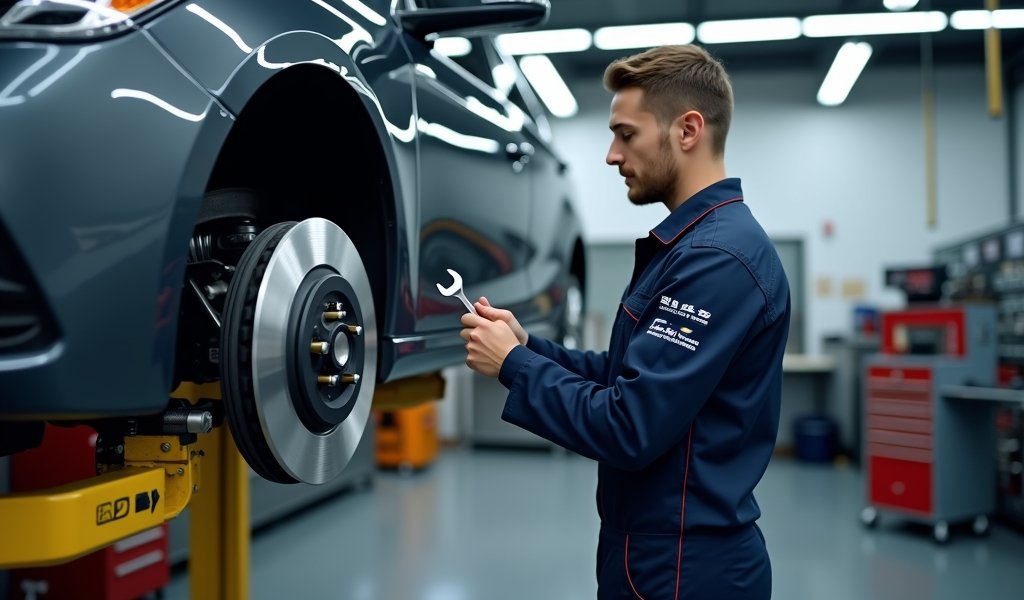
Precise measurement requires some specialized tools and knowledge. A brake lining thickness gauge or a quality digital caliper works best for this job. You’ll need to remove the brake drum to access the shoes for measurement, which often requires basic hand tools like a socket set, wheel chocks, and a jack with stands. If you’re not comfortable with this procedure, no worries—your trusted mechanic can handle it during a regular brake inspection.

Tip 1: Regular Inspection Schedules
Developing a consistent inspection routine is your best defense against brake failure. I recommend checking drum brake shoe lining thickness every 10,000 miles for normal driving conditions. However, if you frequently drive in mountainous terrain, tow heavy loads, or navigate stop-and-go traffic, consider more frequent inspections—perhaps every 5,000 to 7,500 miles.
Mark these inspection intervals on your maintenance calendar or set reminders in your phone. Many drivers find it convenient to check their brake shoes when rotating tires, as the wheels are already off. This creates a natural inspection cadence that’s easy to remember.
During these inspections, don’t just look at the lining thickness. Take a moment to examine the entire brake assembly for signs of trouble. Check for:
- Uneven wear patterns across the shoe surface
- Glazing or shiny spots on the lining material
- Contamination from brake fluid, grease, or oil
- Scoring or grooves on the drum surface
- Rust or corrosion on springs and hardware
These observations can reveal problems beyond simple wear. For instance, uneven wear might indicate a sticking wheel cylinder or misaligned shoes. Catching these issues early prevents accelerated lining deterioration and saves you money in the long run.
Remember, regular inspections are part of a comprehensive maintenance approach that extends the life of your vehicle’s braking system. Just 10-15 minutes of attention can prevent hours of roadside troubles later.
Tip 2: Proper Measurement Techniques
Accurate measurement is crucial when evaluating drum brake shoe lining thickness. After removing the drum (always following proper safety procedures with the vehicle secured on jack stands), you’ll see the curved brake shoes inside. The measurement process isn’t complicated, but attention to detail matters.
First, ensure the brake assembly is clean and free of dust before measuring. Brake dust is potentially harmful to breathe and can interfere with accurate readings. A brake cleaner spray and shop towels work well for this task. Avoid using compressed air, as this can send dust particles airborne.
When measuring with a caliper or thickness gauge, take readings from multiple points along the shoe—typically at the center and about an inch from each end. This gives you a complete picture of the wear pattern. Record the thinnest measurement, as this represents your current effective lining thickness.
Here’s a step-by-step measurement process:
- Clean the brake assembly thoroughly
- Visually inspect for uneven wear or damage
- Place your measuring tool perpendicular to the lining surface
- Take readings at multiple points along the shoe
- Record the thinnest measurement
- Compare to manufacturer specifications
According to NHTSA guidelines on brake maintenance, maintaining proper brake lining thickness is essential for vehicle safety. Their research shows that inadequate brake maintenance contributes to a significant percentage of mechanical-failure crashes on our roads.
If you’re uncertain about your measurements or don’t have the proper tools, consider having your vehicle inspected by a certified brake specialist. Many auto shops offer free brake inspections, making this a cost-effective safety measure. The peace of mind is worth it, especially before long road trips or seasonal changes.
Tip 3: Recognizing Wear Indicators
Modern drum brake shoes often include built-in wear indicators to simplify maintenance decisions. These indicators eliminate guesswork about remaining lining thickness and provide clear signals when replacement is necessary. Learning to recognize these indicators can save you time and prevent unsafe driving conditions.
The most common wear indicator is a small metal tab or groove embedded in the lining material. When the lining wears down to this point, you’ve reached the manufacturer’s recommended replacement threshold. Some high-quality brake shoes feature multiple indicator lines showing “good,” “marginal,” and “replace immediately” thresholds.
Beyond physical indicators, your vehicle might communicate brake wear in other ways. Pay attention to these warning signs that could indicate thin drum brake shoe linings:
- Reduced braking performance, especially when backing up
- Squealing or grinding noises when applying brakes
- Brake pedal pulsation or unusual feedback
- Increased stopping distances
- Vehicle pulling to one side during braking
- Brake warning light illumination
The auditory signals deserve special attention. A light squealing during initial brake application might indicate wear sensors making contact. However, a harsh grinding noise suggests metal-on-metal contact, meaning you’ve already worn through the lining material completely. At this point, you’re damaging the brake drums and other components, making repairs more extensive and expensive.
Don’t ignore these warning signs or attempt to “drive through” them. Brake noises almost always indicate a problem requiring attention. As the saying goes in our shop, “Brakes never get better on their own.” Addressing wear indicators promptly is one of the smartest maintenance decisions you can make.

Tip 4: Environmental Factors Affecting Lining Wear
Your driving environment significantly impacts how quickly drum brake shoe linings wear down. Understanding these factors helps you adjust inspection schedules and make informed maintenance decisions. Let’s examine how different conditions affect brake lining longevity.
Mountainous or hilly terrain accelerates brake wear due to frequent braking on descents. The heat generated during prolonged braking can cause the lining material to wear faster or even glaze over, reducing braking effectiveness. If you regularly drive in hilly areas, consider checking your brake shoes every 5,000 miles instead of the standard 10,000-mile interval.
Climate plays a substantial role too. High-humidity environments promote rust formation on metal brake components, which can transfer to the lining material and accelerate wear. Conversely, extremely dry conditions may create more dust, which can become abrasive between the drum and shoe surfaces. In either case, more frequent inspections make sense.
Your typical cargo load matters as well. Regularly carrying heavy loads or towing trailers puts additional stress on your braking system. The increased vehicle weight requires more braking force, causing linings to wear faster. According to a Society of Automotive Engineers study, vehicles consistently carrying loads near their maximum capacity may experience up to 40% faster brake wear.
Even your driving style affects lining longevity. Aggressive drivers who frequently brake hard will need replacements sooner than those with gentler driving habits. Consider these environmental factors when planning your maintenance schedule:
- Terrain type (flat vs. hilly)
- Local climate conditions
- Typical vehicle load
- City vs. highway driving ratio
- Personal driving style
- Seasonal weather changes
By adjusting your inspection frequency based on these factors, you’ll catch thinning brake shoe linings before they become a safety hazard. Remember, brake maintenance isn’t about following rigid schedules—it’s about adapting to your specific driving conditions.
Tip 5: DIY vs. Professional Replacement
When your drum brake shoe linings reach minimum thickness, you’ll face a decision: tackle the replacement yourself or hire a professional? This choice depends on your mechanical skills, available tools, and comfort level with brake work. Let’s weigh the factors to help you decide.
DIY brake shoe replacement can save significant labor costs, typically between $100-200 depending on your location. However, it requires specialized tools like spring tools, drum pullers, and proper measurement equipment. You’ll also need a clean, well-lit workspace and approximately 2-4 hours per axle for your first attempt.
The procedure involves several critical steps:
- Safely raising and securing the vehicle
- Removing the wheel and brake drum
- Documenting the position of all springs and components
- Removing the old shoes and hardware
- Cleaning and inspecting the backing plate
- Installing new shoes with correct orientation
- Reinstalling all springs and adjusters properly
- Setting initial brake adjustment
- Reinstalling the drum and wheel
- Properly break-in the new linings
The margin for error is small. Improperly installed brake components can lead to noise, reduced braking performance, or even brake failure. That’s why many DIYers choose to do one wheel at a time, using the other as a reference.
Professional replacement offers peace of mind and typically includes a warranty on parts and labor. Mechanics have the proper tools and experience to complete the job efficiently. Additionally, they can spot other potential issues with wheel cylinders, drums, or hydraulic components that might not be obvious to hobbyists.
If you’re on the fence, consider this middle path: purchase a complete brake shoe kit with all necessary hardware, then ask a professional shop to install it. Many shops offer reduced labor rates when you provide the parts, though warranty terms may differ.
Whichever route you choose, never compromise on part quality. Federal safety standards for brake materials exist for good reason. Premium brake shoes may cost more initially but typically offer better performance, quieter operation, and longer service life—making them the better value in the long run.
Conclusion
Maintaining proper drum brake shoe lining thickness is a fundamental aspect of vehicle safety that too many drivers overlook. By implementing these five tips—establishing regular inspection schedules, mastering proper measurement techniques, recognizing wear indicators, understanding environmental factors, and making informed repair decisions—you’ll ensure your braking system remains reliable for the long haul.
Remember that brake maintenance isn’t just about saving money on repairs (though it certainly does that). It’s primarily about protecting yourself, your passengers, and others on the road. Thin brake linings don’t just reduce stopping power gradually; they can lead to sudden and catastrophic brake failure when pushed beyond their limits.
Take a proactive approach to drum brake shoe lining thickness measurements. Schedule regular inspections, use the right tools, listen for warning signs, and adjust your maintenance intervals based on your unique driving conditions. Whether you choose to perform the work yourself or partner with a trusted mechanic, prioritizing brake health is one of the smartest decisions you can make as a vehicle owner.
Your brakes are your vehicle’s most important safety system. Treat them with the attention they deserve, and they’ll be there when you need them most.
Frequently Asked Questions
What is the minimum safe thickness for drum brake shoe linings?
Generally, 1/16 inch (1.6mm) is considered the minimum safe thickness for most passenger vehicles. Always refer to your vehicle’s service manual for manufacturer-specific requirements.
How often should I check my drum brake shoe lining thickness?
For normal driving conditions, check every 10,000 miles or during tire rotations. Increase frequency to every 5,000-7,500 miles for mountain driving, heavy loads, or stop-and-go traffic.
What tools do I need to measure brake shoe lining thickness?
A brake lining thickness gauge or digital caliper provides the most accurate measurements. Basic hand tools like socket wrenches are needed to remove the drum for access.
Can I drive with thin brake shoe linings?
No, driving with linings below minimum thickness is dangerous and can lead to brake failure. It also damages other brake components, making repairs more expensive.
How much does it typically cost to replace drum brake shoes?
Professional replacement typically costs $200-400 per axle including parts and labor. DIY replacement parts cost $50-150 per axle depending on quality and vehicle type.

