Overview
This guide explains how to measure brake rotor thickness, interpret results against manufacturer specifications, and determine when replacement is necessary for vehicle safety. Regular measurement is critical as worn rotors compromise braking performance, with the article detailing proper measurement techniques, common wear patterns, and maintenance practices to extend rotor life.
Table of Contents
- Understanding Disc Brake Rotors
- Why Rotor Thickness Matters
- Essential Tools for Measuring Rotor Thickness
- Step-by-Step Measurement Guide
- Interpreting Your Measurements
- Common Rotor Wear Patterns
- When to Replace Your Rotors
- DIY vs. Professional Inspection
- Maintenance Tips for Longer Rotor Life
- Conclusion
- Frequently Asked Questions
Understanding Disc Brake Rotors
Disc brake rotor thickness measurement is a critical but often overlooked aspect of vehicle maintenance. As a mechanic who’s seen thousands of rotors in various states of wear, I can tell you that understanding your brake rotors could save you from costly repairs—or worse, a safety hazard. Think of rotors as the unsung heroes of your vehicle’s braking system; they absorb and dissipate the tremendous heat generated when brake pads clamp down to slow your vehicle.
Rotors (also called brake discs) are those shiny, circular metal components visible behind your wheels. They work in tandem with your brake pads, which squeeze against them when you press the brake pedal. This friction is what slows your car down. Over time, this constant friction wears down both the pads and the rotors, making them thinner.
Most modern vehicles use vented rotors on the front wheels, which have internal cooling vanes to help dissipate heat more effectively. Rear wheels may have solid rotors, especially in lighter vehicles. Some performance and luxury vehicles feature cross-drilled or slotted rotors for enhanced cooling and wet-weather performance.
Why Rotor Thickness Matters
You might wonder why we make such a fuss about rotor thickness. Well, it’s pretty simple—your safety depends on it. As rotors wear thinner, they lose their ability to absorb and dissipate heat effectively. This can lead to brake fade during heavy braking, where your brakes suddenly feel less responsive exactly when you need them most.
Thin rotors are also more prone to warping under heat stress. You’ll feel this as a pulsating brake pedal or steering wheel vibration when braking. In extreme cases, severely worn rotors can even crack or break, potentially causing catastrophic brake failure.
Beyond safety concerns, maintaining proper rotor thickness saves you money in the long run. Regular measurements allow you to catch wear before it becomes problematic, potentially extending the life of both your rotors and brake pad compounds. Many vehicle owners make the mistake of only replacing pads while ignoring rotor condition—a common oversight that service technicians frequently encounter.

Essential Tools for Measuring Rotor Thickness
Before diving into disc brake rotor thickness measurement, let’s make sure you have the right tools for the job. Don’t worry—you won’t need an entire mechanic’s toolbox, just a few specific items.
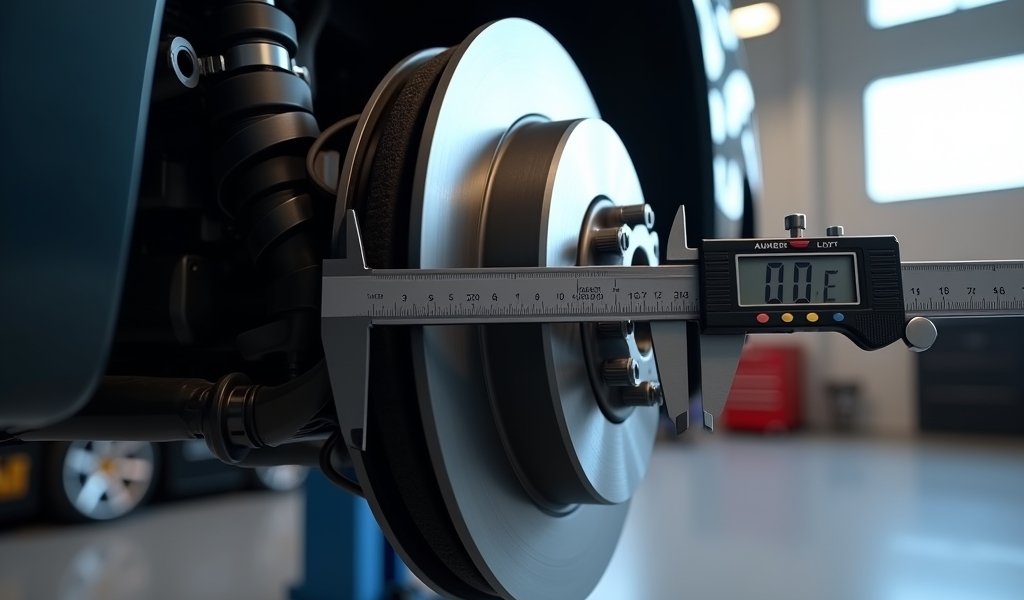
The star of the show is a micrometer or brake caliper gauge. While a standard digital caliper can work in a pinch, a dedicated micrometer designed for brake rotors will give you the most accurate readings. These typically measure in thousandths of an inch (or hundredths of a millimeter), which is the level of precision we’re aiming for.
Here’s what you’ll need:
- Micrometer or brake caliper gauge (digital preferred for easier reading)
- Jack and jack stands (never work under a car supported only by a jack!)
- Lug wrench
- Work gloves
- Safety glasses
- Wire brush or brake cleaner (to clear measuring points)
- Flashlight
- Your vehicle’s service manual or specification sheet
Quality measuring tools make a huge difference. According to NHTSA safety guidelines, accurate brake system measurements are crucial for vehicle safety. I recommend investing in a good digital micrometer that reads to 0.001 inches (0.01mm) if you plan to do this regularly. The cost (typically $30-80) is far less than a single professional brake job.
Step-by-Step Measurement Guide
Now let’s get down to business with a straightforward disc brake rotor thickness measurement process. I’ll walk you through this step by step, just like I would if you were in my shop watching over my shoulder.
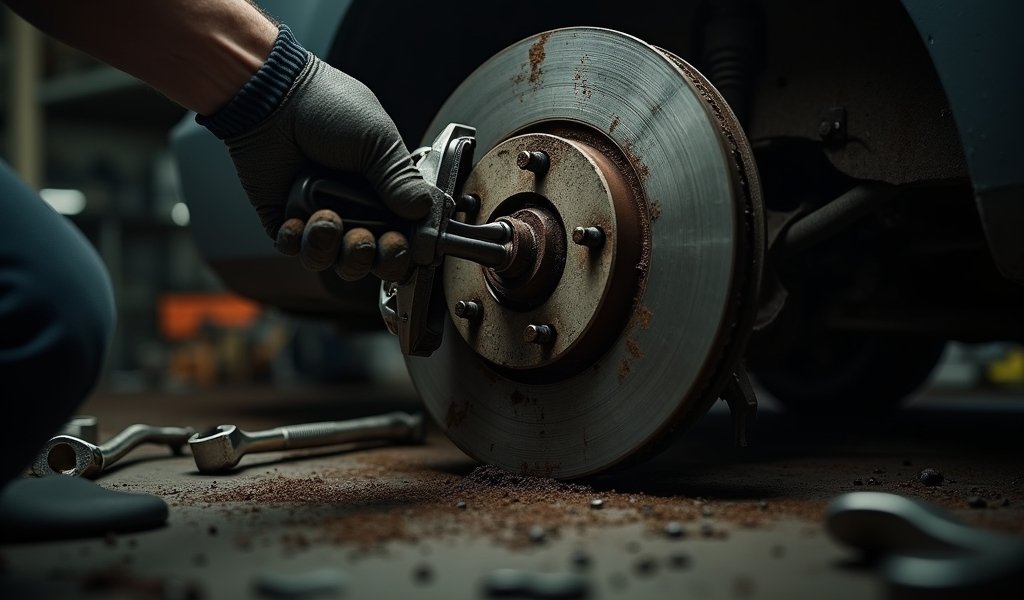
First, make sure your vehicle is safely supported. Park on a level surface, engage the parking brake, and chock the wheels you’re not working on. Loosen (but don’t remove) the lug nuts on the wheel you’re inspecting before jacking up the car. Once the car is securely on jack stands, remove the wheel completely.
With the rotor exposed, take a moment to visually inspect its condition. Look for obvious signs of damage like deep grooves, cracks, or discoloration. If the rotor looks seriously compromised, you might save yourself some time—it likely needs replacement regardless of measurements.
Now for the measurement process:
- Clean the rotor surface with brake cleaner or a wire brush to remove any rust or debris that might affect your measurements.
- Identify the rotor’s friction surface—the smooth area where the brake pads make contact.
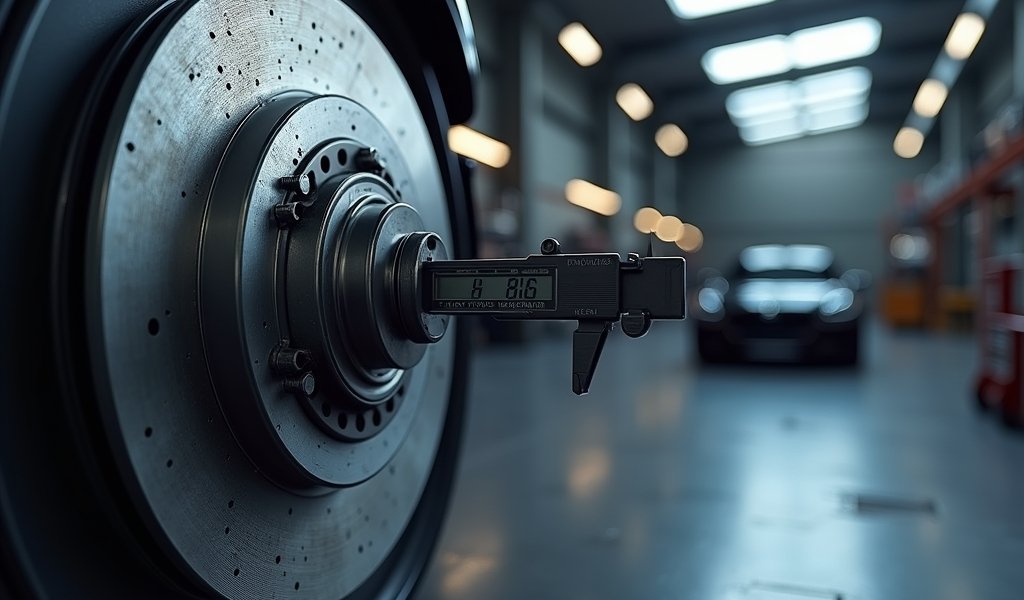
- Take measurements at several points around the rotor (I recommend at least 8-12 points evenly spaced around the circumference).
- At each point, measure about halfway between the inner and outer edges of the friction surface.
- Record all measurements, noting the thinnest reading you find.
- Repeat the process on the opposite side of the rotor (both faces need to be measured).
This thorough approach ensures you don’t miss any problem areas. Rotors rarely wear perfectly evenly, so that one thin spot could be the difference between passing inspection and needing replacement. Take your time and be methodical—precision matters here.
Interpreting Your Measurements
Now that you’ve got a collection of measurements, what do they actually tell you? This is where your vehicle’s service manual becomes invaluable. Every vehicle has specific rotor thickness specifications that include three important numbers:
- Original/Nominal Thickness: The thickness of a brand new rotor
- Minimum Thickness: The absolute thinnest a rotor can be while remaining safe (also called “discard thickness”)
- Machine Limit: The minimum thickness to which a rotor can be resurfaced
These specifications are often stamped directly on the rotor itself, usually on the non-friction surface or the “hat” section. Look for numbers like “MIN TH” or “DISCARD AT” followed by a measurement. If you can’t find these markings, your service manual or a quick online search for your vehicle’s brake specifications will provide this information.
As a general rule, if your thinnest measurement is less than the minimum thickness specification, or within 0.008 inches (0.2mm) of it, it’s time for replacement. Don’t cut corners here—rotors at or below minimum thickness are a safety hazard, not just a recommendation.
If you’re between the machine limit and minimum thickness, and the rotor shows signs of uneven wear or scoring, you might be able to have them resurfaced by a professional shop. However, with today’s more affordable replacement rotors, many mechanics (myself included) often recommend replacement rather than resurfacing, especially for daily drivers.

Common Rotor Wear Patterns
While measuring rotor thickness, you’ll likely notice patterns in how your rotors wear. These patterns can tell you a lot about your braking habits and potential issues with your brake system. Let me share some common wear patterns I see in the shop almost every day.
Uniform wear across the rotor surface is ideal and indicates a healthy brake system with proper caliper function. But that’s not always what we see. Tapered wear (thinner on one side than the other) usually points to a caliper that’s not releasing properly or a slider pin that’s seized. This uneven pressure causes one side of the rotor to wear faster.
Grooves or scoring on the rotor surface often happen when foreign material gets trapped between the pad and rotor, or when brake pads wear down to their metal backing plates. If you see blue discoloration on your rotors, that’s a sign they’ve experienced extreme heat—typically from aggressive driving or “riding” the brakes on long downhill stretches.
Another common issue is lateral runout (wobble), which you can’t measure with a micrometer alone. However, excessive runout eventually leads to thickness variation as the high spots get more pad contact. This is what causes that pulsating brake pedal many drivers experience. According to research from the Society of Automotive Engineers, even small variations in thickness can be felt in the brake pedal.
When to Replace Your Rotors
I’ve seen plenty of drivers try to squeeze every last mile out of their rotors, often with expensive consequences. Let me be clear: rotor replacement isn’t just about meeting minimum thickness specifications—it’s about maintaining optimal braking performance and safety.
Replace your rotors immediately if:
- They measure at or below the minimum thickness specification
- They have visible cracks (no matter how small)
- They show signs of overheating (extensive blue discoloration)
- They have deep grooves that can’t be removed within machining limits
- You experience pulsation when braking that doesn’t resolve with resurfacing
Many manufacturers recommend replacing rotors whenever you replace brake pads. While this isn’t always necessary, it’s a good practice if your rotors are nearing the halfway point between new and minimum thickness. The small additional cost of new rotors is justified by the improved braking performance and longer pad life you’ll enjoy.
Remember that rotors are a wear item, just like brake pads. Most passenger vehicle rotors last through 2-3 pad changes, but this varies dramatically based on driving conditions, pad material, and braking habits. Performance driving or mountain driving will shorten rotor life significantly.
DIY vs. Professional Inspection
While I’ve given you the tools to measure your rotors yourself, some folks might wonder if this is a job best left to professionals. The honest answer? It depends on your comfort level, tools, and experience.
DIY measurement is entirely feasible for someone who’s comfortable working on their car and has the right tools. The process isn’t technically difficult, and the cost savings can be substantial compared to shop labor rates. Plus, there’s something satisfying about understanding your vehicle’s condition firsthand.
That said, professional shops have advantages. Experienced technicians develop an eye for subtle issues that might not be obvious to a DIYer. They also have specialized equipment like dial indicators that can measure lateral runout and sophisticated brake lathes if resurfacing is appropriate. During a thorough vehicle inspection, brake component assessment is a critical safety check.
My recommendation? If you’re mechanically inclined, measuring your rotors is a great DIY skill to develop. However, if you notice symptoms like pulsation, grinding, or pulling when braking, a professional inspection might be worth the cost. Many shops offer free brake inspections as part of their service, which can be a good middle ground.
Maintenance Tips for Longer Rotor Life
Now that you understand how to measure and evaluate your rotors, let’s talk about making them last longer. With proper care, you can maximize the lifespan of these critical components and save money in the long run.
First, your driving habits make an enormous difference. Gentle, progressive braking is far easier on rotors than hard, last-minute stops. Leave plenty of following distance so you can brake gradually, and try to anticipate stops rather than reacting to them. This not only extends rotor life but improves your fuel economy too!
Regular brake fluid changes are often overlooked but incredibly important. Fresh fluid transfers heat more efficiently and prevents corrosion inside the brake system. Most manufacturers recommend changing brake fluid every 2-3 years regardless of mileage.
Here are some additional tips to extend rotor life:
- Avoid “riding” your brakes, especially downhill—use engine braking by downshifting instead
- Allow your brakes to cool after heavy use (like mountain driving) before parking
- Choose quality brake pads appropriate for your driving style
- Clean your wheels regularly to prevent brake dust buildup and corrosion
- Address any brake system issues promptly—that small noise today could be major damage tomorrow
Proper “bedding in” of new brake components also significantly impacts their lifespan. When you install new rotors and pads, follow a proper break-in procedure: make 8-10 moderate stops from about 35 mph, allowing 30 seconds between stops for cooling. This helps transfer an even layer of pad material to the rotor surface, promoting even wear and better performance.
Conclusion
Disc brake rotor thickness measurement isn’t just a maintenance task—it’s an investment in your vehicle’s safety and performance. By taking the time to properly measure and evaluate your rotors, you’re ensuring that one of your car’s most critical safety systems is functioning optimally when you need it most.
Remember that brake rotors are designed with specific thickness tolerances for a reason. They need adequate mass to absorb and dissipate heat while maintaining structural integrity under extreme stress. Pushing rotors beyond their service limits puts you, your passengers, and others on the road at risk.
Whether you choose to tackle this job yourself or leave it to the professionals, regular brake inspections should be part of your vehicle maintenance routine. A quick measurement can tell you if your braking system is in good shape or headed for trouble.
With the knowledge you’ve gained from this guide, you’re now better equipped to make informed decisions about your vehicle’s brake system. Drive safely, brake gently, and keep those rotors in check!
Frequently Asked Questions
How often should I measure my brake rotors?
Check rotor thickness during every brake pad replacement or at least once a year. More frequent checks are recommended for performance driving or vehicles that experience heavy braking.
Can I still drive if my rotors are below minimum thickness?
No, driving with rotors below minimum thickness is dangerous and compromises your vehicle’s ability to stop safely. Replace rotors immediately if they’re at or below the discard thickness.
Is it necessary to measure all brake rotors on my vehicle?
Yes, all rotors should be measured as wear patterns can vary between wheels. Front rotors typically wear faster than rear ones in most vehicles, but all should be within specifications.
What causes brake rotors to wear unevenly?
Uneven rotor wear is commonly caused by stuck caliper slides, warped rotors, uneven pad deposits, or improper previous machining. Driving habits and quality of components also contribute significantly.
Can I measure rotor thickness without removing the wheel?
Generally no, accurate measurement requires removing the wheel for proper access to the rotor’s friction surface. Some specialized tools exist for through-wheel measurement, but they’re less precise than direct measurement.


Pingback: Rotor Hat Height Measurement: 5 Pro Tips - knowsyourcar.com