Overview
This article provides a detailed guide on properly bench bleeding a brake master cylinder before installation, explaining how this critical process removes air bubbles that can compromise braking performance and safety. It covers the entire process from understanding the master cylinder’s function through tools needed, step-by-step bleeding instructions, proper installation techniques, troubleshooting common issues, and long-term brake system maintenance.
Table of Contents
- Understanding the Brake Master Cylinder
- Why Bench Bleeding is Crucial
- Tools and Materials Needed
- Preparing Your Workspace
- Step-by-Step Bench Bleeding Process
- Common Mistakes to Avoid
- Installation After Bench Bleeding
- Troubleshooting Post-Installation Issues
- Maintaining Your Brake System
- Conclusion
- Frequently Asked Questions
Understanding the Brake Master Cylinder
The brake master cylinder is the unsung hero of your vehicle’s stopping power. When you push your brake pedal, this compact component transforms that foot pressure into hydraulic force that activates your brake calipers or wheel cylinders. Think of it as the heart of your braking system, pumping vital brake fluid through the lines to bring your vehicle safely to a stop.
I’ve been working on brake systems for over 20 years, and I can tell you that a properly functioning master cylinder makes all the difference between confident stopping and a white-knuckle panic situation. The master cylinder contains pistons and seals that create and maintain hydraulic pressure. When everything’s working right, pressing your brake pedal moves these pistons, forcing brake fluid through the lines with enough pressure to activate your brakes instantly.
But here’s the rub – this hydraulic system relies on an incompressible fluid medium to function. When air bubbles enter the equation (which often happens during replacement or repairs), they create compressible pockets that absorb the force meant for your brakes. The result? That spongy, sinking feeling when you hit the pedal and the terrifying extension of your stopping distance.
Why Bench Bleeding is Crucial
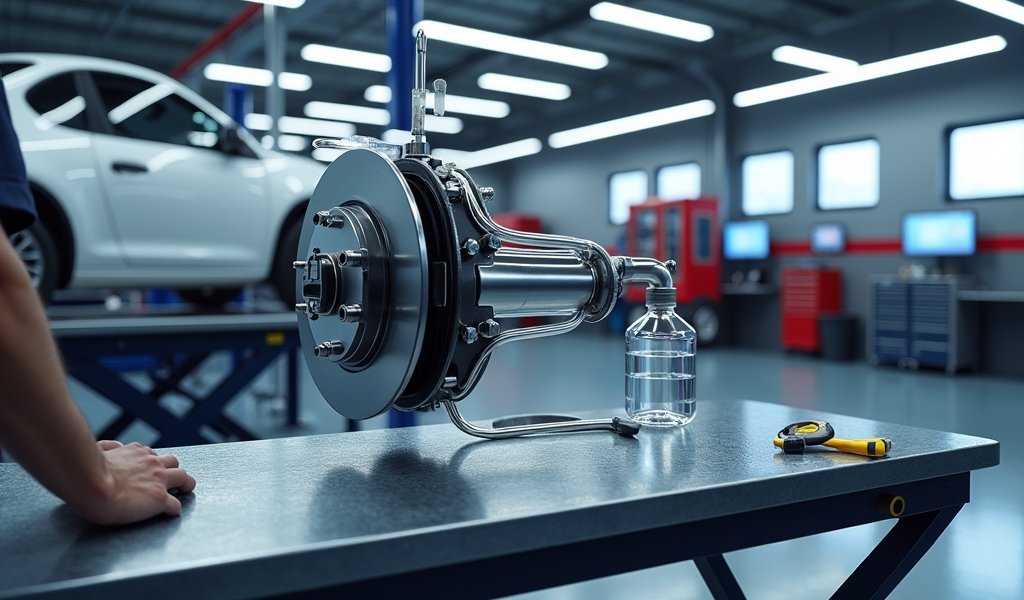
Bench bleeding is exactly what it sounds like – bleeding the master cylinder on your workbench before installation. This critical step removes air from the cylinder in a controlled environment, giving your braking system a head start on proper function.
Why not just install the master cylinder and bleed the entire system afterward? Good question. When you bench bleed first, you’re eliminating air at the source before it can distribute throughout your brake lines, calipers, and wheel cylinders. This makes the complete system bleeding process faster, more effective, and far less frustrating.

Tools and Materials Needed
Before diving into bench bleeding, gather these essentials:
- New or rebuilt master cylinder
- Appropriate brake fluid (check your vehicle specifications for DOT 3, DOT 4, or DOT 5.1)
- Bench bleeding kit (includes tubes and fittings)
- Wrench set for installation
- Clean container to catch excess fluid
- Lint-free rags or shop towels
- Brake cleaner spray
- Safety glasses and nitrile gloves
- Small block or stand to elevate the master cylinder
A quick safety note about brake fluid standards: This stuff is seriously caustic and hygroscopic (absorbs moisture). Always wear protection, work in a well-ventilated area, and clean up spills immediately to protect your vehicle’s paint, your skin, and your eyes. Keep your fluid container tightly sealed when not in use – moisture contamination compromises braking performance.
Preparing Your Workspace
Setting up properly makes all the difference in a successful bench bleeding operation. Create a clean, level workspace free from dirt and debris. I recommend covering your work surface with a fluid-resistant material or some old newspapers – trust me, your workbench (and your significant other) will thank you.
Position your master cylinder on a small block or stand to elevate it slightly. This angle helps fluid flow through the cylinder more effectively while giving you better access to the ports and reservoir. If you don’t have a proper stand, the box your new master cylinder came in often works perfectly.
Good lighting is essential for spotting air bubbles and monitoring fluid levels. Natural light is great, but a good shop light positioned to illuminate the reservoir will help you spot those tiny bubbles more easily. The importance of proper brake service workspace setup cannot be overstated – it’s a detail many DIYers overlook.
Step-by-Step Bench Bleeding Process
Now for the main event. Follow these steps carefully, and you’ll have a perfectly bled master cylinder ready for installation:
1. Secure the Master Cylinder
Clamp the master cylinder flange in a bench vise, being careful not to overtighten. If you don’t have a vise, prop it securely in its box or on a stable stand. The key is having the reservoir level and accessible.
2. Install the Bleeding Kit
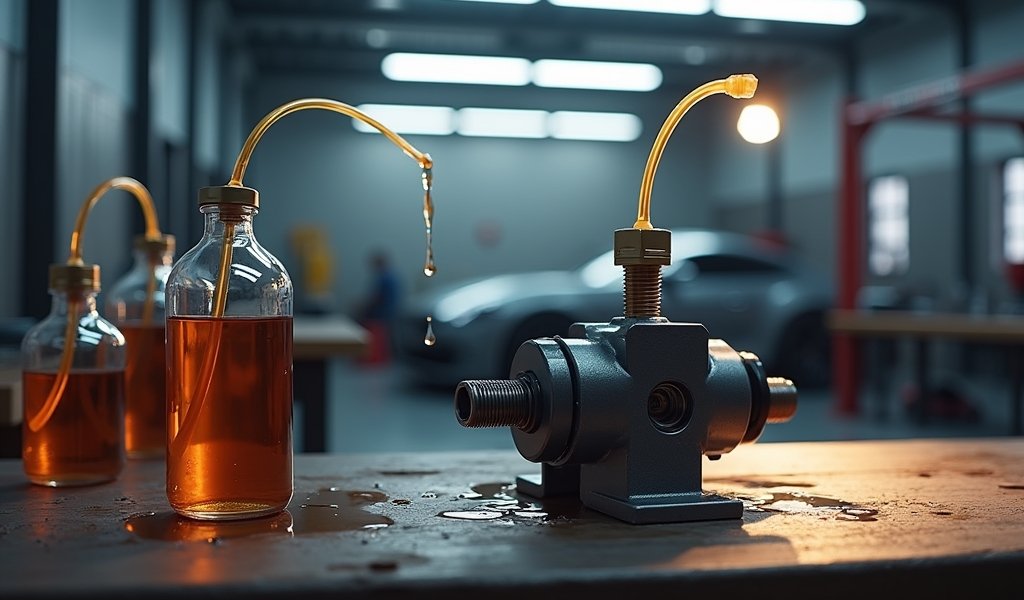
Screw the fittings from your bleeding kit into the outlet ports of the master cylinder. Route the attached plastic tubes back up into the reservoir. This creates a closed-loop system where fluid and air can return to the reservoir instead of escaping.
3. Fill the Reservoir
Carefully pour fresh brake fluid into the reservoir until it’s about 3/4 full. Take your time here – spilled brake fluid is nobody’s friend.
4. Begin Bleeding
Using a clean wooden dowel or the tool provided in your kit, slowly press the piston in about 1/4 inch and then release it. The key word is SLOWLY – rushing this step creates turbulence that can introduce more air bubbles. You’ll see air bubbles emerging from the tubes into the reservoir with each stroke.
5. Maintain Fluid Level
Keep an eye on the fluid level throughout the process, adding more as needed. Never let it run dry – that’s an invitation for more air to enter the system.
6. Continue Until Bubble-Free
Repeat the pressing and releasing motion until no more air bubbles appear in the tubes or reservoir after several consecutive strokes. This typically takes 10-15 cycles, but patience pays off here.
7. Verify Complete Bleeding
You’ll know you’ve successfully removed all air when:
- No bubbles appear in the tubes during several consecutive strokes
- The piston resistance feels firm and consistent
- The fluid in the reservoir remains clear of bubbles

Common Mistakes to Avoid
Even seasoned mechanics make these common bench bleeding errors. Avoid them to save yourself time and frustration:
Using the Wrong Fluid Type
Vehicles require specific brake fluid types for a reason. Using the incorrect DOT rating can lead to seal damage, fluid boiling, and system failure. Always check your vehicle manual or consult a brake component guide before purchasing fluid.
Rushing the Process
I’ve seen many DIYers pump the master cylinder like they’re trying to win a race. This vigorous action creates turbulence that traps more air bubbles. Slow, deliberate strokes are the secret to success here.
Improper Kit Setup
Make sure those bleeder tubes create a proper seal and remain submerged in the fluid. If they’re not seated correctly or slip out of the fluid, you’ll introduce more air and undo your hard work.
Contamination Issues
Brake fluid is extremely sensitive to moisture contamination. Always use fresh fluid from a newly opened container, and keep the reservoir covered when possible to prevent contamination. Those tiny water molecules can cause big problems down the road.
I once spent three hours troubleshooting a customer’s “defective” master cylinder only to discover they’d used year-old brake fluid from an open container. The moisture-contaminated fluid boiled under braking pressure, creating air pockets and complete brake failure. Don’t be that customer – fresh fluid is cheap insurance.
Installation After Bench Bleeding
You’ve successfully bench bled your master cylinder – congratulations! Now let’s get it installed correctly with these professional tips:
Maintain the Seal
Leave those bleeder tubes in place until you’re ready to connect the brake lines. This prevents air from re-entering the system during the transition.
Quick Connection Technique
When removing the bleeder fittings and connecting brake lines, work quickly and methodically. Have your brake lines positioned and ready for fast connection. Some mechanics pre-position the lines with a helper standing by to minimize air exposure time.
Using Bench Bleed Adapters
Some master cylinders come with special bench bleed adapters that can remain in place during installation. These handy devices make the process even more straightforward by allowing you to connect your brake lines while maintaining the closed system.
Complete System Bleeding
After installation, you’ll still need to bleed the entire brake system to ensure all air is removed from the lines, calipers, and wheel cylinders. This typically requires a helper and follows a specific sequence determined by your vehicle manufacturer.
Don’t skip this step! Even a perfectly bench-bled master cylinder needs to be followed by a complete system bleed to ensure all air is purged from your brake lines.
Troubleshooting Post-Installation Issues
Despite your best efforts, issues may still arise after bench bleeding and installation. Here’s how to address them:
Persistent Spongy Pedal
If your brake pedal still feels spongy after installation, air likely remains in the system. Check for:
- Leaks at connection points (look for wet spots or drips)
- Incomplete system bleeding (re-bleed following manufacturer sequence)
- Damaged brake lines or components
- Faulty master cylinder (rare if new/rebuilt and properly bench bled)
Fluid Leaks
New leaks after master cylinder installation may indicate:
- Improperly tightened fittings (check torque specs)
- Damaged sealing surfaces (inspect for nicks or contamination)
- Cross-threaded connections
- Cracked housing (rare but possible)
Address leaks immediately – they compromise your braking ability and can cause rapid fluid loss leading to complete brake failure. Plus, leaking brake fluid is terrible for the environment and damages other vehicle components when left unchecked.
Maintaining Your Brake System
To keep your braking system performing at its best after master cylinder replacement:
Regular Fluid Checks
Inspect your brake fluid level and condition monthly. Clean, clear fluid at the proper level indicates a healthy system. Dark, cloudy fluid suggests contamination and the need for a flush.
Recognize Warning Signs
Be alert for these signals that your master cylinder needs attention:
- Gradually sinking brake pedal
- Inconsistent braking performance
- Visible fluid leaks under the vehicle
- Warning lights on your dashboard
- Brake fluid loss with no visible leaks
Preventative Maintenance
Flush and replace your brake fluid according to your vehicle manufacturer’s recommendations, typically every 2-3 years. This simple maintenance step prevents internal corrosion and maintains proper fluid performance. I’ve seen countless brake system failures that could have been prevented with regular fluid changes – don’t let your vehicle be one of them.
Remember that brake fluid absorbs moisture through microscopic pores in rubber hoses and seals, even when your system has no leaks. This moisture contamination lowers the fluid’s boiling point, potentially leading to vapor lock and brake failure under heavy use. Regular fluid changes are essential preventative maintenance, not just an upsell from your mechanic.
Conclusion
Bench bleeding your brake master cylinder isn’t just about achieving optimal performance – it’s fundamentally about safety. A properly bled brake system responds predictably and effectively when you need it most, potentially making the difference between a safe stop and a tragic accident.
The process may seem tedious, but the peace of mind from knowing your brake system is operating at peak efficiency is priceless. Whether you’re a weekend warrior or a seasoned DIYer, taking the time to properly bench bleed your master cylinder is one of the most important aspects of any brake system service.
Remember, your braking system is only as strong as its weakest component. By properly bench bleeding your master cylinder, you’ve eliminated one of the most common causes of brake system failure before it becomes a problem. That’s not just good mechanics – it’s responsible vehicle ownership.
So take your time, follow the steps outlined in this guide, and drive with confidence knowing you’ve given your brake system the attention it deserves. Your safety and the safety of others on the road depend on it.
Frequently Asked Questions
How long does it take to bench bleed a master cylinder?
Typically 15-30 minutes for a thorough bench bleeding process. The time is well spent considering the safety benefits and simplified system bleeding afterward.
Can I reuse old brake fluid for bench bleeding?
Never reuse old brake fluid as it contains moisture and contaminants. Always use fresh, unopened fluid of the correct DOT specification for your vehicle.
Do I still need to bleed the entire brake system after bench bleeding?
Yes, you must still bleed the entire brake system after installation. Bench bleeding only removes air from the master cylinder itself, not the lines, calipers, or wheel cylinders.
What happens if air remains in the master cylinder?
Air in the master cylinder causes a spongy brake pedal and reduced braking efficiency. In severe cases, it can lead to complete brake failure and unsafe driving conditions.
Can I bench bleed a master cylinder while it’s installed on the vehicle?
While possible, it’s much more difficult and less effective to bleed a master cylinder after installation. Bench bleeding provides better access and more complete air removal.


Pingback: hydraulic lifter bleeding procedure DIY - knowsyourcar.com
Pingback: Master Cylinder Reservoir Capacity Fixes - knowsyourcar.com