Overview
This article provides a detailed guide for DIY enthusiasts on how to rebuild rack and pinion steering systems, covering everything from identifying problems and necessary tools to step-by-step rebuild instructions and testing procedures. By rebuilding rather than replacing this crucial steering component, car owners can save $500-800 while extending their vehicle’s performance with proper maintenance.
Table of Contents
- Understanding Your Rack and Pinion System: The Heart of Modern Steering
- Telltale Signs Your Steering Rack Needs Some TLC
- DIY or Professional Help? Making the Right Choice
- Gearing Up: Essential Tools for Your Rebuild Project
- Rolling Up Your Sleeves: A Step-by-Step Rebuild Guide
- Steering Clear of Trouble: Common Rebuild Pitfalls
- Taking the Wheel: Testing Your Rebuilt Steering System
- Conclusion
- Frequently Asked Questions
Understanding Your Rack and Pinion System: The Heart of Modern Steering
When your steering starts feeling a bit off, your rack and pinion system is often the culprit. I’ve been rebuilding these systems for over 15 years, and let me tell you – understanding how this crucial component works can save you hundreds, maybe even thousands, in repair costs.
Your steering rack and pinion is essentially the translator between your steering wheel movements and where your tires point. It’s a beautifully simple mechanical system that converts the rotational motion of your steering wheel into the linear motion that pushes your wheels left or right.
Most modern vehicles rely on this system because it’s compact, responsive, and generally reliable. But like any component that deals with constant friction and pressure, it eventually wears out. Rather than shelling out $700-1,200 for a replacement unit (plus labor!), a rebuild typically costs between $200-400 in parts if you’re doing the work yourself.
A steering rack rebuild isn’t just about saving money, though that’s a major perk. It’s about giving new life to a precision component that, when properly rebuilt, can perform just as well as a brand new unit. I’ve seen countless DIY enthusiasts tackle this project successfully with some patience and the right approach.
Telltale Signs Your Steering Rack Needs Some TLC
Before diving into any repair, you need to be certain that your rack and pinion system is actually the problem. I’ve seen plenty of folks replace perfectly good steering components because they misdiagnosed the issue. Here are the symptoms that rarely lie:
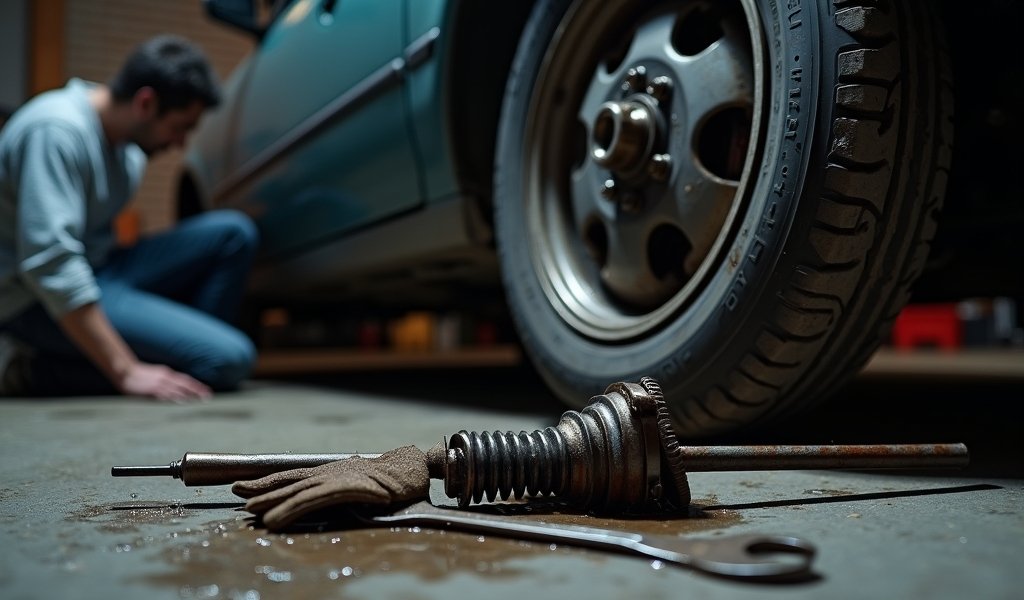
Steering fluid puddles under your car are an obvious red flag. Unlike some engine oil leaks that can sometimes wait, power steering fluid leaks demand immediate attention. The fluid is typically reddish or sometimes clear with a slight pinkish hue.
Noticing a growing resistance when turning the wheel? That stiff, inconsistent feeling isn’t just annoying – it’s your car’s way of waving a mechanical white flag. Sometimes this manifests as a steering wheel that feels fine when driving straight but suddenly becomes difficult when turning.
Perhaps the most alarming sign is a steering wheel that seems to have a mind of its own. This “wandering” sensation, where maintaining a straight line requires constant correction, often indicates worn rack bushings or internal damage to the rack.
That mysterious knocking or clunking sound when turning at low speeds? It’s rarely good news. These sounds often indicate loose rack mounting points or internal wear in the rack assembly. According to AA1Car.com’s steering system experts, these noises typically get worse as components continue to deteriorate.
If your vehicle suffers from multiple symptoms above, it’s time to seriously consider a rebuild rather than continuing to drive with deteriorating steering – which can quickly become a serious safety issue.

DIY or Professional Help? Making the Right Choice
Let’s have an honest conversation about skill levels. A rack and pinion rebuild sits firmly in the intermediate to advanced DIY category. It’s not your basic oil change or brake pad replacement, but it’s also not engine rebuilding territory.
What makes this project approachable for many home mechanics is that it’s primarily mechanical rather than electrical. The systems follow logical principles that make sense once you understand them. However, there are some factors to consider before deciding to tackle this yourself.
Time is a significant consideration. Even experienced DIYers should block out a full day for their first rebuild. You’ll need uninterrupted focus, good lighting, and enough space to work comfortably. Rushing through precision work is how expensive mistakes happen.
Vehicle accessibility matters tremendously. Some cars position their rack and pinion systems in relatively accessible locations, while others seem designed specifically to challenge your patience and test your vocabulary of colorful language. European luxury vehicles are notoriously difficult in this regard.
Your comfort with hydraulic systems is another consideration. Power steering racks involve pressurized fluid systems that must be properly sealed and bled. If you’ve never worked with hydraulic components before, this aspect might present a learning curve.
When considering whether to DIY, remember that common car service mistakes often happen when we overestimate our abilities or underestimate a job’s complexity. There’s no shame in recognizing when a project exceeds your current skill level.
If you decide to proceed, know that successful rebuilders share one trait: methodical organization. Every component must be carefully removed, inspected, cleaned, and staged for reassembly. A single missing seal or improperly torqued bolt can undo hours of careful work.
Gearing Up: Essential Tools for Your Rebuild Project
Having the right tools isn’t just convenient – it’s the difference between a successful rebuild and a frustrating experience that ends with a tow truck. Here’s what you’ll need before starting:
- A rebuild kit specific to your vehicle (includes seals, O-rings, and often bushings)
- Jack stands and wheel chocks for safely elevating and securing the vehicle
- A complete socket set with extensions (metric or standard depending on your vehicle)
- Torque wrench for precise tightening specifications
- Seal removal and installation tools (improper seal installation is a common failure point)
- Clean, lint-free rags and a parts cleaning basin
- Assembly lubricant compatible with power steering fluid
- Fresh power steering fluid (check your manual for the specific type)
- Catch pan and fluid disposal container
- Inner tie rod removal tool (often available for rent from auto parts stores)
- A service manual specific to your vehicle (digital or print)
Beyond these basics, having a hydraulic pressure bleeder can make refilling and bleeding the system significantly easier. Some enthusiasts swear by penetrating oil for dealing with stubborn connections, though I prefer a 50/50 mix of acetone and automatic transmission fluid for truly stubborn bolts – a trick I learned from an old-school mechanic years ago.
One tool that’s sometimes overlooked is a proper alignment measuring system. After reinstalling your rebuilt rack, your vehicle will need an alignment. While professional alignment is recommended, having basic tools to get your toe adjustment in the ballpark will make your vehicle safely drivable to the alignment shop.
Remember that investing in quality tools pays dividends beyond a single project. As noted in research from the Car Care Council, proper tools and maintenance can extend vehicle component life by up to 50% compared to improvised repairs.
Rolling Up Your Sleeves: A Step-by-Step Rebuild Guide
With preparation complete, it’s time to dive into the rebuild process. While specific steps vary by vehicle model, these principles apply to most rack and pinion rebuilds:
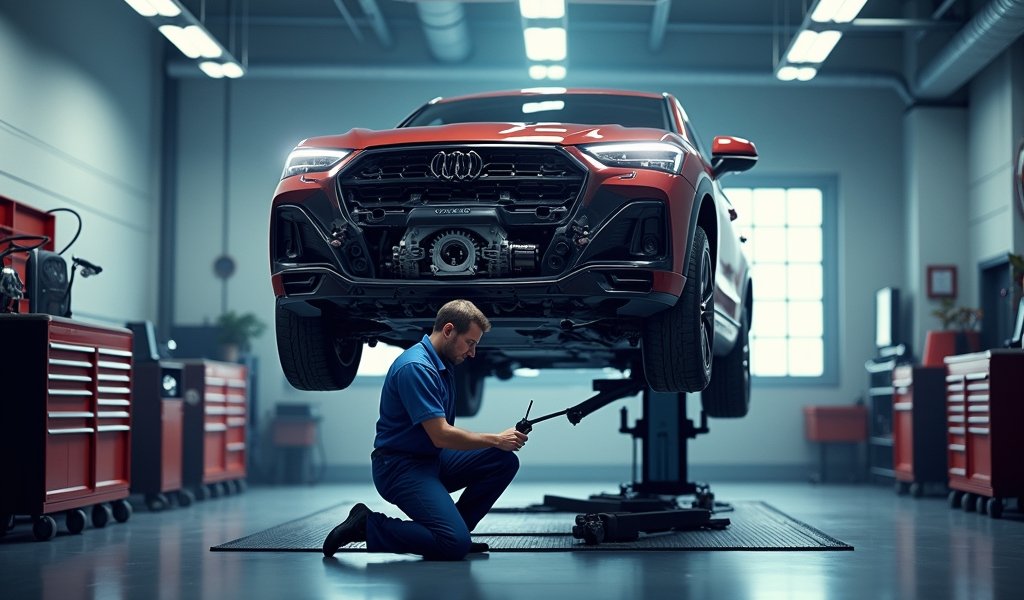
Start by ensuring your vehicle is safely supported on jack stands with the wheels removed for better access. Always disconnect the battery before beginning work on steering components. This prevents accidental airbag deployment and potential electrical issues.
Draining the power steering fluid completely is essential. Position your catch pan carefully – power steering fluid is harmful to both painted surfaces and the environment. Many professionals recommend flushing the entire system before removal to eliminate contaminated fluid.
Removing the rack requires disconnecting tie rod ends, hydraulic lines, and the mounting brackets. Take photos at each stage of disassembly. These reference photos have saved me countless headaches during reassembly on complex jobs.
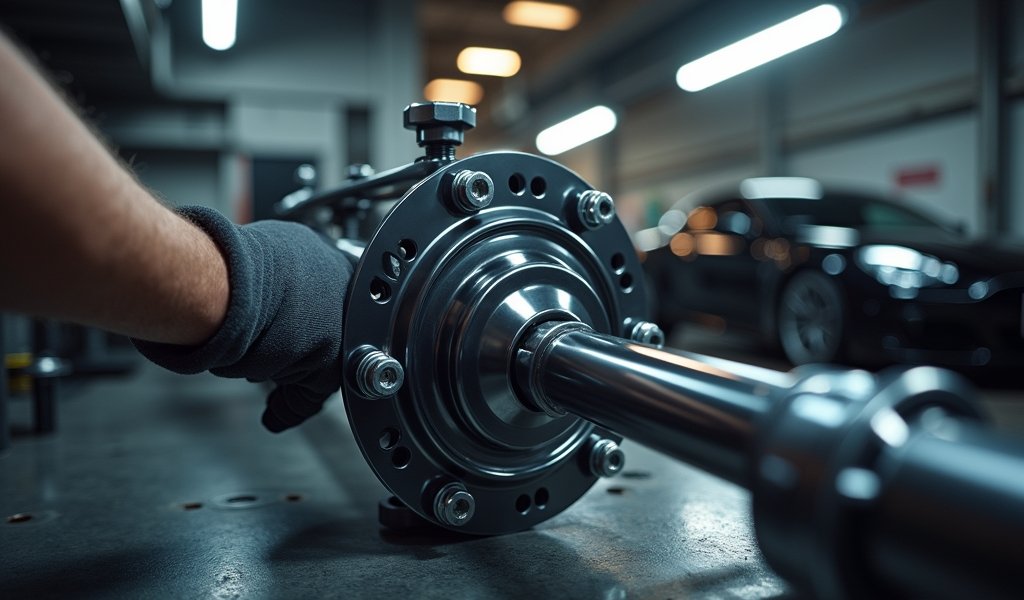
Once removed, secure the rack in a bench vise using protective jaw covers to prevent damage. Carefully disassemble according to your service manual’s specific instructions. Different manufacturers use varying designs, so generic instructions can lead to improper disassembly.
Inspection is where experience truly matters. Look for scoring on the rack itself, which indicates advanced wear. Check the pinion gear teeth for abnormal wear patterns or chipping. Examine all bushings and bearings for deterioration or unusual movement.
The cleaning process is more thorough than most people realize. Each component must be meticulously cleaned with appropriate solvents. I recommend using a parts cleaner specifically formulated for hydraulic components rather than general-purpose degreasers which may damage seals.
When rebuilding, replace all seals and O-rings regardless of their apparent condition. Many professionals also recommend replacing all bushings and bearings while you’re in there. This saves money on car repairs in the long run by preventing premature failure.
Reassembly requires strict attention to torque specifications. Under-torqued connections can work loose, while over-torqued components can strip threads or crack housings. Your service manual will provide the exact specifications for each fastener.
The refilling and bleeding process is where many DIY rebuilds encounter problems. Air trapped in the system creates steering performance issues and accelerated wear. Following the manufacturer’s specific bleeding procedure is crucial for proper function.

Steering Clear of Trouble: Common Rebuild Pitfalls
Even experienced mechanics can encounter challenges during rack and pinion rebuilds. Being aware of these common pitfalls can save you significant frustration:
Cross-threading hydraulic fittings is a particularly expensive mistake. These precision-machined connections require careful alignment and should never be forced. Always start threads by hand and ensure they turn smoothly before using any tools.
Improper seal installation ranks among the most common failures. Seals must be installed with the correct orientation, and many require specific installation tools to prevent damage. A seal that appears intact but has a microscopic nick from improper installation will leak under pressure.
Contamination during reassembly can doom an otherwise perfect rebuild. A single strand of rag fiber or tiny metal shaving can damage seals or jam valves. Work in the cleanest environment possible and use compressed air (if available) to ensure components are pristine before reassembly.
Misalignment during installation can place stress on mounting points and connections. This often happens when bolts are tightened in an improper sequence. Follow the torque sequence specified in your service manual, which is designed to ensure even pressure distribution.
Failure to address related components is another common oversight. While rebuilding your rack, inspect connected components like tie rods, steering column connections, and hydraulic lines. Reconnecting to worn components compromises your rebuild’s longevity and performance.
One often-overlooked aspect is system timing. Many power steering racks have specific positioning requirements in relation to the steering wheel position. Incorrect phasing can result in uneven turning radius or off-center steering even after professional alignment.
Taking the Wheel: Testing Your Rebuilt Steering System
The moment of truth arrives after reassembly. Before hitting the open road, there are several crucial tests to perform:
With the vehicle still safely elevated, check for leaks around all connections. Have an assistant slowly turn the steering wheel from lock to lock while you inspect with a flashlight. Any sign of fluid indicates a connection that needs attention.
Listen for unusual sounds during operation. A properly rebuilt rack should operate smoothly and quietly. Clicking, grinding, or binding noises indicate potential internal issues that need addressing before road testing.
Once you’re confident in the installation, lower the vehicle and perform a stationary pressure test. With the engine running, hold the steering wheel at full lock position for 2-3 seconds (no longer, as this can damage the pump). This pressurizes the system to reveal any weaknesses.
Your first test drive should be in a safe, open area like an empty parking lot. Start with gentle steering inputs at low speed, gradually increasing to more aggressive maneuvers. Pay attention to steering feel, return-to-center behavior, and any unusual feedback through the wheel.
Remember that a freshly rebuilt system may feel slightly stiff initially. This typically resolves after 50-100 miles as components seat and any residual air works its way out of the system. However, binding or excessive stiffness indicates a problem that needs immediate attention.
The final test comes with a professional alignment. Even perfect rebuilds and reinstallation will require alignment adjustments. This ensures proper tire wear, straight-line tracking, and optimal steering response. According to research from Hunter Engineering, even minor alignment issues can reduce tire life by up to 30%.
Conclusion
Rebuilding your steering rack and pinion might seem daunting at first glance, but as we’ve explored, it’s a rewarding project well within reach of dedicated DIY enthusiasts. The satisfaction of restoring precise steering feel while saving hundreds of dollars makes this one of the most gratifying automotive projects you can tackle.
The key to success lies in thorough preparation, quality tools, and a methodical approach. By following the guidelines we’ve covered, you’ll avoid the common pitfalls that can turn a weekend project into a prolonged headache. Remember that patience is your most valuable tool – rushing through critical steps inevitably leads to problems.
If you’ve successfully completed your rebuild, you’ve not only improved your vehicle’s performance and safety but also developed valuable mechanical skills that translate to many other automotive projects. The confidence gained from mastering hydraulic systems and precision components opens doors to increasingly advanced DIY repairs.
For those who determined this project exceeds their current skill level, there’s value in that self-awareness too. Understanding the complexity involved helps you communicate more effectively with professional mechanics and makes you a more informed consumer when seeking repair services.
Whether you tackled the rebuild yourself or gained knowledge for future reference, your vehicle will benefit from your improved understanding of this crucial system. Safe motoring starts with responsive, reliable steering – something you now know how to maintain for years to come.
Want more expert DIY auto repair tips? Subscribe to our newsletter for regular updates and insights to keep your vehicle running smoothly.
Frequently Asked Questions
How much money can I save by rebuilding my steering rack instead of replacing it?
Rebuilding typically saves $500-800 compared to replacement costs. This includes both parts savings and the labor you’d otherwise pay a shop.
How long does a rebuilt steering rack typically last?
A properly rebuilt rack can last 80,000-100,000 miles under normal driving conditions. Quality of parts and precision during assembly are key factors in longevity.
Do I need special tools to rebuild a steering rack?
Yes, you’ll need basic automotive tools plus a few specialized items like seal installers and an inner tie rod tool. Many auto parts stores offer tool rental programs for specialty items.
Will my car need an alignment after rebuilding the steering rack?
Absolutely – professional alignment is essential after any steering component work. Driving without proper alignment will cause irregular tire wear and handling issues.
How can I tell if my steering issues are caused by the rack and pinion or something else?
Look for fluid leaks under the center of your vehicle, inconsistent steering resistance, and play in the steering wheel. A professional diagnosis is recommended for confirmation before major repairs.


Pingback: Turning Radius Specification: 5 Pro Tips - knowsyourcar.com