Overview
This detailed guide emphasizes the critical importance of regularly inspecting radiator hoses to prevent engine damage, explaining that proper visual and tactile inspection can identify deterioration before catastrophic failure occurs. The article provides specific inspection techniques, warning signs, and maintenance schedules while noting that the modest cost of preventative replacement ($15-80 per hose) is significantly less than the potential $2,500-4,000 for engine repairs after overheating damage.
Table of Contents
- Understanding Radiator Hoses: Your Engine’s Lifeline
- When to Inspect Your Radiator Hoses
- Visual Inspection: What Your Eyes Can Tell You
- Tactile Inspection: Feel Your Way to Problems
- Connection Points: Where Most Failures Begin
- Common Problem Areas to Focus On
- Essential Tools for Better Inspections
- Replace or Monitor? Making the Right Call
- DIY vs. Professional Inspection: Know Your Limits
- Case Study: How Regular Inspections Saved Mike’s Engine
- Conclusion
- Frequently Asked Questions
Understanding Radiator Hoses: Your Engine’s Lifeline
Radiator hoses might not look impressive, but they’re crucial for your vehicle’s survival. These rubber conduits transport coolant between your engine and radiator, preventing your power plant from cooking itself to death during operation. Think of them as the circulatory system of your vehicle—when they fail, everything stops.
According to research from the Society of Automotive Engineers, cooling system failures contribute to approximately 40% of catastrophic engine failures, with radiator hoses being a primary culprit. That’s not surprising when you consider these hoses endure temperature extremes, pressure fluctuations, and constant exposure to chemicals that gradually break down their rubber compounds.
After replacing countless failed hoses and repairing the resulting damage over my 25 years as a mechanic, I can tell you this truth: most radiator hose failures are completely preventable with proper inspection. Let’s dive into how you can spot trouble before it leaves you stranded.
When to Inspect Your Radiator Hoses
Most manufacturers recommend checking your radiator hoses every 15,000 miles or annually, whichever comes first. However, I’ve found this schedule insufficient for many drivers, especially those in extreme climates or with older vehicles.
Here’s when you should definitely be looking at your hoses:
- Before long road trips or vacation travel
- At the beginning of summer (when your cooling system faces its toughest workload)
- Before winter sets in (when cold temperatures stress older rubber)
- Any time you notice your temperature gauge acting up
- When you smell that sweet, distinctive coolant odor
- If your coolant level keeps dropping without obvious leaks
Recent market data shows that cooling system maintenance costs average just 2-3% of overall vehicle operating expenses but prevents approximately 25% of major repair bills. This makes hose inspection one of the highest-value maintenance activities you can perform.
The most telling industry statistic? A 2023 survey by the Automotive Maintenance and Repair Association found that vehicles with regular cooling system inspections experienced 78% fewer roadside breakdowns related to overheating. That’s time and money saved, plain and simple.

Visual Inspection: What Your Eyes Can Tell You
Let’s start with the basics—what you should be looking for during a visual inspection. Always perform this with the engine cold for safety.
First, check for cracks in the outer surface of each hose. These often appear as hairline fractures, especially near bends or connection points. Even tiny cracks will eventually grow and cause failure, so don’t dismiss them as minor issues.
Next, look for bulges or soft spots. A properly functioning hose maintains consistent diameter throughout its length. Any bulging suggests the inner reinforcement layers have begun failing. These weakened areas can rupture without warning, especially under pressure.
Examine the outer surface for abrasion or rubbing damage. Modern engine compartments are crowded places—according to automotive design statistics, today’s engine compartments contain 65% less empty space than those from 20 years ago. This means hoses often contact other components, creating wear points that can eventually rub through.
Finally, check for signs of oil contamination. Oil breaks down rubber rapidly, so any evidence of oil on your hoses (appearing as swelling, softening, or a slick surface) indicates you need replacement soon. This is especially common in vehicles with valve cover or front engine seal leaks.
Tactile Inspection: Feel Your Way to Problems
Your sense of touch can reveal issues that visual inspection might miss. Again, ensure the engine is completely cool before attempting this.
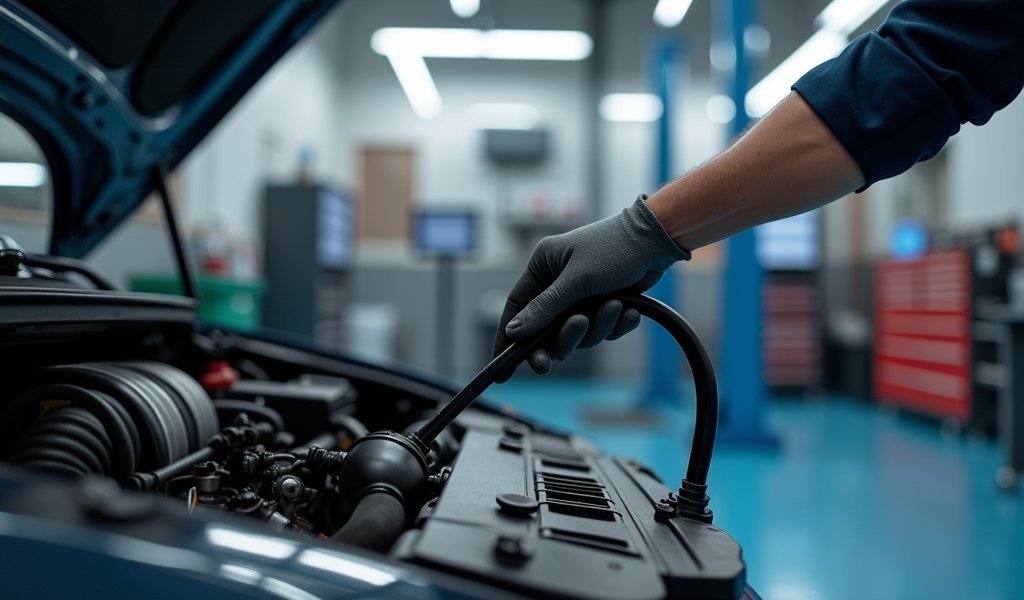
Gently squeeze each hose along its entire length, feeling for consistency in flexibility. A healthy hose should have uniform resistance and return quickly to its original shape when released. If areas feel notably softer or harder than the rest of the hose, internal degradation has begun.
Pay special attention to the lower radiator hose, which often develops a condition called “electrochemical degradation” (ECD). This occurs when coolant chemicals interact with the hose material, creating a spongy texture that feels like wet cardboard when squeezed. According to NHTSA data, ECD accounts for approximately 60% of lower radiator hose failures.
Test the hose’s elasticity by trying to twist it slightly (don’t force it). Healthy rubber should have some give; brittle hoses that resist movement or feel “crunchy” have lost their elasticity and are prime candidates for failure.
Finally, check for “oil-canning”—the tendency of a hose section to collapse inward and stay collapsed momentarily when squeezed. This indicates severe internal degradation and calls for immediate replacement.
Connection Points: Where Most Failures Begin
Approximately 70% of cooling system leaks start at connection points, not along the main body of the hose. These junctions deserve your closest attention.
Examine the hose ends where they slip over connection ports. Look for swelling, hardening, or cracking of the rubber. The constant expansion and contraction cycles, combined with heat exposure, make these areas particularly vulnerable.
Check your clamps thoroughly. Spring-type clamps should maintain consistent tension; worm-drive (screw) clamps should be tight but not cutting into the hose material. Corroded or damaged clamps need immediate replacement regardless of how the hose appears.
Look for evidence of seepage—dried coolant residue often appears as a crusty white, green, or orange deposit depending on your coolant color. Even minor seepage indicates a developing problem that will worsen over time.
Test connection integrity by gently pulling (don’t yank) on each hose while observing the connection point. Any movement between the hose and the component it connects to suggests the connection is compromised.
Remember that connection problems aren’t always obvious when cold. Many leaks only appear when the system is under pressure and heated, which is why pressure testing is so valuable for thorough inspection.

Common Problem Areas to Focus On
While every hose deserves attention, certain areas of your cooling system are particularly prone to issues. Knowing these trouble spots helps you focus your inspection efforts.
The lower radiator hose operates under suction from the water pump, making it susceptible to collapse during operation. Quality replacements include a spring coil inside to prevent this, but many cheaper hoses lack this feature. Check if yours has this reinforcement—if not, it needs more frequent inspection.
The upper radiator hose endures the highest temperatures in the system. According to thermal imaging studies by automotive engineers, upper hose temperatures can exceed 230°F during heavy load conditions—that’s hot enough to bake cookies! This extreme heat accelerates rubber deterioration, particularly near the thermostat housing connection.
Heater hoses often escape notice during routine maintenance because they’re typically tucked against the firewall. They’re also commonly routed near exhaust components, creating additional heat stress. Make a specific point to trace these hoses completely during your inspection.
The often-overlooked bypass hose (sometimes called the “water crossover”) regulates coolant flow when the thermostat is closed. Though small, its failure can cause significant engine overheating issues, especially during warm-up. This hose is typically located near the thermostat housing and often requires contorting to see properly.
Essential Tools for Better Inspections
The right tools transform a basic inspection into a thorough one. Here are my recommendations from years in the shop:
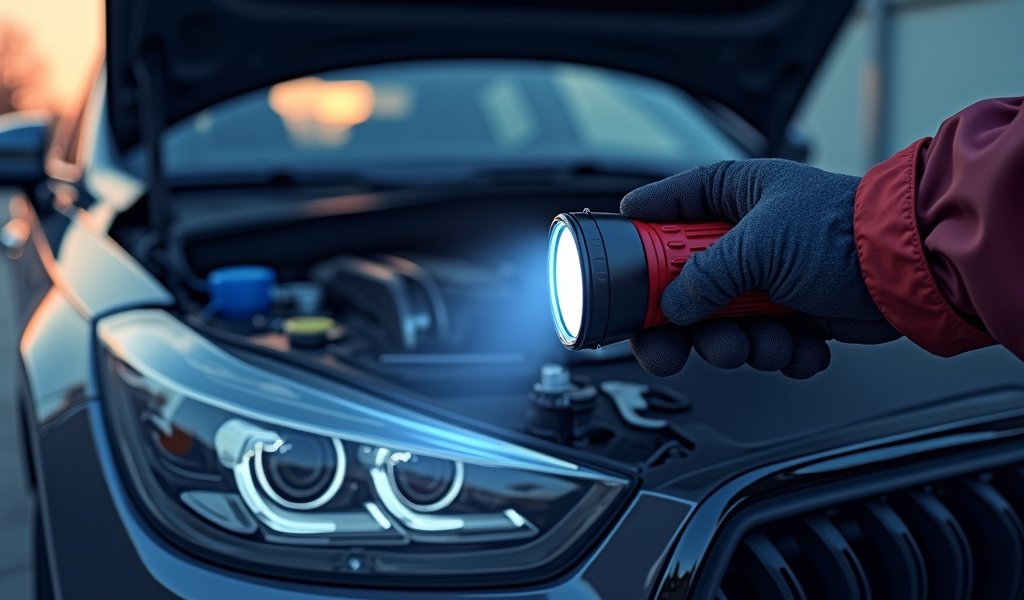
A good LED flashlight with focused beam helps spot issues in dark recesses of the engine bay. I prefer models with magnetic bases or flexible necks that free up both hands for the inspection process. Modern LED technology has made these remarkably affordable—a $20-30 investment is plenty.
An inspection mirror (essentially a small mirror on an extendable handle) helps view the underside of hoses and connections that aren’t directly visible. These cost $5-15 at any auto parts store and prove their worth immediately.
For more thorough testing, consider a cooling system pressure tester. Professional-grade tools cost hundreds, but consumer versions run $30-60 and can reveal weak points before they fail completely. These tools allow you to pressurize the cooling system safely without running the engine.
An infrared thermometer ($15-40) helps identify flow restrictions by revealing temperature differences along hoses. When the engine reaches operating temperature, a properly flowing hose should show consistent readings; significant temperature drops mid-hose often indicate internal restrictions.
According to recent market trends, DIY cooling system inspection kit sales have increased by 35% in the last two years, reflecting growing awareness among vehicle owners about the importance of preventative cooling system maintenance.
Replace or Monitor? Making the Right Call
Not every imperfection requires immediate replacement. Here’s my professional guidance on when to act versus when to watch:
Replace immediately when you find:
- Any visible cracks, no matter how small
- Bulges, soft spots, or areas that stay compressed when squeezed
- Significant hardening or brittleness
- Hoses over 5 years old, regardless of appearance
- Any active leakage or seepage at connections
- Oil-contaminated hoses (swollen, soft, or slick surface)
Monitor more frequently when you discover:
- Minor surface abrasion that hasn’t penetrated the outer layer
- Slight softening that’s consistent throughout the hose
- Early signs of clamp wear without leakage
- Hoses approaching the 4-year mark
Industry data indicates modern radiator hoses typically last 5-8 years before significant degradation occurs. However, this varies widely based on driving conditions, coolant maintenance, and environmental factors. Vehicles in hot climates like Arizona or those that frequently tow heavy loads may need replacement every 3-4 years instead.
The cost perspective makes preventative replacement a clear winner: basic radiator hoses typically cost $15-40 each, with premium silicone versions running $30-80. Compare this to the average cost of engine overhaul after severe overheating: $2,500-4,000 according to current repair market data.
DIY vs. Professional Inspection: Know Your Limits
Many inspection steps are well within the capabilities of most vehicle owners, even those with minimal mechanical experience. You can effectively:
- Perform basic visual checks for cracks, bulges, and wear
- Squeeze hoses to assess general condition
- Inspect clamps for obvious corrosion or damage
- Check for visible leaks or coolant residue
- Monitor coolant levels for unexplained drops
However, certain situations call for professional assessment. Consider a mechanic’s expertise when:
- You’re unsure about borderline conditions you’ve discovered
- Your vehicle has a history of overheating problems
- You’re preparing for extreme conditions (long trips, towing, etc.)
- Your cooling system is approaching the 5-year mark
- You notice temperature fluctuations while driving
A professional cooling system inspection typically costs $50-100 depending on your location and vehicle type. Many shops include pressure testing in this service, which reliably identifies weak points before they fail. Some even offer cooling system inspections free with other maintenance services.
According to AAA statistics, the average roadside assistance call costs $80-125, not including potential towing fees ($75-250) or the inconvenience of being stranded. Professional inspection is clearly the more economical option.
Case Study: How Regular Inspections Saved Mike’s Engine
Last summer, Mike brought his 2016 Ford F-150 in for a routine inspection before a cross-country towing trip. The truck had 87,000 miles and, from all outward appearances, the cooling system looked fine—no leaks, no overheating issues, no warning signs.
During our standard cooling system inspection, I noticed the lower radiator hose felt slightly spongy near the water pump connection—a telltale sign of electrochemical degradation beginning to weaken the hose internally. Though not visibly damaged, tactile inspection revealed the problem developing beneath the surface.
Mike initially hesitated at the $120 repair bill (parts and labor), questioning whether it was truly necessary. The hose looked fine, after all. I explained that he’d be towing a 5,000-pound camper through desert conditions, placing maximum stress on that weakening hose.
He agreed to the replacement, and we documented the old hose’s condition with photos. When cut open, the hose revealed significant internal deterioration that would have likely failed during his trip. The interior rubber layer was delaminating from the reinforcement fabric—classic ECD that’s invisible from outside.
Three weeks later, Mike called from the Grand Canyon to thank us. A fellow camper with a similar truck had experienced a catastrophic lower hose failure while climbing the steep grade out of the canyon. The resulting overheating caused head gasket damage requiring a $3,200 repair and a ruined vacation waiting for parts.
According to industry data from the Auto Service Association, approximately 1 in 3 vehicles on the road has a cooling system component that would fail within the next six months. Regularly scheduled inspections like Mike’s catch these issues before they become expensive disasters.
Conclusion
Your vehicle’s radiator hoses might seem insignificant compared to more complex components, but they’re truly the lifeline of your engine. Without properly functioning hoses, even the most powerful engine becomes nothing more than an expensive paperweight when overheating strikes.
The statistics are clear: cooling system failures account for a significant percentage of catastrophic engine damage, yet most of these failures are completely preventable through regular inspection and maintenance. For just minutes of your time and potentially a modest replacement cost, you can avoid thousands in repairs and the significant inconvenience of being stranded.
Remember to check your hoses at least twice yearly, particularly before extreme seasons or long trips. Pay special attention to the trouble spots we’ve highlighted—the lower and upper radiator hoses, heater hoses, and those critical connection points. Use both your eyes and hands to detect problems that might otherwise go unnoticed.
When in doubt about a hose’s condition, follow the mechanic’s golden rule: prevention is always cheaper than the cure. A $40 hose replaced proactively beats a $3,000 engine repair every time.
Your cooling system deserves the same attention you give your oil changes and tire rotations. Make radiator hose inspection a standard part of your vehicle maintenance routine, and you’ll enjoy thousands of trouble-free miles ahead.
Frequently Asked Questions
How often should radiator hoses be replaced?
Most manufacturers recommend replacing radiator hoses every 5-7 years or 60,000-100,000 miles, whichever comes first. However, those operating in extreme conditions should consider replacement every 4 years regardless of mileage.
Can I drive with a slightly leaking radiator hose?
No, even a small leak can rapidly worsen and lead to coolant loss, overheating, and potential engine damage. A leaking radiator hose should be replaced immediately.
What causes radiator hoses to fail prematurely?
The most common causes are extreme temperature fluctuations, oil contamination, improper coolant mixture, and electrochemical degradation. Mechanical damage from rubbing against other engine components also contributes to early failure.
How do I know if my radiator hose needs replacement if there’s no visible damage?
Squeeze the hose when cool—if it feels too soft, too hard, or doesn’t spring back to shape when released, replacement is needed. Also check for swelling near connection points or a crunchy texture when flexed.
Are aftermarket radiator hoses as good as OEM hoses?
Quality varies significantly among aftermarket manufacturers. Premium aftermarket hoses from reputable brands often match or exceed OEM specifications, while budget options may use inferior materials that degrade faster.


Pingback: Coolant Reservoir Overflow Tube: 5 Tips - knowsyourcar.com
Pingback: Water Pump Impeller Inspection: Top Tips - knowsyourcar.com
Pingback: Auto Maintenance Tips: 10 Proven Fixes - knowsyourcar.com