Overview
This article provides a detailed 5-tip guide for DIY power steering pump rebuilds, covering disassembly techniques, thorough cleaning processes, component inspection, reassembly best practices, and testing procedures. It emphasizes that a properly executed rebuild can restore near-factory performance while saving hundreds of dollars compared to replacement, making it an accessible project for intermediate DIYers with the right tools and patience.
Table of Contents
- Understanding Power Steering Pumps
- Signs of a Failing Power Steering Pump
- Tools and Materials Needed
- Tip 1: Proper Disassembly Techniques
- Tip 2: Thorough Cleaning Process
- Tip 3: Inspecting and Replacing Components
- Tip 4: Reassembly Best Practices
- Tip 5: Testing and Troubleshooting
- Conclusion
- Frequently Asked Questions
Understanding Power Steering Pumps
A power steering pump rebuild can save you hundreds of dollars compared to buying a new unit. As someone who’s had grease under my fingernails for over two decades, I can tell you that rebuilding these pumps isn’t as daunting as it might seem. The power steering pump is essentially the heart of your steering system, creating the hydraulic pressure that makes turning your steering wheel a breeze rather than an arm workout.
Most power steering pumps consist of an impeller or rotor, pressure plates, seals, bearings, and a reservoir for fluid storage. The pump operates by converting the rotational energy from your engine (typically via the serpentine belt) into hydraulic pressure that assists your steering. When these components wear out, your once-smooth steering experience becomes a battle.
Think of a power steering pump rebuild as giving your steering system a second lease on life. A well-executed rebuild can restore your pump to near-factory performance without the steep cost of replacement. Many drivers are intimidated by the prospect of rebuilding a pump, but with the right guidance, it’s a satisfying project that even intermediate DIYers can handle with confidence.
Signs of a Failing Power Steering Pump
Before we dive into the rebuild process, let’s make sure you’re correctly diagnosing the issue. Nothing’s worse than rebuilding a pump when the problem lies elsewhere in your steering system. Here are the telltale signs that your power steering pump needs attention:
- Whining or groaning noise, especially during turning
- Stiff steering, particularly at lower speeds
- Power steering fluid leaks underneath your vehicle
- Erratic steering assistance (sometimes works, sometimes doesn’t)
- Discolored or burnt-smelling power steering fluid
If you’re experiencing two or more of these symptoms, your power steering pump is likely the culprit. Ignoring these warning signs can lead to complete pump failure and potentially dangerous driving conditions. I’ve seen simple rebuilds turn into complete steering system overhauls because drivers waited too long to address the initial symptoms.
Not every noise from your steering system means a rebuild is necessary. Sometimes a simple fluid top-up or belt adjustment can resolve minor issues. However, if the symptoms persist after checking these basics, it’s time to consider a rebuild. According to AA1Car Automotive Diagnostic Help Center, approximately 70% of power steering issues can be traced back to pump problems.

Tools and Materials Needed
Before you roll up your sleeves and dive into your power steering pump rebuild, gather the right tools and materials. Having everything on hand before you start will save you frustration and multiple trips to the auto parts store. Here’s what you’ll need:
Basic Tools:
- Socket set and wrenches (metric and standard)
- Screwdrivers (flathead and Phillips)
- Pliers and needle-nose pliers
- Snap ring pliers (internal and external)
- Rubber mallet
- Torque wrench
Specialized Tools:
- Seal removal tool
- Bearing puller (if bearings need replacement)
- Seal driver set
- Oil catch pan
Materials:
- Power steering pump rebuild kit (specific to your vehicle make/model)
- Power steering fluid (check your owner’s manual for the correct type)
- Brake cleaner or parts cleaner
- Shop rags
- Assembly lube or clean motor oil
- Gasket maker/sealant (if not included in rebuild kit)
- Disposable gloves
Investing in a quality rebuild kit is crucial for a successful job. Don’t cut corners on cheap parts – they’ll likely fail prematurely and leave you doing the same job twice. A good kit should include all necessary seals, O-rings, bearings, and other components specific to your pump model.
I also recommend having your vehicle’s service manual handy, either in print or digital form. Factory service manuals provide detailed specifications and procedures that are invaluable during a rebuild. This can help you avoid making common car service mistakes that might complicate the rebuild process.
Tip 1: Proper Disassembly Techniques
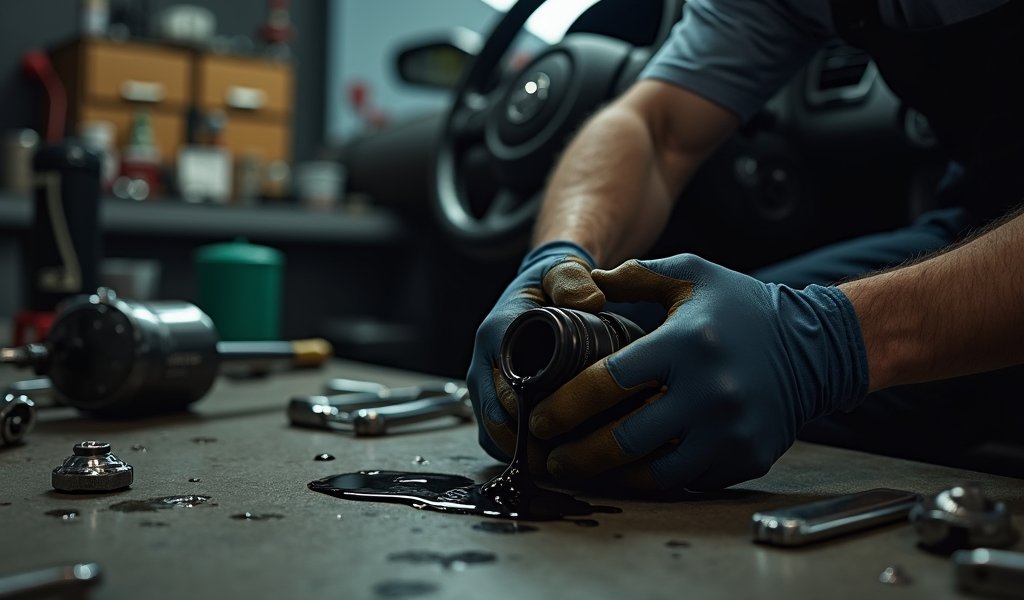
Disassembling your power steering pump correctly is half the battle in a successful rebuild. Take your time with this step – rushing can damage components and turn a simple rebuild into a parts-shopping nightmare. First, drain all fluid from the pump by disconnecting the return and pressure lines over a catch pan.
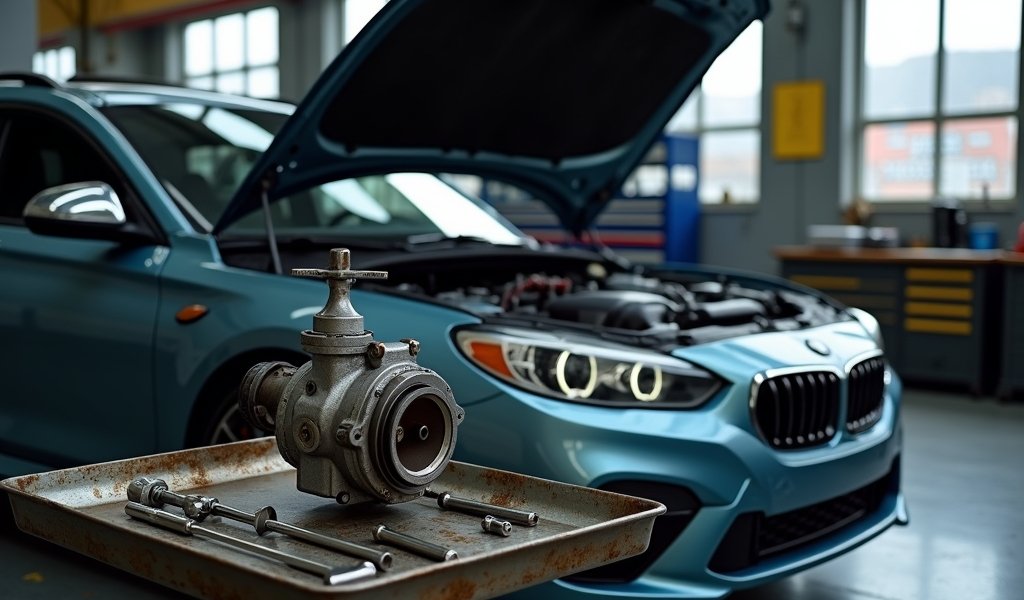
Before removing a single bolt, take multiple photos from different angles. These will serve as valuable reference points during reassembly. Document everything meticulously – even experienced mechanics rely on visual references rather than memory alone. I recommend placing parts in labeled plastic bags or a compartmentalized tray in the exact order of removal.
When removing the pulley, use the proper pulley removal tool rather than trying to pry it off. Forcing the pulley can damage the shaft or bearing surfaces. Once the pulley is removed, carefully remove the dust seal, being mindful not to scratch the housing.
The snap ring that typically holds the shaft assembly in place requires special attention. Use the correct size snap ring pliers and work slowly to prevent the ring from springing across your garage. After removing the snap ring, the shaft assembly can usually be pressed out from the rear of the pump housing.
As you disassemble the internal components, note the orientation of each part. The flow control valve, pressure relief valve, and their respective springs must go back exactly as they came out. If your pump has a flow control orifice, use compressed air to ensure it’s not clogged, but be careful not to enlarge it.
Throughout disassembly, inspect each component for obvious damage or wear. This preliminary inspection will give you an idea of what caused the pump to fail and what parts will definitely need replacement beyond the basic rebuild kit.
Tip 2: Thorough Cleaning Process
Once you’ve carefully disassembled your power steering pump, it’s time for a thorough cleaning – arguably the most crucial step in the rebuild process. Every trace of old fluid, debris, and contaminants must be removed to prevent premature failure of your freshly rebuilt pump.
Start by soaking all metal components in quality parts cleaner. Avoid using gasoline or other highly flammable solvents – commercial parts cleaners are safer and more effective. Pay special attention to internal passages and chambers where sludge tends to accumulate and harden over time. These hidden deposits can restrict flow and cause performance issues even after rebuilding.
For stubborn deposits, an old toothbrush or small wire brush can work wonders, but be gentle on machined surfaces. The valve body, in particular, requires meticulous cleaning as any debris can cause valves to stick. Blow out all passages with compressed air, but wear eye protection – you’d be surprised how much gunk can come shooting out!
Clean the pump housing inside and out, paying special attention to the sealing surfaces. Any old gasket material or sealant must be completely removed without scratching the mating surfaces. Plastic scrapers work well for this task, while metal scrapers risk damaging the sealing surfaces.
After cleaning, inspect all parts under good lighting. Look for scoring on the rotor, wear on the cam ring, damaged vanes, or pitting on bearing surfaces. Even tiny imperfections can cause problems later. Sometimes what appears clean to the naked eye still harbors microscopic debris, so a final rinse with fresh parts cleaner is always a good idea.
Dry all components thoroughly with compressed air or allow them to air dry completely before reassembly. Any moisture left behind can contaminate your fresh power steering fluid and potentially cause corrosion issues down the road.

Tip 3: Inspecting and Replacing Components
With everything clean, it’s time for a detailed inspection of each component. This step separates a proper rebuild from a quick fix that might fail prematurely. In my years as a mechanic, I’ve found that careful inspection often reveals problems that weren’t initially apparent.
Start with the pump housing, checking for cracks, warping, or corrosion. Even hairline cracks can expand under pressure and cause catastrophic leaks. Use a straight edge to check the flatness of mating surfaces – any warping will prevent proper sealing no matter how good your new gaskets are. If the housing is damaged, weigh the cost of a new housing against that of a complete replacement pump.
Next, examine the rotor and vanes. Look for uneven wear patterns, chipping, or scoring. The vanes should move freely in their slots without excessive play. The cam ring, which creates the eccentric action needed for pumping, should have a smooth, even surface without grooves or scoring.
Bearings and bushings deserve special scrutiny. Even slight wear can cause shaft wobble, leading to uneven pressures and premature seal failure. Rotate the bearings slowly, feeling for any roughness or binding. If in doubt, replace them – bearings are relatively inexpensive compared to the labor of doing another rebuild soon.
Your rebuild kit should include new seals, O-rings, and gaskets. Always replace these items regardless of their apparent condition. The pressure relief valve and flow control components need careful inspection too. According to Motor Trend’s technical guides, valve sticking accounts for nearly 25% of rebuilt pump failures.
Compare your old parts with the new ones in your rebuild kit to ensure you’ve received the correct components. Manufacturing variations exist even within the same make and model, so verify that replacement parts match the originals in size and design.
If your budget allows, consider replacing the pump shaft if there’s any visible wear on the splines or bearing surfaces. This can be a cost-effective way to save money on car repairs in the long run by extending the life of your rebuilt pump.
Tip 4: Reassembly Best Practices
Reassembly is where your patience and attention to detail really pay off. With clean components and new parts at the ready, let’s put this pump back together properly. Begin by laying out all your parts in the order of reassembly, referring to your photos or service manual as needed.
Before installing any new seals or O-rings, lightly coat them with clean power steering fluid. Never use grease or other lubricants that aren’t compatible with power steering fluid, as they can degrade the seals and contaminate the system. This pre-lubrication helps prevent damage during installation and provides initial lubrication until the system is filled.
When installing shaft seals, use the proper seal driver that matches the seal diameter. Driving seals in crooked or with improper tools can damage them before they’ve done a minute of work. Take your time and ensure seals go in squarely and to the correct depth.
For the pump internals, assemble the rotor, vanes, and cam ring with precision. The vanes must be installed in the correct orientation – most have a slight angle or bevel that must face the correct direction. If your pump uses a thrust plate, ensure it’s flat and properly positioned before tightening any fasteners.
When installing snap rings, make sure they seat completely in their grooves. A partially seated snap ring can work loose under pressure, leading to catastrophic failure. Use snap ring pliers rather than screwdrivers to avoid distorting these critical retaining components.
Follow the torque specifications in your service manual when tightening fasteners. Overtightening can warp housings or strip threads, while undertightening can lead to leaks or parts working loose. If your manual specifies a torque sequence, follow it precisely to ensure even pressure on gaskets and proper alignment.
Once the pump is assembled, rotate the shaft by hand. It should turn smoothly with consistent resistance throughout the rotation. Any binding or rough spots indicate a problem that needs addressing before installation. This simple check has saved me from reinstalling problematic pumps countless times.
Tip 5: Testing and Troubleshooting
Before reinstalling your rebuilt power steering pump, it’s wise to perform some bench testing to catch any issues. While you can’t fully pressurize the pump outside the vehicle, you can check for basic functionality and leaks.
Start by filling the reservoir with the correct power steering fluid and manually rotating the pump shaft. The pump should draw fluid and create at least some pressure. Look for any fluid seeping from seals or gaskets – even minor leaks will worsen once the pump is under full operating pressure. If you spot any leaks, disassemble and inspect the problem area before proceeding.
Once reinstalled in your vehicle, proper bleeding of the system is critical. Air in the power steering system causes noise, erratic steering assistance, and can accelerate wear on your freshly rebuilt pump. To bleed the system:
- Fill the reservoir with fluid
- Raise the front wheels off the ground
- Start the engine and let it idle
- Slowly turn the steering wheel from lock to lock several times (don’t hold at full lock)
- Check and top up fluid level
- Repeat until no more air bubbles appear in the reservoir
After bleeding, take the vehicle for a test drive, starting at low speeds in an empty parking lot. Listen for unusual noises and feel for steering performance. The steering should be smooth and consistent in both directions. If you notice any issues, address them immediately rather than hoping they’ll “break in” over time.
Common post-rebuild issues include:
- Whining noise: Usually indicates air in the system or incorrect fluid level
- Leaking: May require retorquing connections or replacing damaged seals
- Stiff steering: Could indicate internal binding or improper assembly
- Inconsistent assist: Often caused by sticking valves or air in the system
Remember that some pumps need a short break-in period. The steering might feel slightly different for the first 50-100 miles as components seat themselves. However, any significant problems should be addressed before putting the vehicle into regular service.
Conclusion
Rebuilding a power steering pump is a satisfying project that can save you considerable money while extending the life of your vehicle’s steering system. With the five DIY tips we’ve covered – proper disassembly, thorough cleaning, careful inspection, precise reassembly, and diligent testing – you’re well-equipped to tackle this job with confidence.
Remember that patience is your greatest ally during a power steering pump rebuild. Rushing through any step increases the likelihood of mistakes that could lead to premature failure or safety issues. Take your time, follow the procedures, and don’t hesitate to consult your vehicle’s service manual when in doubt.
The skills you develop while rebuilding your power steering pump will serve you well for other automotive projects. The attention to detail, mechanical aptitude, and systematic approach apply to many other repairs and maintenance tasks.
Whether you’re rebuilding your pump out of necessity or as a preventative measure, the satisfaction of steering smoothly down the road with a component you’ve rebuilt yourself is hard to beat. Not only have you saved money, but you’ve gained valuable knowledge about a critical system in your vehicle.
So roll up those sleeves, gather your tools, and approach your power steering pump rebuild with confidence. Your wallet – and your driving experience – will thank you for it.
Frequently Asked Questions
How long does a power steering pump rebuild typically take?
For a DIY enthusiast with moderate mechanical skills, expect to spend 3-4 hours on your first rebuild. Experienced mechanics can complete the job in about 1-2 hours.
How much money can I save by rebuilding rather than replacing my power steering pump?
Rebuilding typically costs 30-50% of a new pump’s price. You can save $150-400 depending on your vehicle make and model.
Can I drive with a failing power steering pump?
It’s not recommended as steering will become increasingly difficult and potentially dangerous. The pump could also fail completely while driving, causing sudden loss of power assist.
How often should power steering pumps be rebuilt?
Most power steering pumps don’t have a scheduled rebuild interval. They typically last 100,000-150,000 miles before showing signs of wear requiring attention.
Do I need special tools to rebuild a power steering pump?
Basic rebuilds require common hand tools plus snap ring pliers. Some vehicles may require specialized pulley removal tools available for rent from most auto parts stores.

