Overview
This article outlines seven critical aspects of rallycross suspension tuning, emphasizing the need to balance setups for both dirt and tarmac surfaces through proper ride height, damper settings, spring rates, anti-roll bar tuning, alignment, and methodical testing. It advocates for a compromise-based approach where drivers document baseline settings, make incremental adjustments to single variables, and maintain detailed records to find the optimal setup for their specific vehicle and driving conditions.
Table of Contents
- Understanding Rallycross Suspension: Where Dirt Meets Tarmac
- Tip 1: Know Your Baseline Setup – Starting with Solid Ground
- Tip 2: Finding the Sweet Spot for Ride Height
- Tip 3: Damper Settings – The Art of Controlling Motion
- Tip 4: Choosing the Right Spring Rates
- Tip 5: Anti-Roll Bar Tuning – Balancing Act
- Tip 6: Alignment Settings for Dual-Surface Mastery
- Tip 7: Methodical Testing and Fine-Tuning
- Conclusion: Finding Your Perfect Setup
- Frequently Asked Questions
Understanding Rallycross Suspension: Where Dirt Meets Tarmac
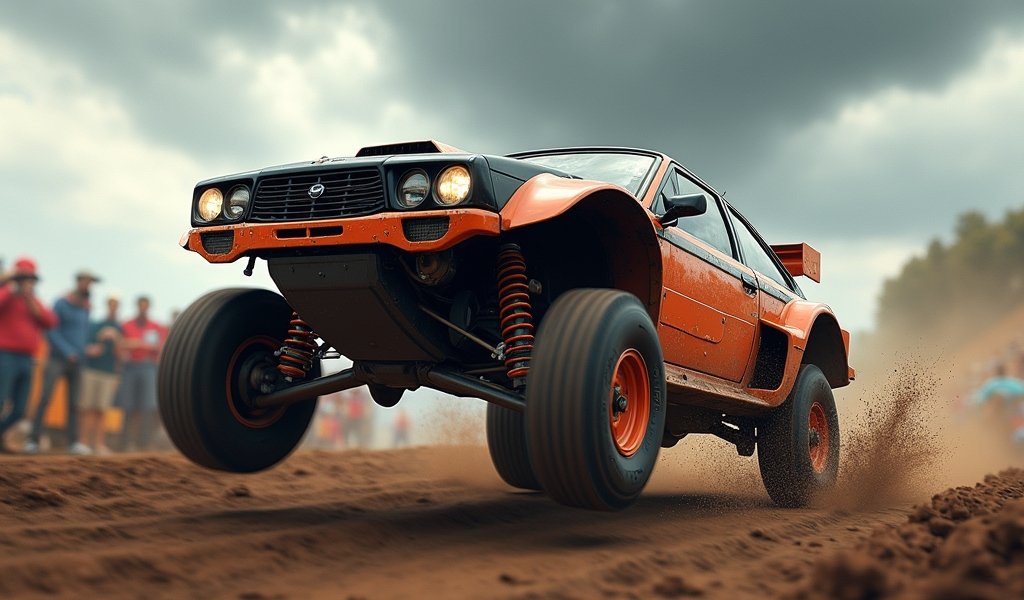
Think of rallycross as nature’s ultimate suspension test—one moment you’re gripping tarmac like a cat on carpet, the next you’re dancing across gravel like you’re wearing socks on a hardwood floor. I’ve been tuning rallycross suspensions for over 15 years, and I’ll tell you straight: no other motorsport demands such versatility from your suspension components.
Rallycross suspension tuning is like cooking a perfect steak—it requires patience, technique, and understanding the “ingredients” you’re working with. Too soft, and you’ll wallow through corners like a boat in high seas. Too stiff, and you’ll bounce off line on bumpy sections faster than a dropped ping-pong ball.
The challenge lies in finding that Goldilocks zone where your car handles predictably across changing surfaces while maintaining enough compliance to absorb the punishment rallycross dishes out. It’s not just about going fast—it’s about going fast consistently across vastly different terrains.
Let’s dive into the seven most crucial aspects of performance suspension tuning that’ll transform your rallycross experience from a rough ride to a precision dance across mixed surfaces.
Tip 1: Know Your Baseline Setup – Starting with Solid Ground
Before diving into adjustments, you need to know what you’re working with. Think of your car’s factory suspension settings as your starting recipe—you need to understand the original flavor before adding your own spices.
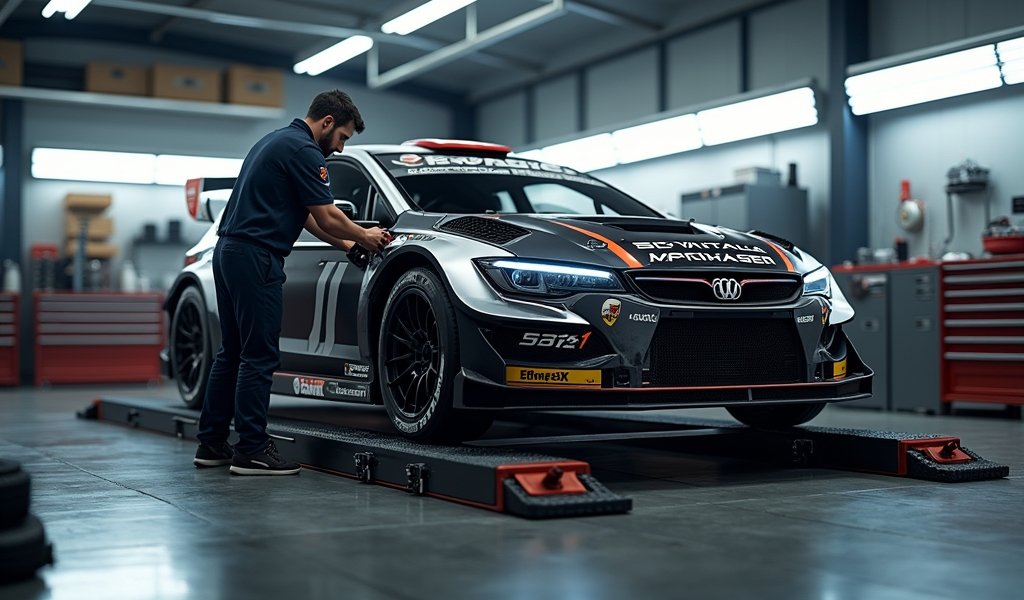
First things first: document everything. Get underneath your car with a tape measure and notepad (or your phone) and record these measurements:
- Ride height at all four corners (measure from a fixed point, like the center of the wheel to the fender lip)
- Current damper settings (clicks or turns from full soft/hard)
- Spring rates and lengths
- Anti-roll bar positions and diameters
- Current alignment specs (camber, toe, caster)
This baseline isn’t just busywork—it’s your safety net. When you’ve made three different adjustments and suddenly your car handles worse than a shopping cart with a wobbly wheel, you’ll be thankful you can return to your starting point.
Next, analyze your car’s current behavior. Take it for a test session and pay attention to specific handling characteristics:
- Does it push (understeer) when entering corners?
- Does the rear end step out (oversteer) on throttle application?
- How does the car transition between surfaces?
- Does it recover quickly from jumps or feel unsettled?
In my shop, we often record video of test sessions with a simple dash cam. This visual reference helps identify exactly where the car’s behavior needs improvement. As racing physics experts note, understanding your baseline performance provides the foundation for all future tuning decisions.

Tip 2: Finding the Sweet Spot for Ride Height
Ride height in rallycross is like finding the perfect balance point on a see-saw—too far in either direction and you’re in trouble. I’ve seen drivers show up with their cars slammed to the ground like they’re heading to a stance meet, only to spend the day plowing through dirt sections and bottoming out on transitions.
For most production-based cars, I recommend starting about 10-15mm higher than your tarmac racing setup. This provides enough ground clearance for dirt sections while keeping your center of gravity reasonably low for the paved portions.
Remember that your suspension geometry was designed to work within a specific range. Raising your car too much can dramatically alter camber curves and roll centers, making handling unpredictable—like trying to walk in shoes three sizes too big.
Consider these factors when setting ride height:
- Higher ride height increases weight transfer (helping tires dig into loose surfaces)
- Lower ride height improves aerodynamics and lowers center of gravity (better for tarmac)
- Consistent cross-weight percentages are crucial for balanced handling across transitions
One trick I’ve learned from years in the trenches: slightly higher rear ride height (5-10mm) compared to the front often helps with weight transfer under acceleration out of corners, giving you better drive on loose surfaces.
Don’t forget that ride height changes throughout a race as fuel burns off. If you’re running longer sessions, consider how your car will handle with less weight and potentially higher ride height by the finish.
Tip 3: Damper Settings – The Art of Controlling Motion
If your springs are the muscles of your suspension, dampers (shock absorbers) are the brains—they tell those muscles exactly how fast to react. Getting your damper settings right can make the difference between a car that flows across mixed surfaces and one that feels like it’s fighting you at every turn.
Think of dampers as the conductors of your suspension orchestra. Compression damping controls how quickly the suspension compresses when hitting bumps or during weight transfer. Rebound damping controls how quickly it extends back after being compressed.
For rallycross, I typically recommend:
- Compression: 25-40% softer than you’d run for pure tarmac racing
- Rebound: 15-30% softer than tarmac settings, but still firm enough to control body motion
When adjusting dampers, remember this golden rule: make small, incremental changes. Going from full soft to full stiff is like jumping from a kiddie pool straight into the deep end—you won’t learn much except that you’re way out of your depth.
Here’s my step-by-step approach for dialing in dampers:
- Start with factory settings or a middle-ground setup
- Adjust front compression first (often the most noticeable change)
- Then address rear compression
- Fine-tune with rebound adjustments
- Always allow 2-3 test laps between adjustments to truly feel the difference
Pay special attention to how your car responds to surface transitions. The ideal damper setup should feel progressive and predictable, not harsh or floaty. Your suspension should absorb bumps without excessive body movement, like a good pair of running shoes on a rocky trail.
According to OptimumG’s suspension engineers, proper damping characteristics often make more difference to driver confidence than spring rates or ride height. They’re the unsung heroes of a well-tuned suspension setup.
Tip 4: Choosing the Right Spring Rates
Springs are your suspension’s foundation—they determine how much weight it takes to compress your suspension a given distance. In rallycross, spring rate selection is a delicate balancing act between compliance for dirt and control for tarmac.
I’ve built cars with springs so stiff they’d bounce off line at the slightest bump, and others so soft they’d wallow through corners like a cruise ship in high seas. Neither extreme works in rallycross—you need to find that middle ground.
For most production-based rallycross cars, I recommend:
- 10-25% softer than what you’d run for pure tarmac racing
- Progressive rate springs if your budget allows (they combine the best of both worlds)
- Slightly stiffer front springs relative to the rear compared to a tarmac setup
Spring rates directly affect weight transfer—how quickly mass shifts from one corner of the car to another during acceleration, braking, and cornering. Softer springs allow more weight transfer, which can help dig tires into loose surfaces but can reduce responsiveness on tarmac.
When selecting springs, consider your car’s weight distribution and inherent handling characteristics. Front-heavy cars often benefit from relatively stiffer front springs to prevent excessive nose-diving under braking. Mid-engine or rear-engine cars might need stiffer rear springs to control power-on oversteer.
One approach that’s worked well in my shop: start with spring rates about 15% softer than your tarmac setup, then adjust damping to control the additional body motion. This gives you the compliance needed for dirt sections while maintaining control for paved portions.
Remember that spring rates work in concert with anti-roll bars (which we’ll cover next). Sometimes a stiffer anti-roll bar with slightly softer springs provides the ideal balance for rallycross conditions.

Tip 5: Anti-Roll Bar Tuning – Balancing Act
Anti-roll bars (sway bars) are your secret weapon for fine-tuning handling balance without changing springs or dampers. They’re like seasoning in your favorite recipe—just the right amount transforms the entire experience.
In my years of rallycross tuning, I’ve found adjustable anti-roll bars to be worth their weight in gold. They allow quick changes between runs as surface conditions evolve throughout the day—a flexibility that fixed bars simply can’t match.
The relationship between front and rear roll stiffness fundamentally determines your car’s handling balance:
- Stiffer front anti-roll bar = more understeer tendency (safer but slower in skilled hands)
- Stiffer rear anti-roll bar = more oversteer tendency (faster but requires more skill to control)
For rallycross, I typically recommend starting with a slightly softer overall anti-roll bar setup compared to a pure tarmac configuration. This helps maintain tire contact on uneven surfaces while still controlling body roll through paved sections.
A setting that’s worked well for many of my clients’ front-wheel drive cars:
- Front bar: Medium setting (about 60-70% of maximum stiffness)
- Rear bar: Medium-firm setting (about 70-80% of maximum stiffness)
For rear-wheel drive cars, I often flip this approach, using a slightly firmer front bar relative to the rear to counter the natural oversteer tendency when powering out of corners.
The beauty of anti-roll bar tuning is how quickly you can make adjustments. If you find yourself understeering on entry to tarmac sections, softening the front bar slightly can help the car rotate. Conversely, if the rear feels too loose on dirt transitions, backing off the rear bar stiffness can provide more stability.
One pro tip from my workshop: mark your anti-roll bar adjustment positions clearly with paint markers or tape so you can quickly return to known settings when needed. This simple step saves tremendous time during competition days.
Tip 6: Alignment Settings for Dual-Surface Mastery
Alignment in rallycross requires a different mindset than pure tarmac or dirt racing. You’re essentially teaching your tires to speak two different languages fluently, and that requires some compromise.
I’ve seen drivers show up with extreme negative camber setups that work brilliantly on asphalt but leave them struggling for traction on dirt like they’re trying to ice skate uphill. Conversely, I’ve seen others with near-zero camber that hooks up great on dirt but sacrifices crucial cornering grip on tarmac.
For most rallycross applications, I recommend these alignment settings as starting points:
Camber
- Front: -1.5° to -2.5° (less negative than road racing)
- Rear: -0.5° to -1.5° (slightly less than front)
Toe
- Front: 0 to 1mm toe-out (helps turn-in response)
- Rear: 0 to 1mm toe-in (promotes stability)
Caster
- As much positive caster as your setup allows (typically 6-8°)
- This improves straight-line stability and helps steering self-center after slides
These settings strike a balance that works across surfaces. The slightly reduced negative camber compared to road racing provides better straight-line traction on loose surfaces while maintaining reasonable cornering grip on tarmac.
When setting your wheel alignment, remember that suspension geometry changes as the car moves through its travel. What works on your setup pad might be very different at race ride height or during body roll. If your budget allows, consider a corner weight scale session to verify cross-weights and alignment at actual race ride height.
The finest alignment in the world can’t overcome poor basic setup, though. As professional alignment specialists note, alignment should be the final refinement to a suspension that’s already working well, not a band-aid for fundamental issues.
Tip 7: Methodical Testing and Fine-Tuning
The path to suspension nirvana is paved with methodical testing and careful record-keeping. Even with 15+ years of experience, I never trust memory alone—I document everything, and you should too.
The cardinal rule of suspension tuning: change only one variable at a time. Making multiple adjustments simultaneously is like trying to find your lost keys while also looking for your phone and wallet—you’ll never know which search was successful.
Here’s my battle-tested approach to systematic suspension tuning:
- Establish a baseline and document current performance
- Identify the most significant handling issue to address first
- Make a single adjustment in a reasonable increment
- Test the change with at least 2-3 laps to truly feel the difference
- Document the results (both objective and subjective feedback)
- Decide whether to keep the change, revert, or adjust further
- Move to the next most significant issue
Keep detailed records of every change—I use a simple spreadsheet with columns for the setting changed, the amount changed, driver feedback, and lap times if available. This scientific approach prevents the dreaded “suspension amnesia” where you can’t remember which setup worked best.
Prioritize your changes based on impact. If the car is bottoming out on jumps, address ride height before fine-tuning toe settings. If it’s pushing through every corner, look at anti-roll bar balance before making tiny camber adjustments.
Remember that conditions change throughout a race day. The perfect morning setup might be completely wrong by afternoon as the track evolves. Build flexibility into your plan by knowing which adjustments make the biggest difference for specific condition changes.
The cost of proper car tuning often pays for itself in reduced wear and tear on components and improved competitive performance. Consider it an investment rather than an expense.
Conclusion: Finding Your Perfect Setup
Rallycross suspension tuning isn’t about finding perfection—it’s about finding the best compromise for your specific car, driving style, and the tracks you compete on. Like a seasoned chef adjusting a recipe to local ingredients, you’ll develop a feel for what works in your particular situation.
The seven tips we’ve covered provide a comprehensive framework for dialing in your rallycross suspension:
- Establish and understand your baseline setup
- Find your ideal ride height balance
- Tune your dampers for controlled motion
- Select appropriate spring rates for mixed surfaces
- Use anti-roll bars to fine-tune handling balance
- Set alignment for dual-surface performance
- Test methodically and keep detailed records
Remember that suspension components work as a system, not in isolation. Each adjustment affects the others, creating a complex web of interactions. Patience and methodical testing will always yield better results than random adjustments or copying someone else’s setup blindly.
Trust your senses as a driver—the stopwatch doesn’t tell the whole story. A slightly slower setup that gives you confidence might ultimately deliver better race results than a theoretically faster one that leaves you feeling uncertain.
The journey to suspension mastery is ongoing. Even after years of tuning, I’m still learning new approaches and techniques. Embrace the process, enjoy the incremental improvements, and remember that in rallycross—where conditions are constantly changing—adaptability often trumps perfection.
Frequently Asked Questions
What’s the biggest mistake people make with rallycross suspension?
Setting up too stiff, like a pure tarmac car. Rallycross requires more compliance to handle jumps and transitions while maintaining traction on loose surfaces.
How often should I check my alignment during a rallycross season?
Check alignment after every 3-4 events or immediately following any significant impact. Small alignment changes can dramatically affect handling across mixed surfaces.
Can I use my autocross suspension setup for rallycross?
Autocross setups are typically too stiff and low for rallycross. Start with your autocross settings, then raise ride height 10-15mm and soften dampers by 20-30%.
Are coilovers worth the investment for rallycross?
Absolutely, if you’re competing regularly. Quality coilovers with separate compression and rebound adjustment provide the tuning flexibility needed for mixed-surface racing.
How do weather conditions affect my suspension setup?
Rain requires softer settings to find traction on slippery surfaces. Cold conditions generally benefit from softer compression damping as tire grip decreases.


Pingback: Shock Absorber Rebound Adjustment 5 Tips - knowsyourcar.com