Overview
This article provides five essential maintenance tips for dog car seats: establishing regular cleaning routines, managing fur and dander, implementing quick accident cleanup strategies, using proper storage techniques, and applying preventative care measures. Proper maintenance not only extends the lifespan of dog car seats but also ensures they remain safe, hygienic, and comfortable for pets during travel.
Table of Contents
- Why Maintain Your Dog Car Seat?
- Tip 1: Establish a Regular Cleaning Routine
- Tip 2: Effective Fur and Dander Management
- Tip 3: Quick Accident Cleanup Strategies
- Tip 4: Proper Storage Techniques
- Tip 5: Preventative Care for Longevity
- Conclusion
- Frequently Asked Questions
Why Maintain Your Dog Car Seat?
Your dog’s car seat isn’t just a luxury—it’s a crucial safety component that deserves proper care. As someone who’s spent years working with pet vehicle accessories, I can tell you that a well-maintained dog car seat not only lasts longer but also provides better protection for your four-legged companion.
Think of a dog car seat like any other important safety equipment in your vehicle. Just as you wouldn’t ignore worn brake pads, you shouldn’t overlook the condition of your pup’s travel throne. Regular maintenance ensures the structural integrity remains intact while keeping the seat hygienic and comfortable for your furry passenger.
The benefits of proper dog car seat maintenance extend beyond just longevity. A clean, well-functioning seat minimizes distractions while driving and provides a familiar, comfortable space that can reduce your dog’s travel anxiety. Plus, it prevents that distinctive “dog car” smell that can be nearly impossible to eliminate once it permeates your vehicle’s upholstery.
Let’s dive into five professional maintenance tips that will keep your pet car accessories in top condition for miles of happy travels together.
Tip 1: Establish a Regular Cleaning Routine
The foundation of good dog car seat maintenance is a consistent cleaning schedule. How often you clean depends on how frequently you use the seat and your dog’s shedding and drooling habits, but as a general rule, I recommend a light cleaning after each use and a deep clean every 2-3 weeks.
For light cleaning, keep a small kit in your car with:
- A pet-safe disinfectant spray
- Microfiber cloths
- A small brush for debris
- Unscented baby wipes for quick cleanup
When doing a deep clean, always start by checking the manufacturer’s instructions—some covers are machine washable, which is a huge time-saver. For non-removable covers, use pet-specific cleaners rather than harsh chemicals that could irritate your dog’s skin or respiratory system.
Here’s my professional deep-cleaning process:
- Remove the seat from the car completely
- Vacuum thoroughly, using crevice tools for hard-to-reach spots
- Spot clean stains with an enzymatic pet cleaner
- For fabric seats, use a diluted solution of mild detergent for overall cleaning
- For waterproof or vinyl seats, wipe down with pet-safe disinfectant
- Allow to air dry completely before reinstallation—never put a damp seat back in your car!
According to veterinary experts, using pet-specific cleaning products helps prevent skin irritation and allergic reactions in sensitive dogs. These products are formulated to remove organic matter and odors without leaving harmful residues.

Tip 2: Effective Fur and Dander Management
If you’ve got a heavy shedder, you know the struggle—fur finds its way into every nook and cranny of your dog’s car seat. Managing this furry onslaught requires both preventative measures and regular removal techniques.
Start by brushing your dog before car rides. I can’t stress this enough—a quick 5-minute brush session can dramatically reduce the amount of loose fur that ends up embedded in your dog car seat. For extra protection, consider a washable seat cover that catches hair before it reaches the actual seat.
For existing fur buildup, these tools work wonders:
- Rubber brushes or gloves that create static to lift fur from fabric
- Pumice stones that collect hair in one direction
- Specialized pet hair vacuum attachments
- Velcro hair lifters for stubborn embedded fur
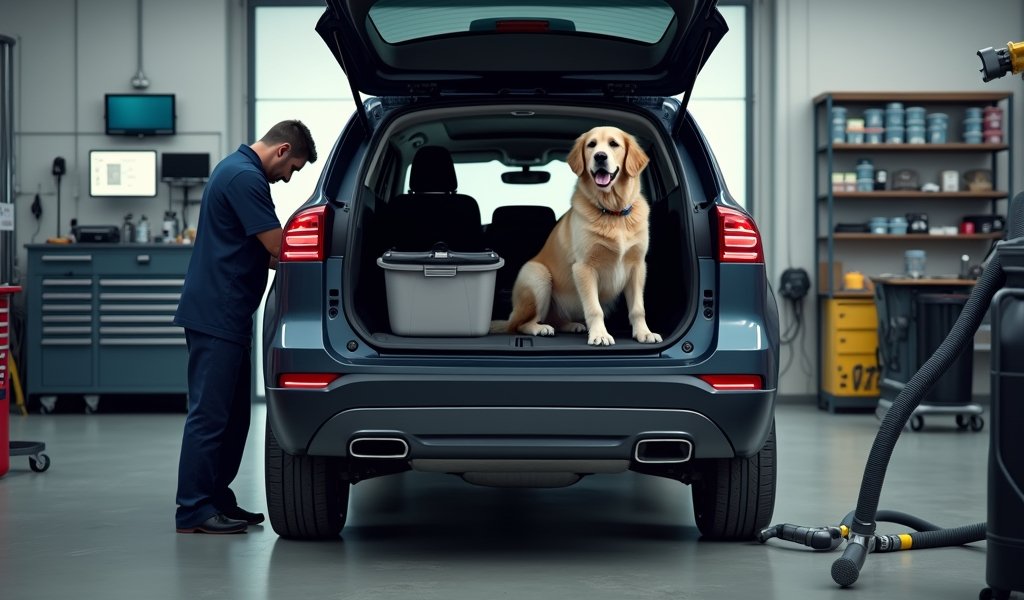
My mechanic’s trick: Use compressed air (the kind for cleaning computer keyboards) to blast fur from tight spaces like buckle connections and seams. Follow up with a vacuum to capture the loosened fur before it resettles.
Don’t forget about dander—those microscopic skin particles that cause allergies and odors. A weekly wipe-down with pet-safe disinfecting wipes helps manage dander buildup, while a fabric refresher designed for pet items can neutralize odors between deeper cleanings.
Remember that managing fur is more than just an aesthetic concern—excessive fur buildup can actually damage seat mechanisms over time by clogging moving parts and creating friction in buckles and straps. A fur-free seat is a functional seat.
Tip 3: Quick Accident Cleanup Strategies
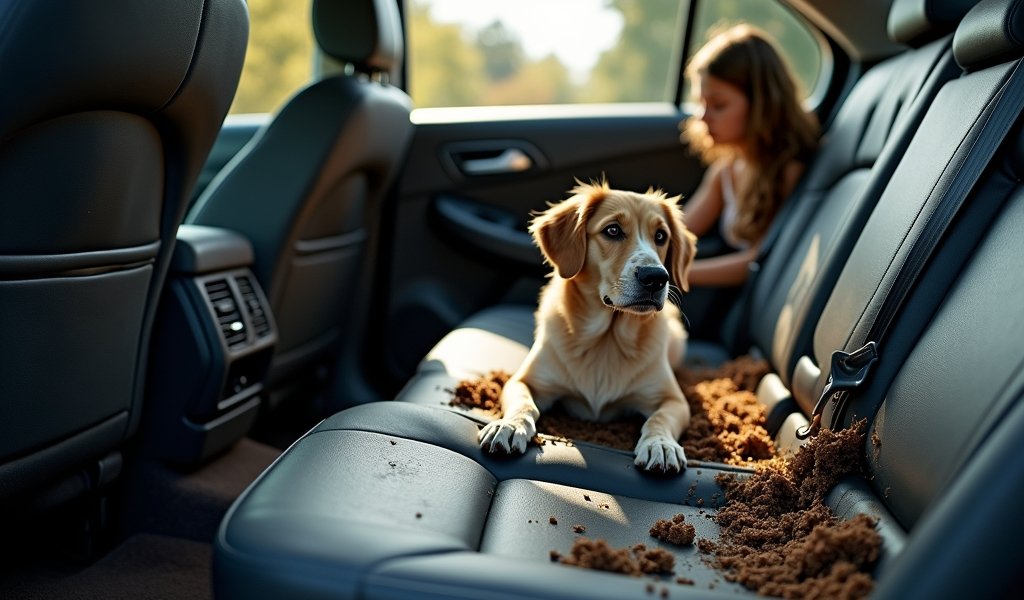
Even the best-behaved dogs have accidents, especially during longer car rides or stressful situations. The key to preventing permanent damage is immediate action and proper cleaning technique.
For liquid accidents (urine, vomit, or drool):
- Blot (don’t rub!) with paper towels to remove as much moisture as possible
- Apply an enzymatic pet cleaner directly to the spot and allow it to fully penetrate
- Blot again to remove the cleaner and dissolved material
- For serious saturation, consider using a wet/dry shop vac to extract liquid from deeper layers
- Allow the area to dry completely before using the seat again
For solid messes like mud or food:
- Remove as much solid material as possible without spreading it further
- Let any remaining residue dry completely (yes, this seems counterintuitive!)
- Vacuum the dried material before spot cleaning
- Use a soft brush and appropriate cleaner for the seat material
One professional secret: keep a “mess kit” in your car with disposable gloves, enzymatic cleaner, microfiber cloths, and sealed bags for soiled materials. This preparation can save your seat when accidents happen far from home.
For biohazard cleanups like vomit or feces, consider securing your dog with a harness rather than a full seat in case you need to completely remove and sanitize the restraint system. After cleaning any bodily fluids, always finish with a pet-safe disinfectant to eliminate bacteria and prevent odors from developing.
Tip 4: Proper Storage Techniques
When not in use, proper storage of your dog car seat prevents unnecessary wear and extends its lifespan. As a professional, I’ve seen perfectly good seats ruined by improper storage more times than I can count.
Before storing your dog’s car seat:
- Clean and dry it thoroughly to prevent mold and mildew growth
- Take photos of how it’s installed for easy reference later
- Check for and repair any minor damage before it worsens during storage
- Remove any detachable parts and store them in labeled bags with the seat
The ideal storage location is clean, dry, and climate-controlled—think inside a closet rather than a damp garage or hot attic. Extreme temperatures can degrade materials over time, particularly the safety components like straps and buckles.
If you’re storing long-term, consider using a breathable cover rather than airtight plastic. This prevents moisture buildup while still protecting from dust. Hanging storage works best for maintaining the seat’s shape, but if you must stack or fold, ensure it’s done according to manufacturer guidelines.
Before reinstalling after storage, always perform a safety check:
- Inspect all straps for fraying or weakness
- Test buckles and latches for proper function
- Check attachment points for stability
- Ensure the overall structure remains sound
This safety inspection is crucial for pet car safety and should never be skipped, even after short storage periods. Remember, your dog’s car seat is a safety device first and foremost.

Tip 5: Preventative Care for Longevity
Preventative maintenance is the secret weapon of professionals when it comes to extending the life of any dog car seat. These proactive measures require minimal effort but deliver maximum results.
Start by applying fabric protector designed for automotive use to create an invisible barrier against stains and moisture. Reapply this protection every 3-4 months or after deep cleaning. For vinyl or leather-type seats, use a UV protectant to prevent cracking and fading from sun exposure.
Implement these preventative habits:
- Use washable covers or blankets as sacrificial layers
- Keep your dog’s nails trimmed to prevent snags and tears
- Brush your dog before each car ride to minimize shedding
- Consider a dog coat in muddy or rainy conditions to reduce mess
- Use window shades to prevent UV damage when parked
Perhaps the most overlooked aspect of preventative care is regular inspection. Monthly “safety checks” can catch minor issues before they become major problems. I recommend creating a calendar reminder to inspect your dog car seat on the first of each month.
During these inspections, pay special attention to:
- Stress points where your dog’s weight consistently rests
- Connection points to your vehicle’s seat or safety belts
- Stitching along seams and reinforcement points
- Cleanliness of buckles and adjustment mechanisms
Research by canine experts shows that preventative maintenance not only extends the life of your dog car seat but significantly improves its safety performance in emergency situations. Those few minutes of inspection each month could quite literally be lifesaving.
Conclusion
Maintaining your dog car seat might seem like just another item on your to-do list, but it’s an investment in both safety and comfort for your four-legged family member. Each of these maintenance tips contributes to a longer-lasting, better-functioning seat that will serve you and your pup for many adventures together.
Remember that consistency is key—small, regular maintenance efforts prevent the need for major repairs or premature replacement. By incorporating these professional tips into your routine, you’ll ensure your dog’s car seat remains a safe, comfortable spot for all your journeys.
Your dog relies on you to keep their travel accommodations in top shape, just as they rely on you for everything else in their lives. With proper care and maintenance, that dog car seat will continue to be a place where your pup can travel securely while making memories with their favorite human.
So before your next road trip, give that dog car seat some well-deserved attention. Your furry co-pilot—and your wallet—will thank you for the extra care.
Frequently Asked Questions
How often should I clean my dog car seat?
For light use, clean your dog car seat thoroughly once a month with weekly spot cleaning. If you travel daily with your dog or have a heavy shedder, weekly deep cleaning is recommended.
Can I machine wash my dog car seat cover?
It depends entirely on the manufacturer’s instructions—some covers are machine washable while others require hand cleaning only. Always check the care label or product manual before washing.
What’s the best way to remove stubborn dog hair from car seat fabric?
A rubber brush or dampened rubber glove creates static that effectively lifts embedded dog hair from fabric. For extremely stubborn hair, a pumice stone gently scraped across the fabric will gather hair into manageable clumps.
How do I remove dog odor from my car seat?
Enzymatic cleaners specifically formulated for pet odors break down organic materials causing the smell rather than masking them. After cleaning, allow the seat to dry completely in fresh air before using an unscented fabric refresher.
What should I do if my dog gets carsick on their seat?
Remove as much solid material as possible, then blot (don’t rub) the area with paper towels. Apply an enzymatic cleaner designed for pet accidents and allow it to fully penetrate before blotting again and air-drying completely.

