Overview
This article provides a detailed guide to proper car hand-washing techniques, covering everything from supplies and timing to the two-bucket method, proper washing sequence, drying techniques, and protective finishing. It emphasizes that hand-washing with proper techniques preserves a vehicle’s appearance, value, and longevity better than automatic car washes, while preventing common issues like swirl marks, water spots, and paint damage.
Table of Contents
- Why Hand Washing Your Car Matters
- Gather the Right Supplies for Success
- Finding the Perfect Time and Place
- Master the Pre-Rinse Technique
- The Two-Bucket Method: Your Paint’s Best Friend
- Proper Washing Technique: Section by Section
- Professional Drying Methods
- Protecting Your Finish After Washing
- Conclusion: Maintaining Your Car’s Showroom Shine
- Frequently Asked Questions
Why Hand Washing Your Car Matters
There’s something deeply satisfying about transforming a dirty vehicle into a gleaming showpiece with your own two hands. As a professional mechanic with 20+ years of experience, I’ve seen firsthand how regular hand washing preserves a vehicle’s finish and value far better than automatic washes.
Hand washing your car isn’t just about keeping up appearances—it’s preventative maintenance that protects one of your biggest investments. Those drive-through car washes might seem convenient, but their harsh brushes and generic cleaning solutions can create microscopic scratches that dull your paint over time.
When you wash your car at home, you’re in complete control. You can use the right products, pay attention to trouble spots, and treat your vehicle’s various surfaces with the specific care they need. The result? A cleaner car that maintains its value and a finish that continues to turn heads for years.
Gather the Right Supplies for Success
Just like I wouldn’t attempt to rebuild an engine without the proper tools, I never start a car wash without my specialized kit. Using the right supplies is the foundation of a scratch-free, showroom-quality finish.
Here’s what you’ll need in your washing arsenal:
- Two dedicated wash buckets (one for soap solution, one for rinsing)
- Grit guards for both buckets (these keep dirt at the bottom where it belongs)
- Quality microfiber wash mitts (at least two—one for the body, another for lower areas)
- pH-neutral car shampoo (never use dish soap or household cleaners!)
- Wheel cleaner and dedicated wheel brushes
- Microfiber drying towels (at least 350 GSM thickness)
- Spray wax or detailer for the finishing touch
I can’t stress enough how important it is to use automotive-specific products. The pH-balanced car shampoo is particularly crucial—it’s engineered to clean effectively without stripping wax protection. According to a Consumer Reports study, household cleaners can accelerate paint oxidation and cause premature aging of rubber and plastic components.
For those looking to step up their game, a foam cannon attachment for your hose or pressure washer creates a thick layer of cleansing foam that clings to the surface, lifting dirt away before you even touch the paint.

Finding the Perfect Time and Place
Timing isn’t just important for engine tuning—it’s critical for a successful car wash. I always tell my customers to avoid washing their vehicles in direct sunlight. When your car’s surface is hot, soap and water dry too quickly, leaving behind stubborn water spots and residue that can be a real pain to remove.
The ideal conditions for hand washing are early morning or late afternoon, particularly on overcast days when temperatures range between 55-75°F. These conditions give you ample working time without fighting rapid evaporation.
Location matters just as much as timing. Choose a flat, shaded area with good drainage. I prefer concrete surfaces, though be mindful that some wheel cleaners can stain driveways. Avoid washing on gravel or dirt—these surfaces kick up dust that will settle on your freshly cleaned panels, undoing your hard work.
If you’re dealing with water restrictions in your area, consider using waterless wash products. They’re surprisingly effective for maintenance washes when your car isn’t heavily soiled. Many professional detailers now use these products for touchless washing techniques that conserve water while maintaining excellent results.
Master the Pre-Rinse Technique
In my decades working on cars, I’ve learned that proper preparation prevents poor performance—and that’s especially true for car washing. A thorough pre-rinse is your first line of defense against swirl marks and scratches.
Start at the top and work your way down, using a gentle stream of water to flush away loose dirt, bird droppings, and road grime. This crucial step removes abrasive particles before your wash mitt makes contact with the paint.
Pay extra attention to particularly dirty areas like wheel wells, lower door panels, and behind the wheels. These spots collect the most road grime and require more thorough rinsing. Spend at least 5 minutes on this step—it’s time well invested.
For stubborn bugs and tar deposits on the front bumper or hood, consider a pre-wash treatment. A bug and tar remover applied to these areas and allowed to dwell for 30-60 seconds can soften these contaminants, making them easier to remove without aggressive scrubbing.
I often tell my clients that the pre-rinse is like clearing obstacles from a race track—it creates a clean, safe path for the main event. This step alone can prevent the majority of washing-induced scratches that plague so many vehicles.
The Two-Bucket Method: Your Paint’s Best Friend
If there’s one professional technique that’s transformed my washing routine over the years, it’s the two-bucket method. This simple approach dramatically reduces the risk of scratching your paint during the washing process.
Here’s how to do it right:
- Fill your first bucket with clean water and car shampoo according to the manufacturer’s directions
- Fill your second bucket with clean water only—this is your rinse bucket
- After washing each section of your car, dunk your mitt in the rinse bucket first
- Agitate the mitt against the grit guard to release trapped dirt
- Then dip into your soap bucket for a fresh load of suds
- Repeat this process for each section of your vehicle
This methodical approach prevents you from transferring grit and debris back onto your paint surface. Think of it as washing your hands between patients—you wouldn’t want to spread contaminants from one surface to another.
The grit guards in each bucket are worth their weight in gold. These simple devices keep dirt trapped at the bottom of the bucket, away from your mitt. The difference in preventing scratches is remarkable, especially over the lifetime of your vehicle.
For extremely dirty vehicles, consider changing your rinse water halfway through the process. Clean water is always your ally in the fight against swirl marks and scratches.

Proper Washing Technique: Section by Section
Just as I approach diagnostics systematically under the hood, I wash cars in a methodical, section-by-section approach. This organization isn’t just for efficiency—it prevents cross-contamination and ensures no area gets missed.
Always start at the top and work your way down. Gravity is your partner here—dirt and soap naturally flow downward. By starting with the roof, you prevent dirty runoff from contaminating already-cleaned areas.
Follow this logical sequence:
- Roof, pillars, and upper surfaces
- Windows, mirrors, and trim
- Hood and trunk
- Upper door panels
- Lower door panels
- Front and rear bumpers
- Wheels and tires (using separate, dedicated tools)
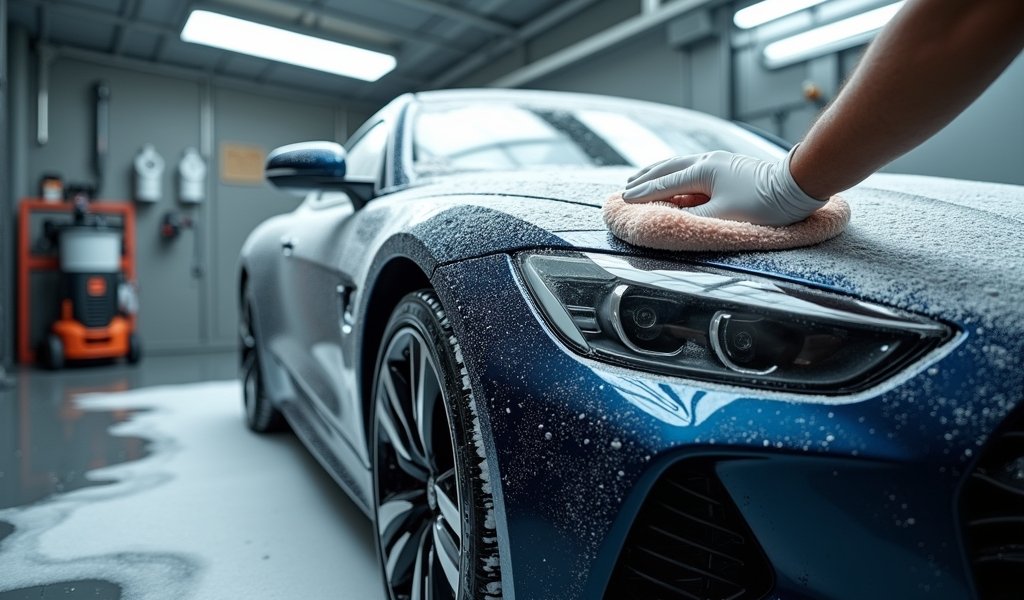
When washing each section, use straight, overlapping motions rather than circular patterns. Circular motions can create noticeable swirl marks in certain lighting conditions. Your movements should be gentle—let the soap do the cleaning work, not pressure from your hand.
For textured plastic trim and grilles, a soft detailing brush can reach into crevices that your wash mitt might miss. These areas often trap dirt and require a bit more attention.
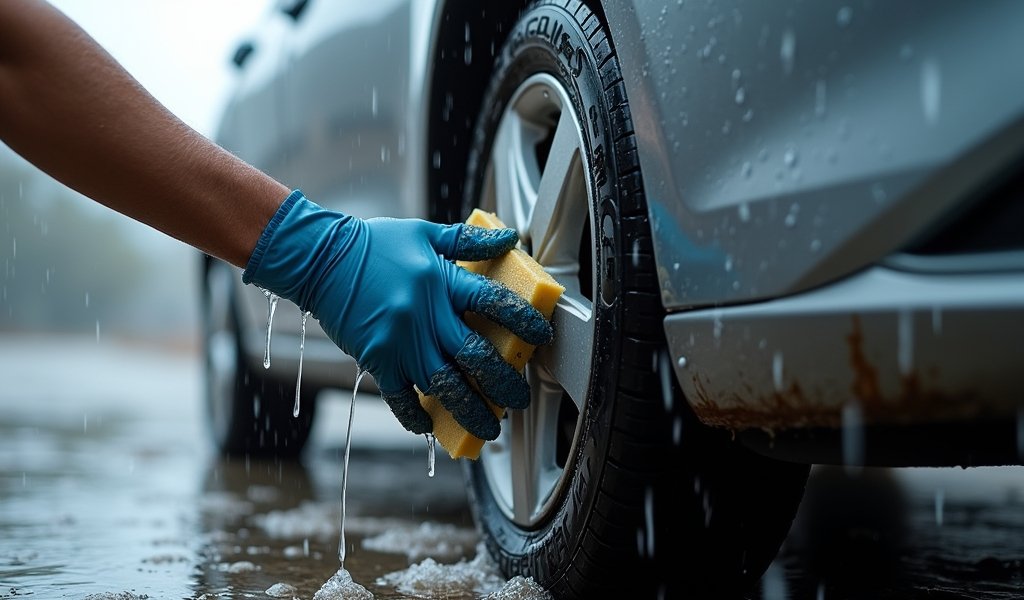
Remember that wheels and tires should always be cleaned with dedicated tools. The brake dust and road grime that collect on wheels are highly abrasive and should never come in contact with the tools you use on paint surfaces. According to research from Detailing Wiki, brake dust contains metal particles that can cause significant scratching if transferred to your paint.
Professional Drying Methods
Drying might seem straightforward, but it’s actually where many DIY car washers go wrong. Improper drying can undo all your careful washing by leaving water spots, streaks, or even introducing new scratches.
The first rule is to never let your car air dry. Those innocent-looking water droplets contain minerals that, when evaporated, leave behind deposits that can etch into your clear coat over time.
Here’s my professional drying sequence:
- Start with “sheeting” water off the vehicle—open your hose nozzle fully and let a sheet of water flow down panels, carrying away most surface water
- Use a quality microfiber drying towel (minimum 350 GSM thickness)
- Lightly drag the towel across the surface rather than rubbing aggressively
- Change to a fresh towel when the first becomes saturated
- Pay special attention to cracks and crevices where water hides
For an even better result, use a drying aid. A quick detailer or spray wax diluted with water creates a slick surface that prevents water spots and adds protection. Just a light mist before drying each panel makes a world of difference.
For those who want to step up their game, a leaf blower on low speed can blast water from crevices, mirrors, and grilles without any contact at all. This technique, often used by professional detailers, virtually eliminates the risk of drying-related scratches.
Protecting Your Finish After Washing
Washing your car without adding protection afterwards is like rebuilding an engine without changing the oil—you’re missing a critical final step. Protection products seal your hard work and extend the life of your vehicle’s finish.
The protection spectrum ranges from quick spray waxes (lasting 2-4 weeks) to traditional carnauba waxes (2-3 months) to synthetic sealants (4-6 months) and ceramic coatings (1-5 years). For most of my clients, I recommend a quality synthetic spray wax applied after every other wash—it strikes the perfect balance between protection and convenience.
Application is straightforward:
- Ensure the surface is completely clean and dry
- Apply your chosen product to one panel at a time
- Use clean microfiber towels—one for application, another for buffing
- Work in straight, overlapping lines for even coverage
- Pay special attention to areas exposed to the most sun and weather
Don’t forget other surfaces while you’re at it. Tire dressings prevent dry rot and cracking, while trim protectants prevent fading and oxidation of plastic components. These small touches make a big difference in your vehicle’s overall appearance and longevity.
Remember that consistency trumps product quality when it comes to protection. Even a basic wax applied regularly will outperform an expensive ceramic coating that’s neglected. Make protection part of your routine, not a once-a-year endeavor.
Conclusion: Maintaining Your Car’s Showroom Shine
Hand washing your car is more than just a weekend chore—it’s an investment in your vehicle’s appearance, value, and longevity. By following these professional techniques, you’re not just cleaning your car; you’re preserving its finish against the elements and the passage of time.
The frequency of washing depends on your environment and driving conditions. In ideal circumstances, a bi-weekly wash is sufficient. However, during winter months or if you regularly park under trees, weekly washing might be necessary to prevent damaging substances from bonding to your paint.
Each time you wash your vehicle, you’re also performing a visual inspection that can catch small issues before they become major problems. That small stone chip or beginning rust spot is much easier to address when caught early.
Remember that professional-quality results come from professional-quality techniques. The two-bucket method, proper drying, and consistent protection aren’t just detailer marketing—they’re proven approaches that preserve your vehicle’s finish for the long haul.
Your car is likely one of your largest investments. Treating it with care not only maintains its appearance but also its value. The pride of ownership that comes from driving a well-maintained vehicle is something that can’t be measured in dollars and cents—but it certainly can be seen in the admiring glances your car receives.
Frequently Asked Questions
How often should I hand wash my car?
Under normal conditions, washing every two weeks is ideal. Increase frequency if your car is exposed to harsh elements like road salt, tree sap, or bird droppings.
Can I use dish soap to wash my car?
Never use dish soap as it strips protective wax and can damage your clear coat. Always use pH-neutral automotive shampoo specifically formulated for vehicles.
What’s the best way to remove water spots?
Fresh water spots can often be removed with a 50/50 mix of white vinegar and distilled water. For stubborn spots, use a dedicated water spot remover followed by wax to restore protection.
Is it better to wash a car in the shade or sun?
Always wash in the shade or on an overcast day. Direct sunlight causes soap and water to dry too quickly, leading to stubborn water spots and soap residue.
How can I wash my car without scratching the paint?
Use the two-bucket method with grit guards, quality microfiber wash mitts, and proper car shampoo. Always pre-rinse thoroughly and wash from top to bottom in straight, overlapping motions.
HTML structure with
tags and

