Overview
This article provides seven professional techniques for achieving high-quality DIY car washing results at home, including using proper supplies, employing the two-bucket method, and mastering efficient washing and drying techniques. The guide emphasizes that washing your own car not only saves money compared to commercial car washes but also gives you complete control over how your vehicle is treated, potentially resulting in better care for your car’s finish.
Table of Contents
- Essential Supplies for a DIY Car Wash
- Perfect Timing and Location
- The Two-Bucket Method: A Professional Secret
- Master the Proper Washing Technique
- Wheel and Tire Care: The Forgotten Detail
- Drying Methods That Prevent Water Spots
- Professional Finishing Touches
- Conclusion
- Frequently Asked Questions
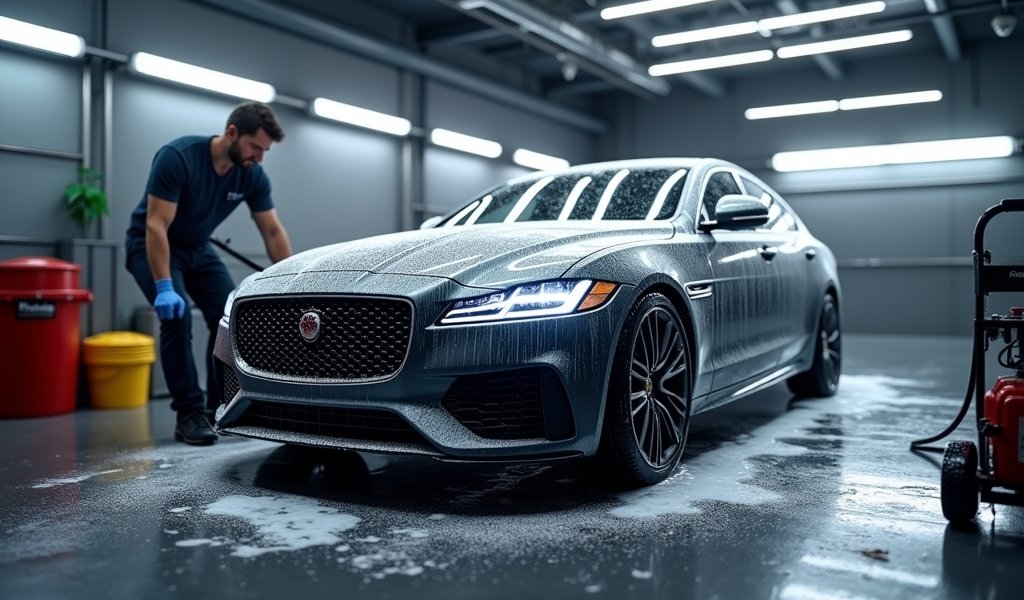
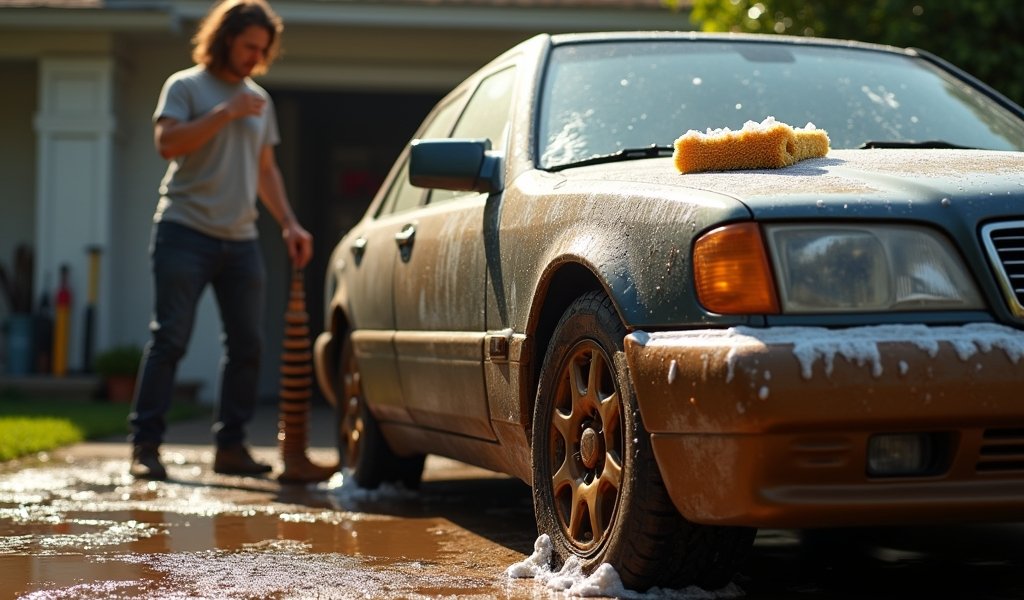
With professional car wash prices climbing to $20-30 for a basic wash, many car owners are discovering the benefits of DIY car wash at home. As an automotive technician with years of experience, I can tell you that washing your vehicle yourself isn’t just about saving money. It gives you complete control over how your car is treated and creates a rewarding sense of accomplishment when you step back to admire your handiwork.
When done properly, a DIY car wash at home can actually provide better results than many automated car washes, which often use harsh brushes that can create micro-scratches in your paint. In this comprehensive guide, I’ll share seven proven techniques that will help you achieve professional-quality results right in your own driveway.
Essential Supplies for a DIY Car Wash
The foundation of any professional-grade car wash begins with using the right products. Using household cleaning agents like dish soap might seem economical, but they’ll strip away protective waxes and potentially damage your vehicle’s finish over time.
Here’s what you’ll need for a proper DIY car wash at home:
- Car-specific wash soap (pH balanced and designed for automotive finishes)
- Two to three microfiber wash mitts
- Several plush microfiber drying towels
- Dedicated wheel/tire cleaning tools (separate from what touches your paint)
- Wheel cleaner appropriate for your wheel type
- Automotive glass cleaner
- Two buckets (for the two-bucket method we’ll discuss later)
For those willing to invest a bit more, these additional tools can elevate your results:
- Grit guards for your buckets
- Foam cannon or foam gun attachment for your hose
- Soft detailing brushes for crevices and emblems
- Pressure washer with adjustable settings (use with caution)
Investing in quality car wash soap that enhances shine makes a noticeable difference in your final results. Look for products that include natural carnauba wax or synthetic polymers that add protection while cleaning. According to Consumer Reports, using dedicated automotive products is essential for maintaining your vehicle’s finish over time.
Perfect Timing and Location

When to Wash
Timing your DIY car wash at home can make or break your results. Early morning or late afternoon provides ideal conditions when the sun isn’t directly overhead. Washing in direct sunlight causes soap and water to dry too quickly on your paint, resulting in stubborn water spots and streaks that can be difficult to remove.
Temperature matters too. Aim for mild conditions between 50-80°F. Extreme heat accelerates drying (causing spots), while freezing temperatures can damage your clear coat and make proper cleaning nearly impossible.
Where to Wash
Choose a flat surface with good drainage. Your driveway typically works well, but any area where soap and runoff won’t pool around the vehicle is suitable. Be mindful of local water runoff regulations – some communities have restrictions on washing vehicles in residential areas due to environmental concerns.
If you’re in a drought-prone region, consider using waterless wash products or visiting commercial self-service bays that recycle water. These alternatives still give you control over the washing process while being environmentally responsible.
The Two-Bucket Method: A Professional Secret
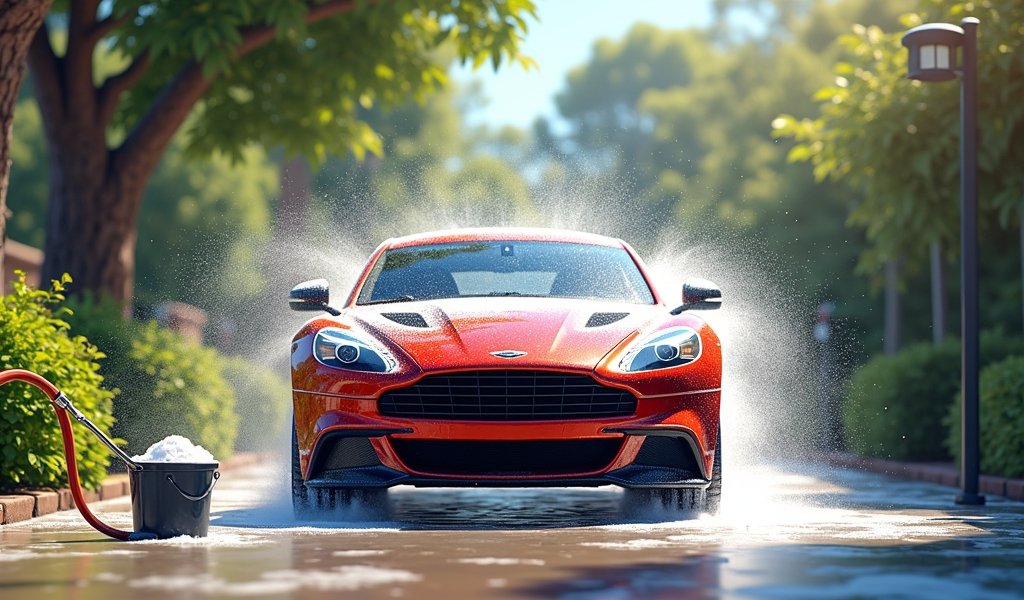
If there’s one technique that separates amateur car washers from professionals, it’s the two-bucket method. This simple approach dramatically reduces the chance of creating swirl marks and scratches during washing.
Here’s how to implement this professional technique:
- Fill one bucket with your car wash soap solution
- Fill a second bucket with clean rinse water
- Dip your wash mitt into the soap bucket
- Clean a small section of your vehicle
- Before dipping back in the soap, rinse your mitt in the clean water bucket
- Wring out the mitt thoroughly
- Dip back into the soap bucket
- Continue this pattern for each section
The magic happens in the rinse bucket, where dirt and debris are released from your mitt instead of being transferred back onto your paint. For even better protection, add grit guards to the bottom of each bucket to trap particles below where your mitt reaches.
This method may seem time-consuming at first, but once you establish a rhythm, it becomes second nature. The extra minutes spent here will save hours of paint correction work down the road.
Master the Proper Washing Technique
The way you physically wash your vehicle is just as important as the products you use. Improper technique is the leading cause of those frustrating swirl marks that become visible in direct sunlight.
Always start at the top of your vehicle and work your way down. This follows the natural path of dirt concentration, which increases toward the bottom of your car. Working top-down prevents you from dragging heavier grime across cleaner surfaces.
Use straight, overlapping motions rather than circular patterns. While circles might feel natural, they create visible circular swirls in your paint. Light pressure is key – let the soap and mitt do the work, not force.
Divide your vehicle into sections (roof, hood, each door, etc.) and rinse each section immediately after washing, before the soap has a chance to dry. This prevents soap spots and makes the final rinse more effective.
For heavily soiled areas like lower door panels and behind wheels, use a separate mitt or the less-clean portion of your current mitt. These areas collect road tar, bugs, and stubborn grime that may require targeted pre-treatment with specialized cleaners before your main wash.
Professional detailers recommend DIY detailing techniques that include pre-rinsing your vehicle thoroughly before touching the paint with any wash mitt. This initial rinse removes loose dirt and debris that could otherwise act like sandpaper against your paint during washing.
Wheel and Tire Care: The Forgotten Detail
Wheels and tires are often the dirtiest parts of your vehicle, collecting brake dust, road grime, and various contaminants. They deserve special attention and dedicated tools that never touch your paint.
Start by rinsing the wheels to remove loose debris. Then apply an appropriate wheel cleaner based on your wheel type:
- Aluminum/alloy wheels: pH-neutral wheel cleaners
- Chrome wheels: Non-acidic specialty cleaners
- Painted or powder-coated wheels: Gentler cleaning solutions
- Polished wheels: Dedicated polished wheel cleaners
Use wheel brushes designed to reach between spokes and behind the wheel face where brake dust accumulates. For tires, a stiffer brush helps remove embedded dirt before applying tire dressing.
Clean one wheel completely before moving to the next, and never let wheel cleaners dry on the surface. Most quality wheel cleaners will change color as they react with brake dust, indicating when it’s time to rinse.
When applying tire dressing after cleaning, less is more. A thin, even coat provides a natural-looking finish and prevents sling onto your freshly cleaned paint. Water-based dressings offer a more subdued appearance, while silicone-based products create higher gloss but can attract dust more quickly.
Drying Methods That Prevent Water Spots

Drying might seem straightforward, but proper technique here is crucial for achieving that coveted spot-free finish. Water spots occur when minerals in the water remain on your paint after the liquid evaporates – and they can be surprisingly difficult to remove once set.
Microfiber drying towels are essential for a professional finish. They’re significantly more absorbent than traditional cotton towels and much gentler on your paint. I recommend keeping at least 2-3 clean, dedicated drying towels on hand for each wash.
The “sheeting method” is a professional technique that minimizes hand drying. After your final rinse, remove your hose nozzle and allow a gentle stream of water to flow from the top of your vehicle downward. This creates a sheet of water that carries away most standing droplets, leaving less for you to dry by hand.
For tight spaces and crevices where water likes to hide, consider using compressed air or a dedicated automotive dryer. These tools force water out of mirrors, grilles, and emblems without making contact with the paint.
If you notice water spots forming despite your best efforts, keep a quick detailer spray and clean microfiber towel handy. A light misting and gentle wipe can remove fresh water spots before they set permanently.
The Auto Geek detailing experts recommend using distilled water for your final rinse in areas with particularly hard water, as it contains virtually no minerals that can leave spots behind.
Professional Finishing Touches
The difference between a good car wash and a great one often comes down to the final details. These finishing touches transform a clean car into one that looks professionally detailed.
After drying, consider applying a spray wax or quick detailer to enhance protection and add depth to your paint’s appearance. These products take minutes to apply but can make your vehicle look like it just received a professional detail.
For streak-free windows, use an automotive glass cleaner with clean microfiber towels – never paper towels, which can leave lint behind. A professional trick is to clean exterior glass with horizontal motions and interior glass with vertical motions. This way, if streaks appear, you’ll immediately know which side they’re on.
Don’t neglect your interior while focusing on the exterior. A quick vacuum and dash wipe-down completes the full car care experience. For a comprehensive approach to both interior and exterior cleaning, learn how to detail your car like a pro with specialized techniques.
For areas like door jambs, trunk edges, and under the hood, use a quick detailer and microfiber towel to remove any water or dirt that accumulated during washing. These often-overlooked areas make a substantial difference in the overall presentation of your vehicle.
Finally, consider applying a tire dressing for that fresh, showroom look. Remember to wipe off excess product to prevent sling onto your freshly cleaned paint as you drive.
Conclusion
A DIY car wash at home isn’t just about saving money – it’s about taking control of how your vehicle is maintained. With these seven professional techniques, you can achieve results that rival or exceed commercial car washes while potentially extending the life of your vehicle’s paint and finish.
Make DIY car washing a regular part of your maintenance routine – ideally every two weeks, or more frequently if you drive in harsh conditions or areas with heavy pollution. Your car will not only look better but maintain its value longer with proper care.
Remember that patience is key to professional results. Take your time, follow the proper sequence, and enjoy the process. There’s something genuinely satisfying about stepping back to admire your handiwork after a thorough wash – a clean, gleaming vehicle that reflects your care and attention to detail.
What are your favorite car washing tips or techniques? Have you noticed a difference since implementing any of these professional methods? We’d love to hear about your experiences in the comments below!
Frequently Asked Questions
How often should I wash my car at home?
Most vehicles benefit from washing every 1-2 weeks. Increase frequency if you’re in areas with harsh weather, road salt, or high pollution levels.
Can I use dish soap to wash my car?
No, dish soap strips protective waxes and can damage your paint over time. Always use pH-balanced car wash soap designed specifically for automotive finishes.
What’s the best time of day to wash my car?
Early morning or late afternoon is ideal when the sun isn’t directly overhead. Direct sunlight causes soap and water to dry too quickly, leading to water spots.
Do I need to wax my car after every wash?
No, a quality wax typically lasts 2-3 months. Use a spray detailer between waxes to maintain protection and shine.
How can I prevent water spots after washing?
Dry your car completely using quality microfiber towels and consider the sheeting method before hand drying. Washing in shade and using distilled water for the final rinse also helps.


Pingback: road trip car cleaning tips: 5 Pro Tips - knowsyourcar.com