Overview
This article outlines five essential techniques for achieving professional-quality car detailing: using proper supplies, employing the two-bucket washing method, performing thorough interior detailing, applying correct paint protection, and maintaining a consistent detailing schedule. The guide provides specific steps for each technique, emphasizing that professional results come from methodical attention to detail rather than expensive products, while explaining how proper detailing preserves vehicle value and enhances the driving experience.
Table of Contents
- What is Professional Car Detailing?
- Essential Supplies for Professional-Grade Detailing
- The Two-Bucket Washing Method: A Game Changer
- Interior Detailing: The Hidden Challenge
- Paint Protection and Correction Techniques
- Creating Your Professional Detailing Schedule
- Conclusion
- Frequently Asked Questions
What is Professional Car Detailing?
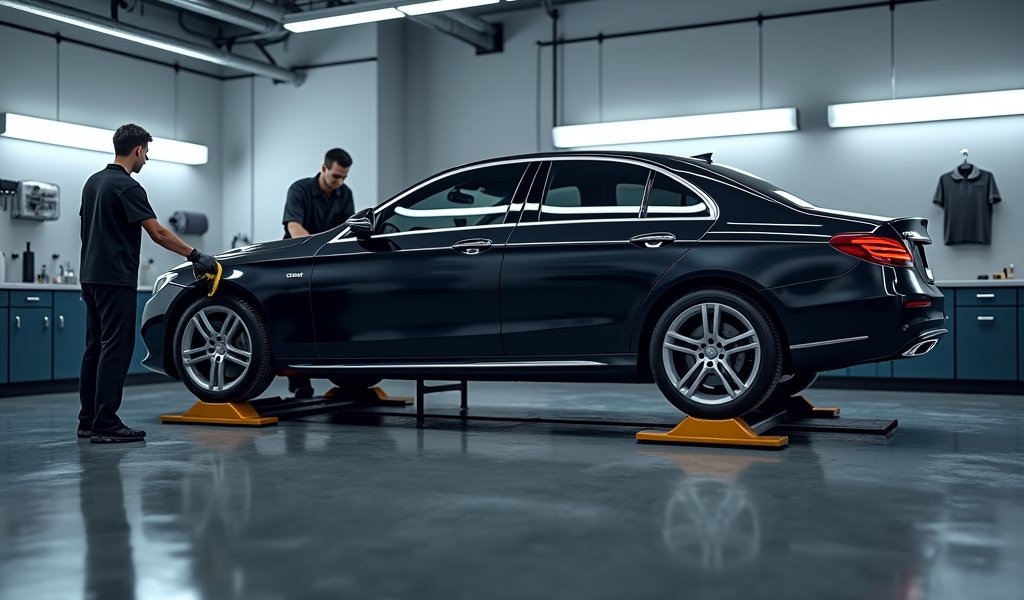
Professional car detailing goes miles beyond your typical Saturday driveway wash. As someone who’s spent 20 years under hoods and buffing paint, I can tell you that true detailing is a meticulous art form that restores vehicles to showroom condition—sometimes even better than when they rolled off the assembly line.
Unlike regular car washing, professional detailing addresses both visible dirt and invisible contaminants. We’re talking about everything from microscopic rail dust embedded in your clear coat to the mysterious sticky residue your toddler left on the back seat. It’s comprehensive care for every surface, inside and out.
What makes professional car detailing worth the effort? For starters, it dramatically extends your vehicle’s lifespan by protecting vulnerable surfaces from premature aging. Those UV rays beating down on your dashboard? We’ve got a solution. The road salt eating away at your undercarriage? We handle that too.
Beyond preservation, there’s the undeniable pride that comes with driving a properly detailed vehicle. There’s something special about sliding into a pristine interior that smells fresh and feels clean against your fingertips. It transforms the driving experience from mundane transportation to genuine enjoyment.
Essential Supplies for Professional-Grade Detailing
Let’s be honest—results depend on having the right tools for the job. After two decades of detailing everything from daily drivers to concours show cars, I’ve learned that quality matters, especially where it counts.
Here’s what you’ll need to detail like a pro:
- pH-neutral car wash soap (please, toss that dish soap—it strips wax!)
- Dedicated wheel cleaner (acid-free for painted/polished wheels)
- Clay bar kit with proper lubricant
- Multiple microfiber towels of different grades (color-code them to avoid cross-contamination)
- Foam cannon attachment (if using a pressure washer)
- Quality applicator pads for wax/sealant
- Interior brushes of various sizes for vents and crevices
- Leather cleaner and conditioner (if applicable)
- Glass cleaner (automotive-specific, ammonia-free)
- Vacuum with detailing attachments
Investing in quality products pays dividends in the long run. I’ve watched countless DIYers damage $50,000 paint jobs trying to save $15 on microfiber towels. This doesn’t mean everything needs to be top-shelf—focus your budget on items that directly contact painted surfaces.
Pro tip: Organize your supplies by process. Keep washing supplies together, polishing products in another kit, and interior cleaners in a separate carrier. This DIY car detailing approach prevents cross-contamination and helps you work more efficiently.
Remember that proper storage matters too. Chemical products should be kept in temperature-controlled environments—extreme heat or freezing can degrade their effectiveness. According to Consumer Reports, improper product storage is one of the leading causes of detailing product failure.

The Two-Bucket Washing Method: A Game Changer
If there’s one technique that separates weekend warriors from professional detailers, it’s the two-bucket washing method. This simple approach dramatically reduces the risk of swirl marks—those annoying spider-web scratches that appear in sunlight.
Here’s how to do it right:
- Bucket #1: Fill with clean water and a grit guard (this is your rinse bucket)
- Bucket #2: Fill with water, car wash soap, and another grit guard (your wash bucket)
- Use a quality microfiber wash mitt or natural lamb’s wool mitt (forget those yellow sponges!)
The process flows like this: Dunk your mitt in the soap bucket, wash a small 2×2 foot section of the vehicle, then—before dipping back in the soap—rinse your mitt thoroughly in the clean water bucket. This drops the contaminants at the bottom of the rinse bucket instead of dragging them across your paint.
Most DIYers make critical mistakes like washing in direct sunlight (hello, water spots), starting with the dirtiest lower panels (spreading grime everywhere), or using circular motions (swirl city). Always work from top to bottom, using straight lines, and tackle the wheels with separate tools.
Pre-washing is another pro secret worth its weight in gold. Use a foam cannon or pre-wash spray to loosen surface dirt before touching the paint. This reduces abrasion during contact washing by up to 80%, according to Motor Trend’s detailing experts.
Interior Detailing: The Hidden Challenge
Interior detailing often gets shortchanged, but it’s where pros truly shine. I’ve restored interiors that owners had written off as “permanently stained” with techniques that aren’t complicated—just methodical.
Start with the right sequence to prevent recontamination:
- Remove all personal items and floor mats
- Vacuum thoroughly (don’t skip under the seats!)
- Clean from top to bottom (headliner first, carpets last)
- Address specialty surfaces with appropriate cleaners
Different materials demand different treatments. Leather needs gentle pH-balanced cleaners followed by conditioners with UV protection. Vinyl and plastics benefit from water-based protectants that don’t leave greasy residues. Fabric upholstery often responds best to foam cleaners that lift dirt without soaking the padding beneath.
The areas most often neglected include air vents (use soft brushes or compressed air), seat tracks (breeding grounds for mysterious odors), and door jambs (which collect surprising amounts of grime). Taking the time to address these overlooked spots distinguishes professional results from amateur attempts.
For stubborn odors, skip the overpowering air fresheners. Instead, eliminate the source through enzyme cleaners that break down organic matter, then use activated charcoal pouches for natural odor absorption. Your passengers will notice the difference between masking smells and actually removing them.
Paint Protection and Correction Techniques
Paint protection isn’t just about making your car shine—it’s about preserving the most expensive component of your vehicle’s exterior. Modern clear coats are remarkably durable but still vulnerable to environmental damage and improper washing techniques.
The foundation of good paint protection starts with decontamination. Even after washing, your paint likely harbors embedded contaminants you can feel but not see. Enter the clay bar—a detailing miracle that removes these bonded particles:
- Knead a fresh piece of detailing clay until pliable
- Spray clay lubricant generously on a small section
- Glide the clay across the surface with light pressure
- Wipe clean and move to the next section
- Continue until the entire painted surface feels glass-smooth
Once decontaminated, your paint is ready for protection. Here’s where many get confused about the differences between polishing, waxing, and ceramic coatings:
- Polishing: Removes minor imperfections through abrasive action (it’s correction, not protection)
- Waxing: Provides temporary protection (2-3 months) with traditional carnauba or synthetic variants
- Sealants: Offer longer protection (4-6 months) with enhanced chemical resistance
- Ceramic coatings: Create semi-permanent protection (1-5 years) with superior hardness and chemical/UV resistance
For weekend enthusiasts looking to achieve professional results, consider a quality dual-action polisher with appropriate pads. Unlike rotary buffers, these machines are forgiving for beginners while still capable of impressive correction. Learn how to detail your car like a pro by practicing on an inconspicuous panel first.

Creating Your Professional Detailing Schedule
The secret to maintaining a showroom-quality vehicle isn’t in marathon detailing sessions—it’s in consistent, scheduled maintenance. Professional detailers know that prevention is infinitely easier than correction.
Here’s a practical schedule that balances protection with real-world time constraints:
Weekly (30 minutes):
- Quick wash using proper two-bucket method
- Wipe down interior surfaces and vacuum high-traffic areas
- Clean glass (interior and exterior)
Monthly (2-3 hours):
- Complete wash with wheel cleaning
- Apply spray wax or quick detailer
- Thorough interior cleaning including crevices
- Condition leather and dress trim
Quarterly (4-6 hours):
- Clay bar treatment
- Polish (if needed for minor imperfections)
- Apply long-lasting wax or sealant
- Deep clean carpets and upholstery
- Engine bay detailing
This schedule should adapt to your local climate. Vehicles in coastal areas need more frequent protection against salt air. Cars in northern regions require additional undercarriage cleaning during winter months to combat road salt. Desert dwellers should prioritize UV protection for both paint and interior surfaces.
The seasonal transition points are critical times for paint protection. Apply your most durable products before winter’s harsh conditions set in, and prepare for summer sun by ensuring your UV protectants are fresh on both interior and exterior surfaces.
Remember that consistency trumps intensity. A quick maintenance wash every week is far more effective than a marathon quarterly detail session after months of neglect. Create a realistic schedule you can actually follow—your vehicle will thank you with years of preserved beauty.
Conclusion
Professional car detailing isn’t just about aesthetics—it’s a comprehensive approach to vehicle care that preserves value and enhances your driving experience. By implementing these five pro techniques—using quality supplies, mastering the two-bucket method, properly detailing interiors, understanding paint protection, and maintaining a consistent schedule—you’ll achieve results that rival professional detailing shops.
What separates true professional results from amateur efforts isn’t necessarily expensive products or specialized equipment. It’s attention to detail, understanding the science behind different surfaces, and approaching the process systematically. These principles apply whether you’re maintaining a family minivan or preserving a classic sports car.
Remember that detailing is both science and art. The science ensures you’re using the right products and techniques for each surface. The art comes in developing an eye for detail and finding satisfaction in the process itself. There’s a meditative quality to transforming a neglected vehicle into a gleaming masterpiece—embrace it.
Your vehicle is likely one of your largest investments. Treating it with professional-level care not only preserves its value but transforms an ordinary car into something you can genuinely take pride in. After all, few things compare to the satisfaction of sliding into a perfectly detailed car on a sunny morning, knowing that every surface has been thoughtfully restored and protected.
Frequently Asked Questions
How much does professional car detailing typically cost?
Professional detailing typically ranges from $150-$300 for basic packages to $500+ for premium services with paint correction. Prices vary based on vehicle size, condition, and the specific services included.
How often should I get my car professionally detailed?
Most vehicles benefit from professional detailing 2-4 times per year, with regular maintenance between sessions. Frequency depends on driving conditions, climate, and how the vehicle is stored.
What’s the difference between waxing and ceramic coating?
Wax offers temporary protection (2-3 months) and enhances shine but has limited chemical resistance. Ceramic coatings provide semi-permanent protection (1-5 years) with superior hardness, chemical resistance, and UV protection.
Can I detail my car in direct sunlight?
Detailing in direct sunlight should be avoided as it causes products to dry too quickly, leading to streaking and water spotting. Work in a shaded area or during cooler parts of the day for best results.
How long does a complete professional detailing take?
A thorough professional detailing typically takes 4-8 hours for a maintenance detail and 10-15+ hours for vehicles needing paint correction. The time investment depends on vehicle size, condition, and the specific services performed.


Pingback: Best Car Air Purifier: 5 Proven Picks - knowsyourcar.com
Pingback: car interior shampoo near me: 5 Pro Tips - knowsyourcar.com